The MGA With An Attitude
MGA Guru Is GOING MOBILE - (January 1 - January 15, 2026)
Thursday, January 1, 2026:
Happy New Year. Nothing happening, but our WiFi spot in North Naples is open, so I spent a little more time filling in blanks on the Threaded Studs part numbers and data list.
Friday, January 2, 2026:
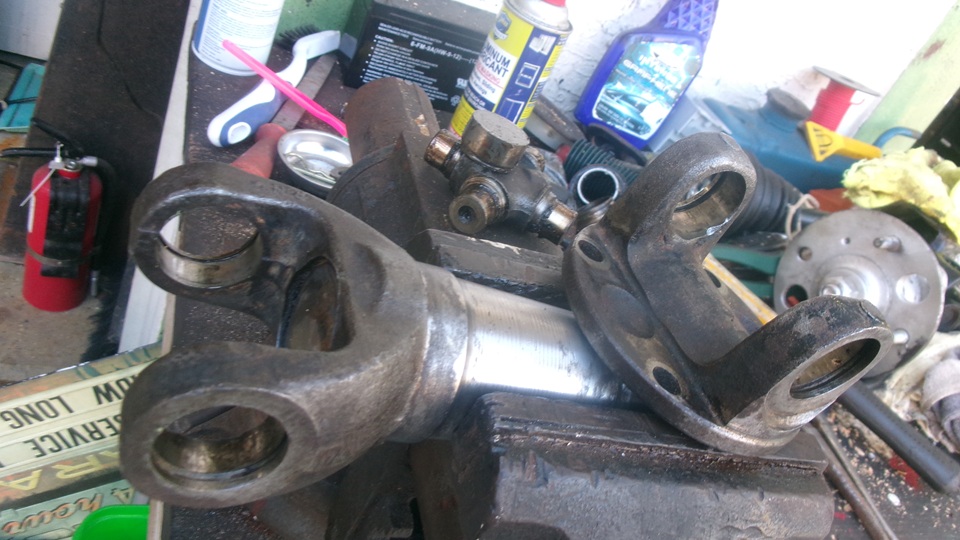
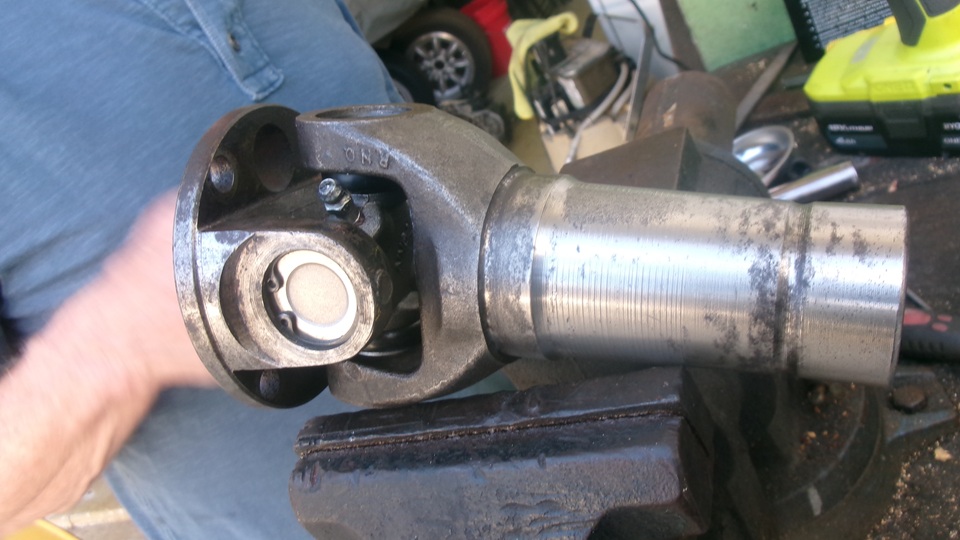
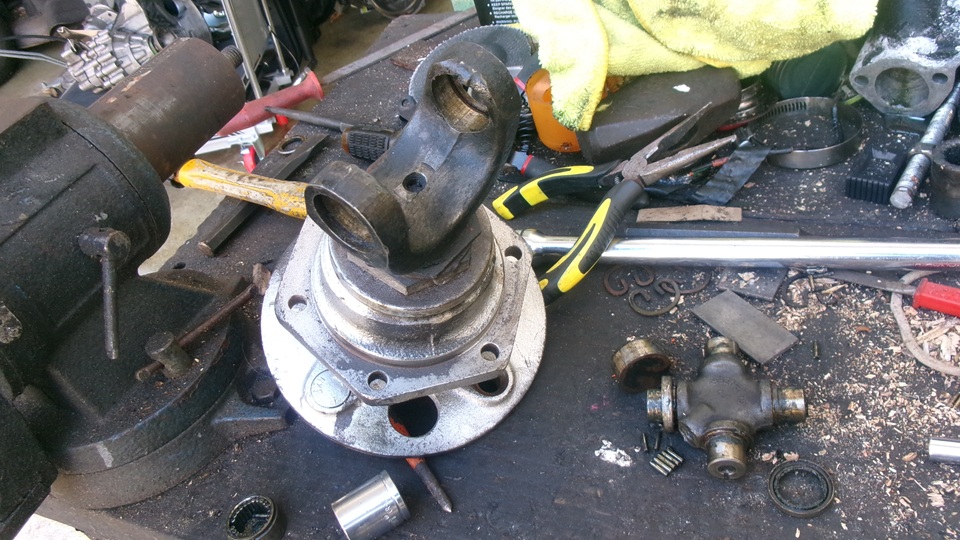
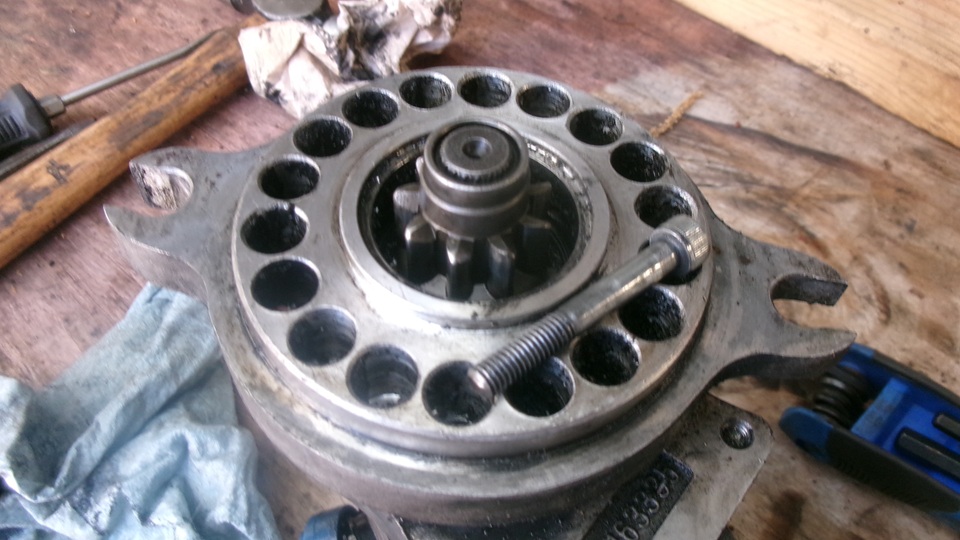
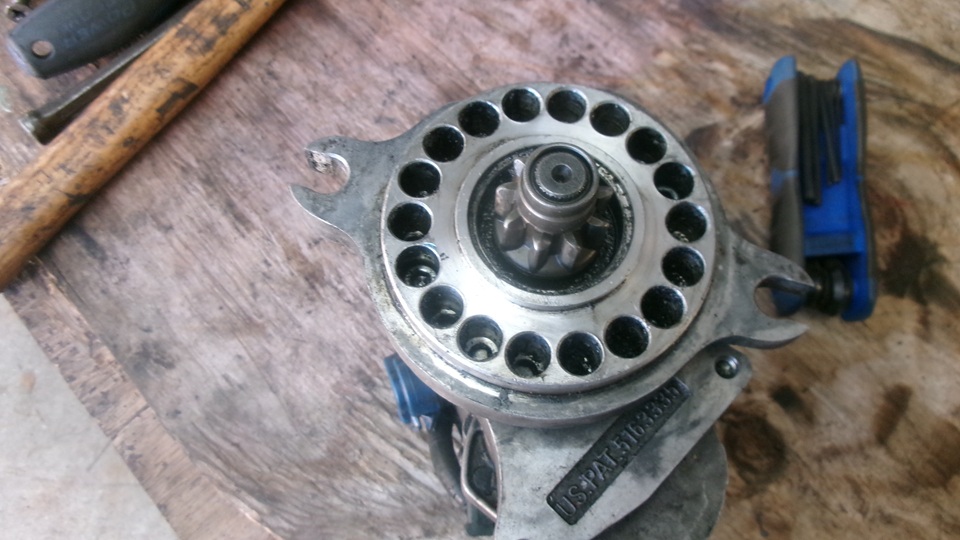
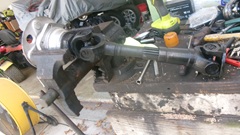
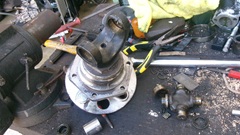
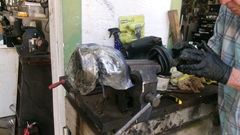
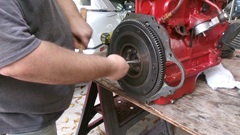
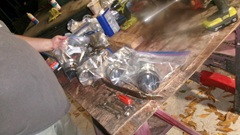
Tech Central in Bonita Springs, Florida, day after new years. Someone wanting to change four universal joints for rear suspension of a TR6. The first one had snap rings removed before the owner was stumped on getting it apart. One size larger than U-joints in the propshaft of an MGA or MGB, but same procedure. First picture disassembled. Second picture reassembled. Third picture in assembly with the mated half shaft. All of the joints were in very good condition, maybe no reason to be changing any of them. There was one yoke then an odd chip out of one edge, and the owner already had a new yoke in hand, so that one may be a chore for another day.


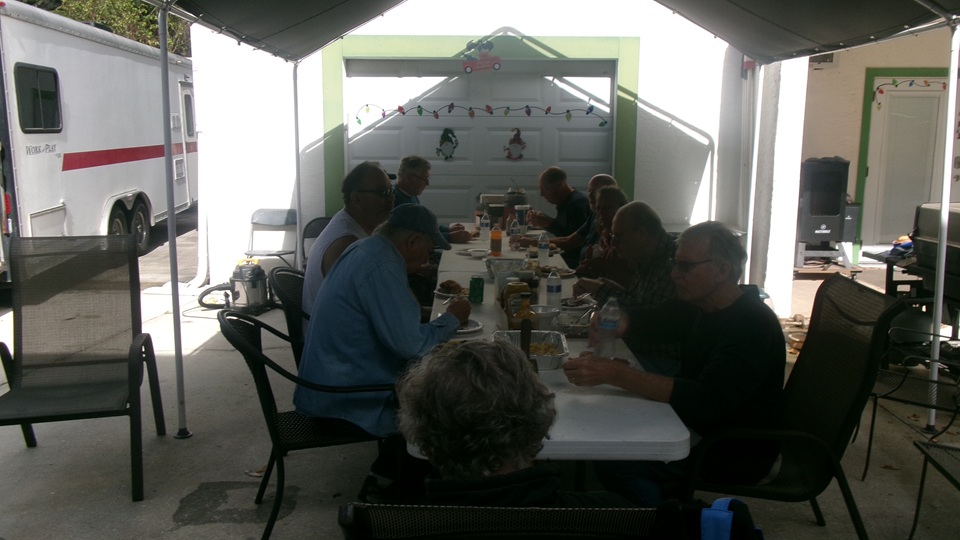
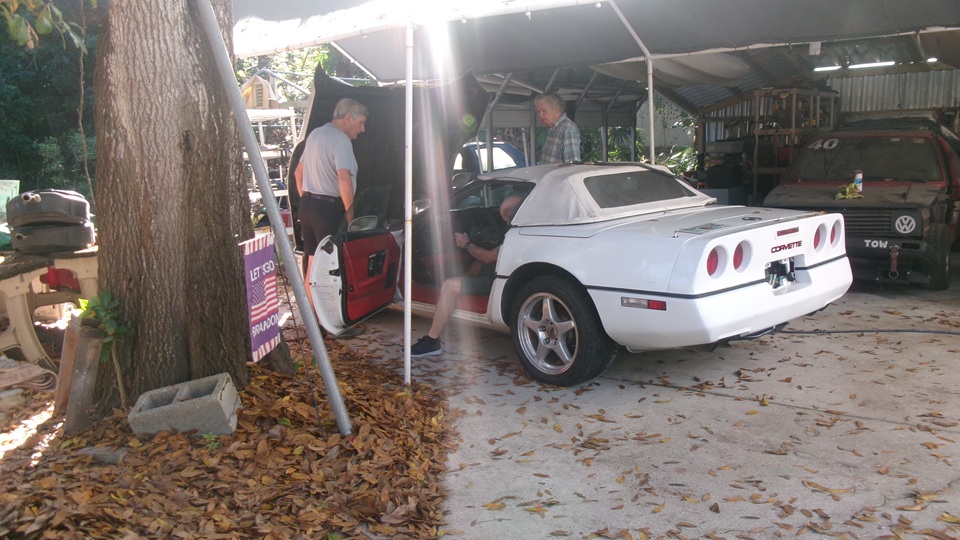
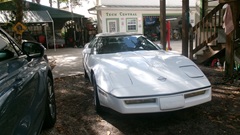
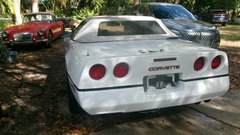
The Corvette was moved around some for cleaning up the patio work space. Then time for lunch and chat.

I made another call to the machine shop in Naples that might resurface our 1800 engine block and head. No answer, left another voice message. The shop is only five miles out of our way, so we braved he city traffic to drive there for a quick visit. Knocked on the locked door, but no one there. Give him allowance for the holidays, and try again later.
 Temperture gauge ws getting out of hand, so we stopped to add water (nearly a gallon this time). Heard a little hiss with pressure up before removing the pressure cap. The leak at the top tank rear seam solder joint is back, so the sealer that was working is not. Need to find a radiator shop to re-solder the top tank to core joint. Meanwhile, remove the rubber spacer washer under the pressure cap, and run it with no pressure to avoid pushing too much water out at the leaky solder joint. Temperture gauge ws getting out of hand, so we stopped to add water (nearly a gallon this time). Heard a little hiss with pressure up before removing the pressure cap. The leak at the top tank rear seam solder joint is back, so the sealer that was working is not. Need to find a radiator shop to re-solder the top tank to core joint. Meanwhile, remove the rubber spacer washer under the pressure cap, and run it with no pressure to avoid pushing too much water out at the leaky solder joint.
Saturday, January 3, 2026
Looking for a radiator shop in or rnear Naples, Florida. One called Woolley's listed in Naples, but the phone number goes somewhere else. Not too surprised, as radiator shops are nearly extinct these days. The next nearest one might be two hours east across the peninsula near Miami. And it's the week end, so likely no luck until at least Monday anyway.
Sunday, January 4, 2026:
Managed to update a web page for Chicagoland MG Club with current information for their upcoming 29th annual All Sports Car Swap Meet and Autojumble - https://britishcarswap.info
Monday-Tuesday, January 5-6, 2026:
A little more progress on the threaded studs tech page. Haven't found a radiator shop in the area, let alone one that might be willing to work on a 65 year old cell core radiator. Still thinking about sending it out of state to be re-cored with a new cell core, which would be expensive, but might be willing to do it. But also have not been able to find a usable "loaner" radiator to use in the car while the cell core radiator is out for service. So I bit the bullet and decided to buy a new 3-row tube type core copper radiator. It may work okay, or otherwise it may be a very expensive temporary use part while the cell core radiator goes out for service.
Wednesday, January 7, 2026:
Finally got a call back from the local machine shop that can resurface the 1800 block and head (to fix the persistent head gasket problem). This will require stripping the engine to the bare block for machining and cleaning afterward. The head will be much easier, just remove the rocker shaft assembly and flip it upside down for machining, leaving the valves and springs in place. to have the car driving while the 1800 engine is apart will require putting the Magnette engine back in the car, which we now have scheduled for Saturday and Sunday. -- With that resolved, it is time to get the next parts order together to order the new radiator and enough parts to reassemble the 1800 engine, and do two engine swaps in two weeks. It took a few calls to get through to Scarborough Faire, on their first day taking orders in the new year. On the phone at 4-pm discussing the new radiator options when they got another call, put me on hold with a promise to call back in a few minutes. No call back, kiss off the rest of the day.
Thursday, January 8, 2026:
Got a call through again to Scarborough Faire by mid morning, couple of call interruptions on the side, but finally got the order complete before noon. Fingers crossed hoping it gets shipped out today or tomorrow, maybe to arrive late next week when the 1800 engine machining may be finished.
Friday, January 9, 2026:
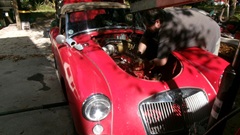
Club day at Tech Central, so let's see what we can do to help. Holiday week end long past as the group turns out in force. Another attempt to start the Corvette to move it gain, another failure. This time it will start with a sniff of starting fluid, then die a few seconds later. So now it has spark, but no fuel pressure, which is exactly where they left off last week after repairing a ground wire on the fuel pump. Did anyone mention that a plastic bodied car might have some ground return problems?


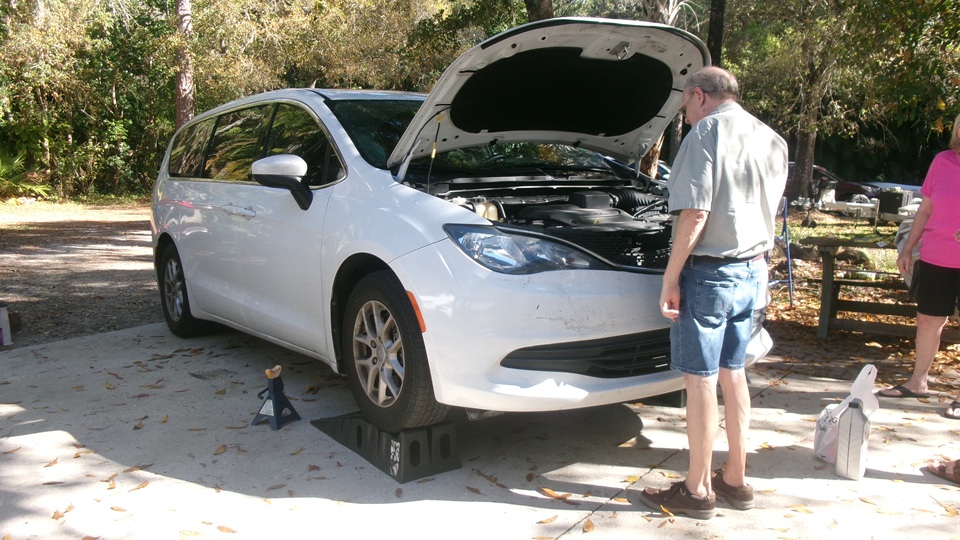
On the work bench the guys were back at replacing another U-joint for the TR6 fear suspension. I think they got that one back together before lunch. -- The Chrysler mini van was in for an oil change. Fun trying to drive that one up the ramps. First time half way up and roll back, no go. Second try more throttle shot both of the ramps half way back under the body. Jack up, remove the trapped ramps, put them back in front of the wheels. Third try, half way up and roll back gain. Would I like to try it? Sure, it's just ramps under front wheel drive, should go right up. Low gear with a little throttle starts up the ramps. Left toe on the brake pedal to moderate gradual progress causes the throttle pedal to go dead. Say what? Try again, a little throttle and a little brake pedal at the same time, and the throttle goes dead again. No kidding, put the pedal to the metal, and it just sits there at idle, until you take your foot off of the brake pedal. Gawd I hate the computer programs in these newer cars, thinking they know what's good for you better than you do. So, not allowed to touch the brake pedal while driving up an incline? Okay, light throttle, just enough to get it to crawl up the hill, and hammer the brake pedal just as it makes the crest onto the flat top platform. Scared the hell out of a few people, but I got it. On the brakes, off the throttle, back in Neutral, and then Park. Damn, remind me never to buy a new computer controlled car. -- Then a short tech session on how different VW gearboxes may have different shift linkages, but Jerry has that one well in hand after shuffling the gearboxes in and out of his race cars too many times.

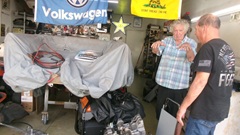
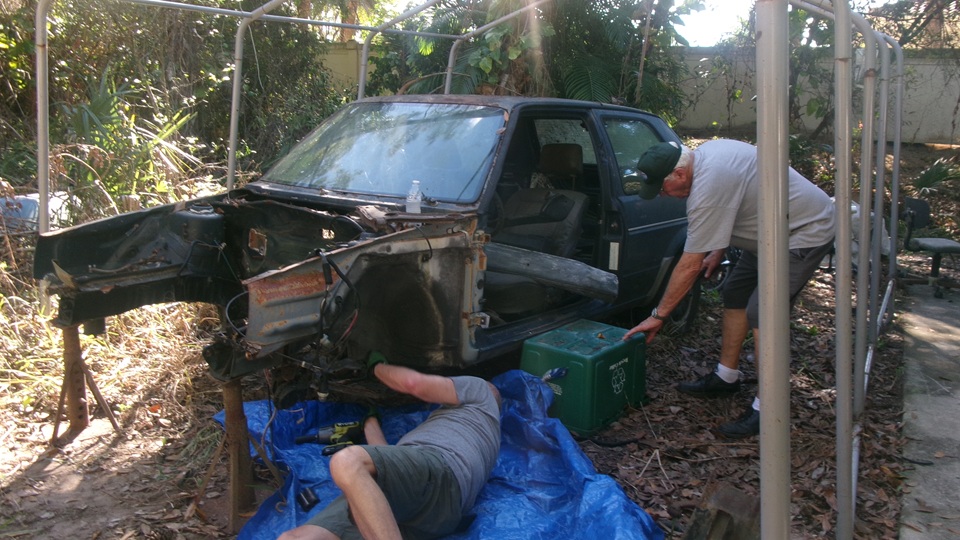
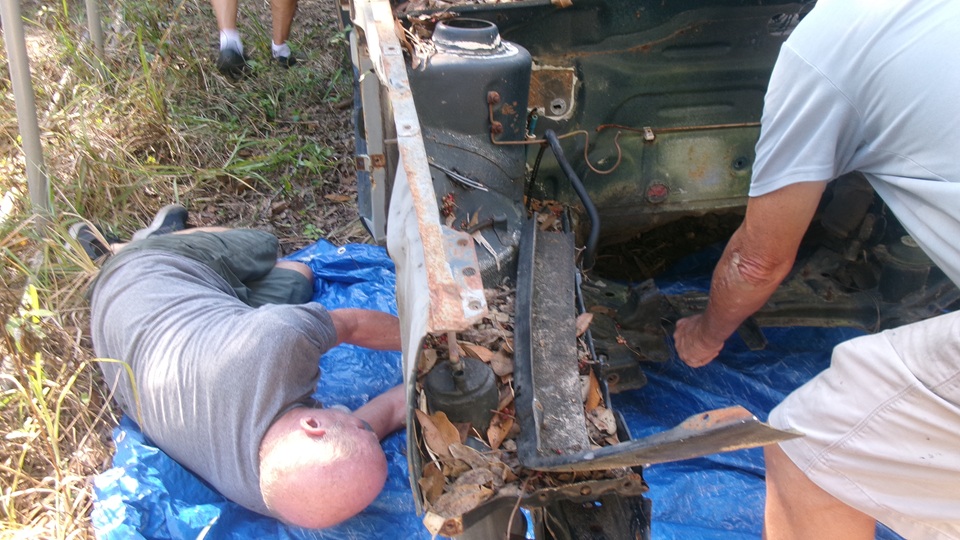
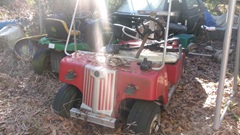
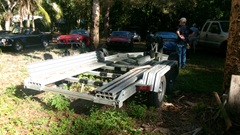
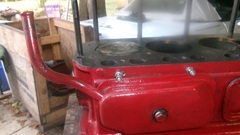
On the side, all hands helping to clear out the side yard so the lawn mower might get through. First the golf cart needs to be towed out, heading for metal recycling. Four flat tires, six dead batteries, right rear wheel locked up, steering very tight (almost seized). Six guys can skid it across the grass to get it out of that nook. The little green lawn tractor is next, heading for the same fate. The light aluminum trailer was in the way, so move a few cars, get the trailer tongue wheel dolly, and move the trailer back between a couple of trees, out of the way.
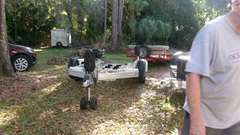
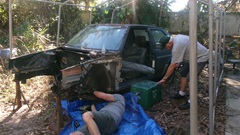
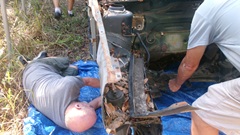
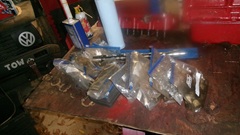
Before the junk VW could be hauled out, they were removing the front suspension cross member and lower A-arms. This was Jerry's pet project, as he had paid $100 to get those parts out of a junk yard once.


 Cut battery cables and pull the batteries out of the golf cart before pushing it onto the trailer. Shove the lawn tractor up behind it with some related tractor parts and other miscellaneous scrap. Enough for one trip, the trailer will be back tomorrow to get the dead VW.
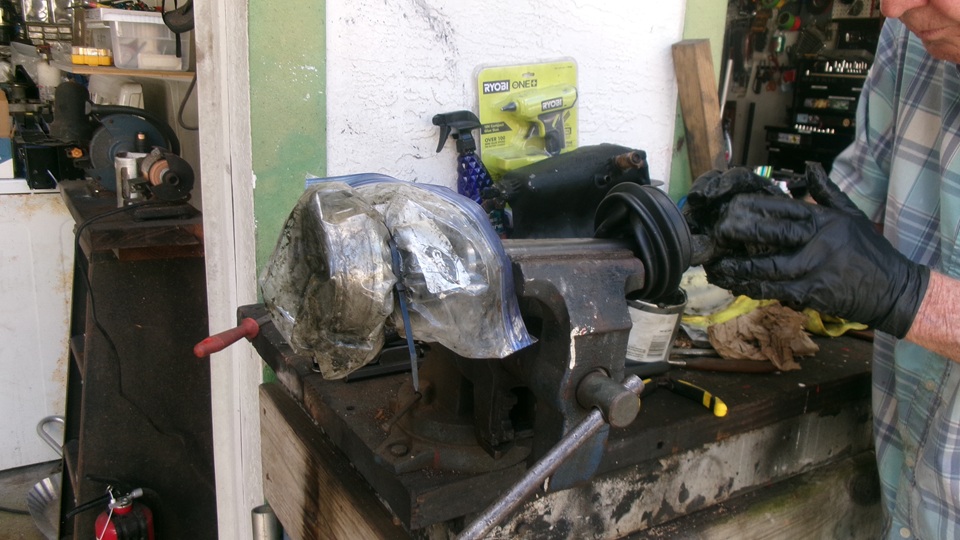
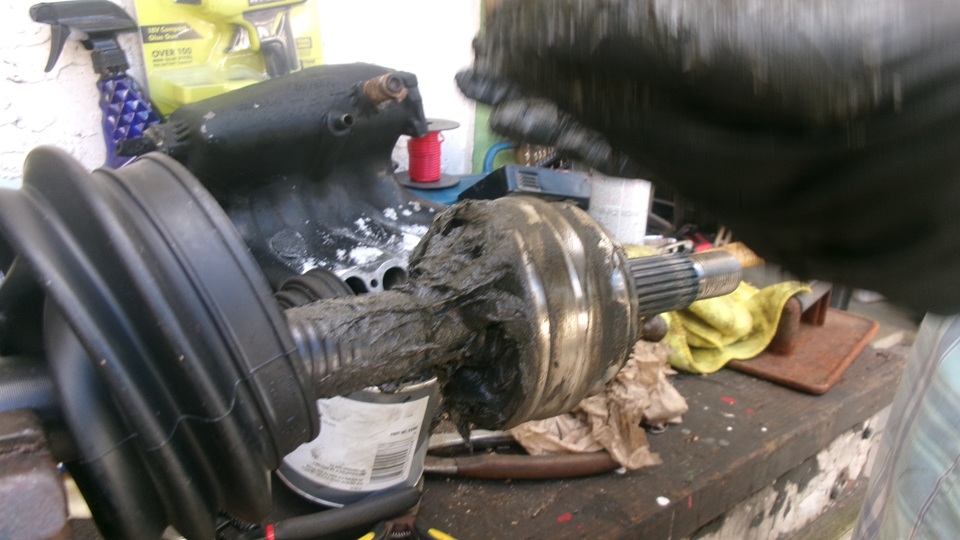
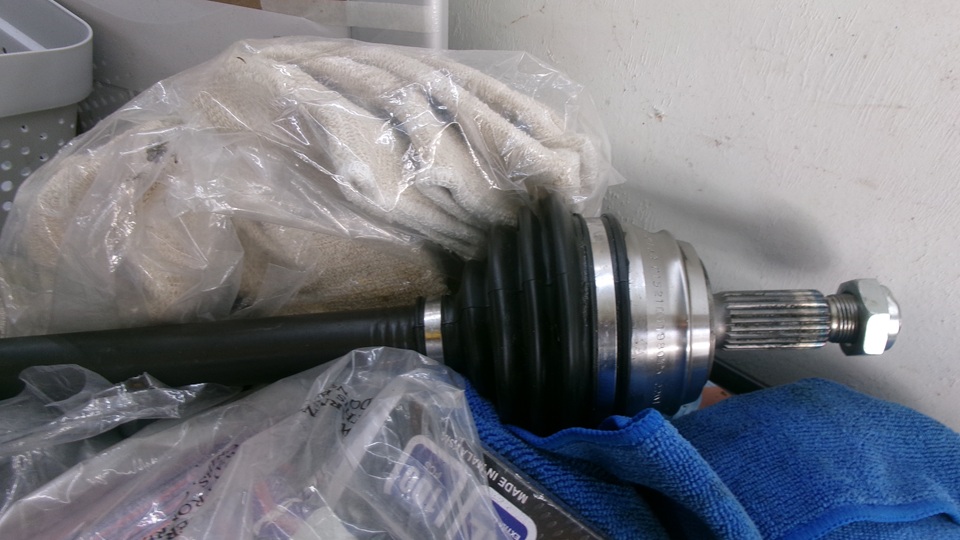
After lunch, most folks gone home. Back to the work bench to finish reassembling the VW halfshaft with new stub axle and CV joint (remember that one from last week). Need this to get the racing Rabbit back together.


Then we spent a little time preparing the small engine hoist and portable work table for tomorrow's chore of swapping out the
engine in the MGA again. Then a short trip to a local hardware store for some fasteners, and to Napa for an oil filter and some

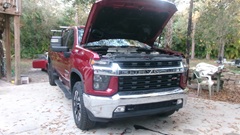 gear oil, and a grocery store for food supplies for the next couple of days. Jerry was changing oil in his diesel hauler truck, and trying to figure out how to reset the oil life reminder mileage (another modern computer car inconvenience that doesn't always work as expected). Then off to find WiFi and dinner before dark.
Saturday, January 10, 2026:
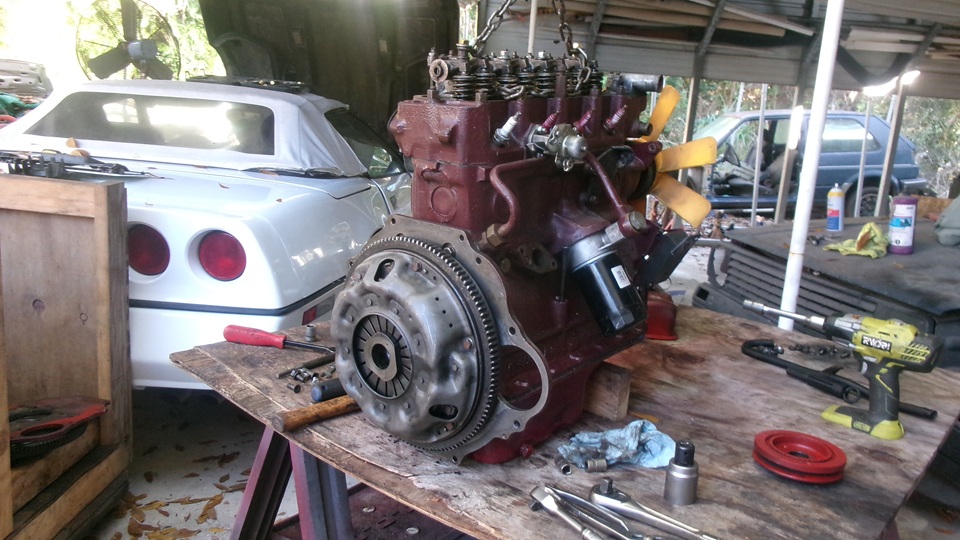
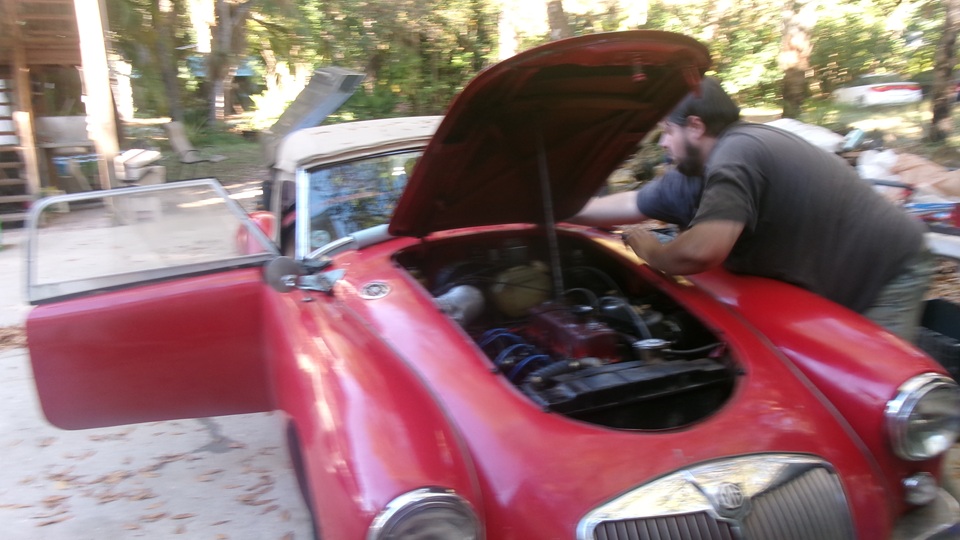
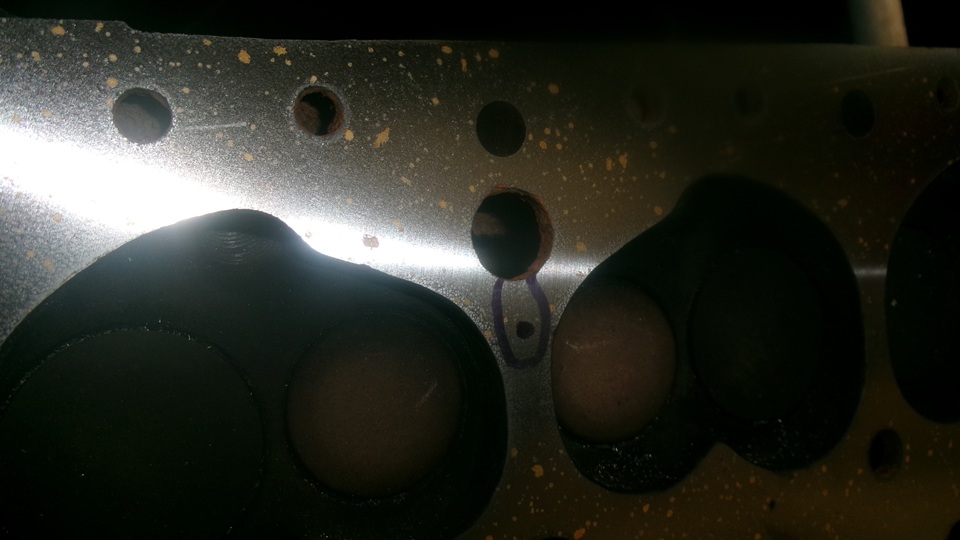
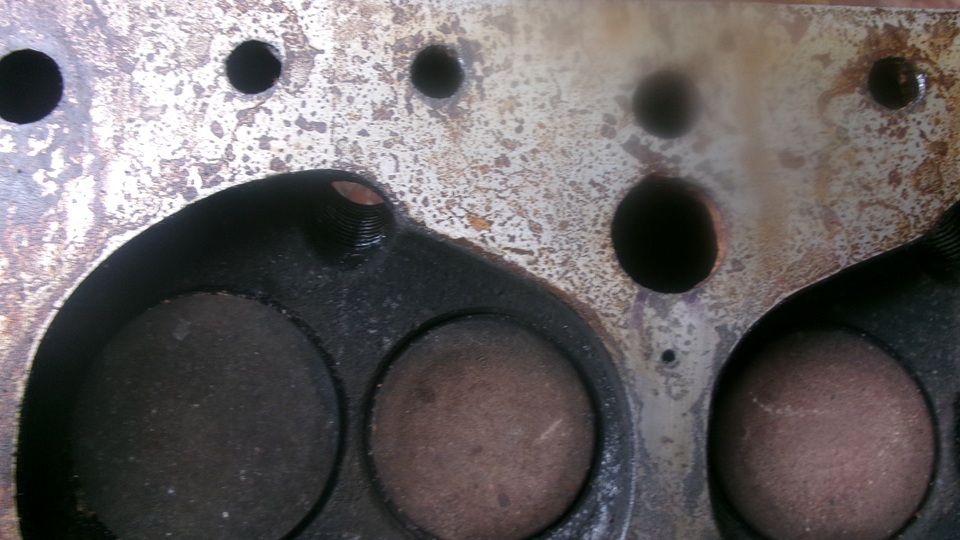
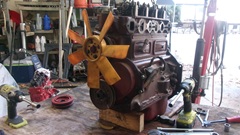
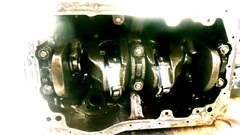
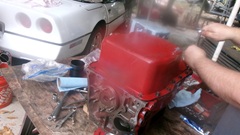
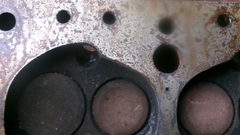
A serious work day. This 1800 engine we built a year ago had been running well for a year, until it broke a crankshaft in November and was repaired in December. Now it has been loosing compression between #2 and #3 cylinders, and a new head gasket didn't fix it. Looks like minor erosion on top of the block and on bottom of the head. Either surface by itself might be sealed by the gasket, but damage on both sides at once seems to be a bit too much for the head gasket to handle. So we have bitten the bullet and decided to tear it down once again to have both block and head resurfaced.
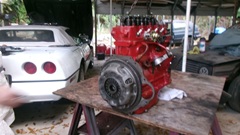
10-am start, drain coolant and oil, remove radiator, carburetors, manifolds, distributor and other peripheral bits. Disconnect bellhousing bolts and engine mounts, lift out, and by 2-pm the engine was sitting on a work table.


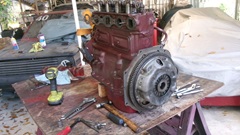
From the rear ,remove clutch, flywheel and engine rear plate. From the front remove crank pulley, fan, water pump, alternator and a few more small bits we will need to install the "loaner" engine. By 1-pm the 1800 engine was half naked.

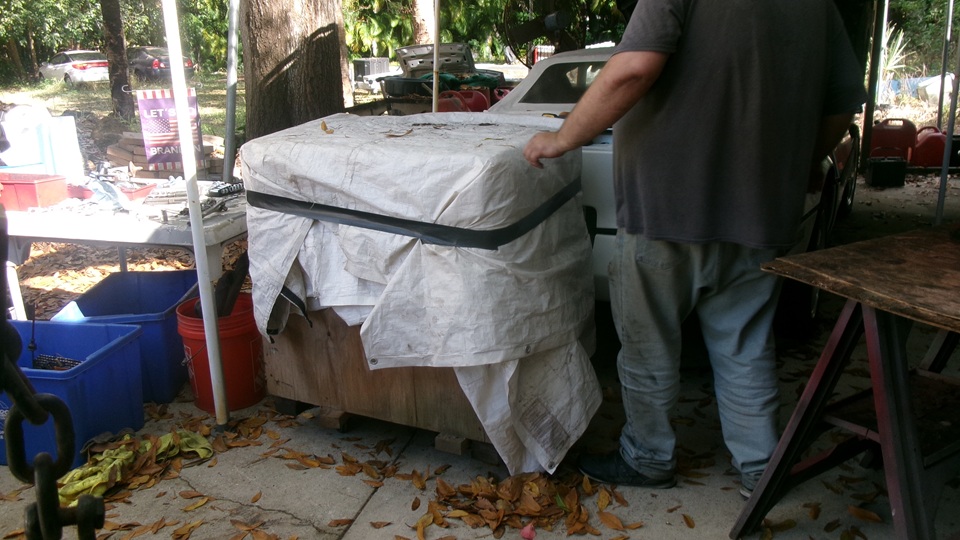
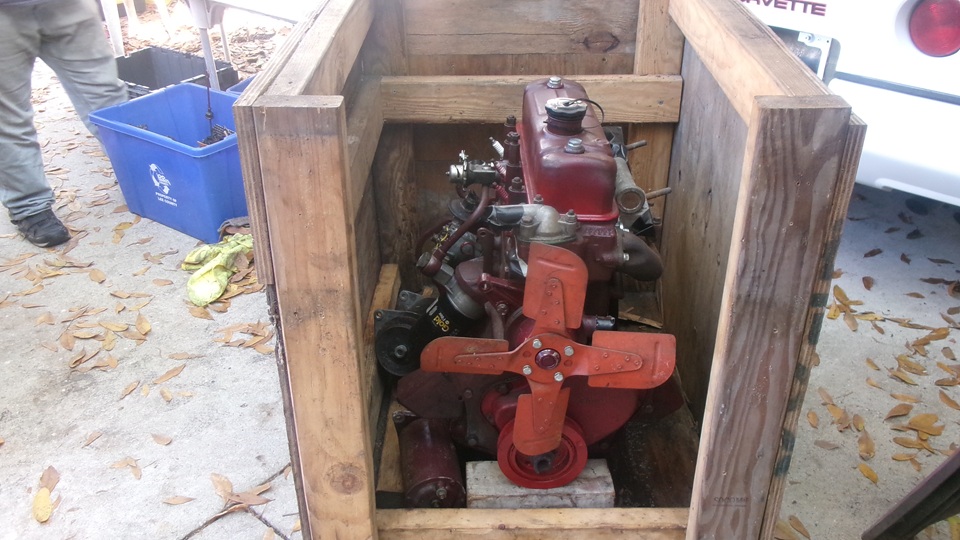
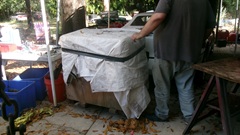
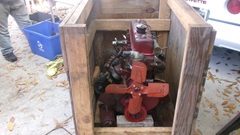
You remember that Magnette engine we had in it a couple weeks ago? Well get it out of the box again. Remove the Magnette manifolds, fan, engine mounts, clutch, flywheel and rear plate. Install all of the similar parts we just pulled off the 1800 engine.

Put the Magnette water pump pulley back on it along with the plastic fan. By 2-pm it was looking amazingly like an MGA 1500 engine with MGB clutch (but no tach drive).
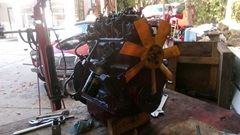
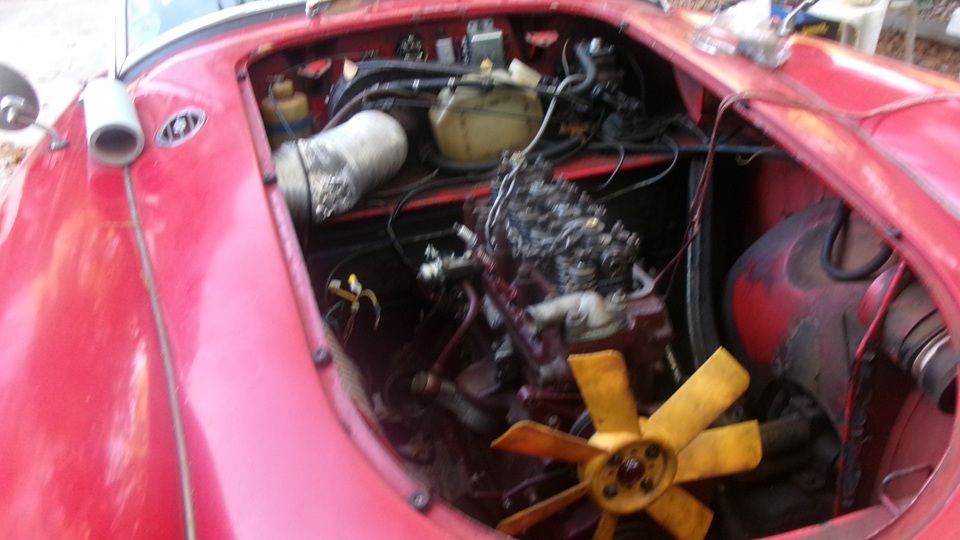
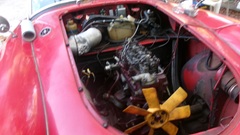
With the MGA 1500 type gearbox still jacked up against top of the transmission tunnel, it was easy enough to slip the loaner engine into place, snug up a few key bellhousing bolts, and set it down on the engine mounts. By 5-pm, running out of daylight, we were almost on the anticipated schedule. Good time to stop for very late lunch, and catch up on the photos and notes before 10-pm (along with some email tech messages).

Sunday, January 11, 2025:
Slightly earlier start today, about 9-am. Time to throw all the bolts into the engine mounts, last few bolts in the bellhousing, intake and exhaust manifolds, hook up the exhaust pipe. Then a couple bolts for the starter motor before kicking it off the jack stands. That's where we ran into an unexpected problem. With the starter base plate bolted tight, the rest of the unit was wiggling bit. No good. take it back out for a better look.
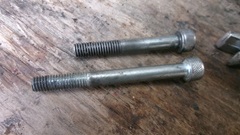
There are two socket head cap screws securing the end plate to the body of the motor. One screw was quite loose, one screw was flt out missing. Amazing he thing still had some sort of electrical ground, as it was still working. The more immediate problem was, these are metric screws, 6x1-mm, 45-mm long. Dang, where would we get one of those when we couldn't drive to hardware store? Jerry runs a couple of VW race cars, so he might have some metric fasteners. We were searching around the shop for half an hour with no luck, thinking we may have to reassemble it with only one screw, and get it out again later for the final fix. Then out of the blue Elliot hollered, "Hey. I think I found one"! I have no idea where it came from, but he was holding a 6x1x60-mm socket head screw. The rest was easy. Grab a threading die to run another half inch of threads down the shank, then cut it to length and grind the tip smooth. Got it all back together with some thread lock adhesive, and it only killed about an hour.


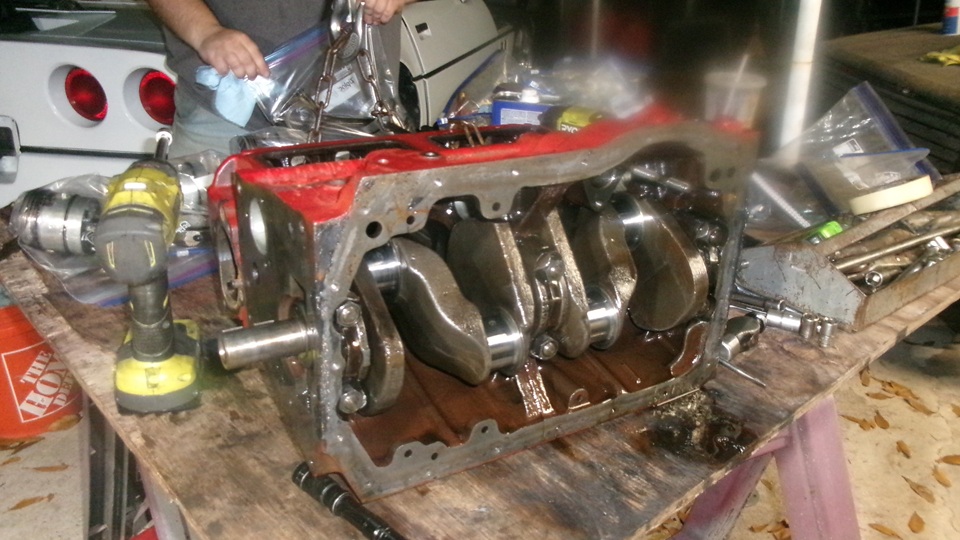
The rest was just chores to install the carburetors, distributor, alternator, radiator, fill with water and fire it up. That was almost on schedule, done by a few minutes after 4-pm. Peachy, put the bonnet on and be ready to roll. -- Unfortunately, not the end of the work day. We still had to disassemble the 1800 engine to get the bare block and cylinder head to the machine shop first thing tomorrow morning. Yeah, but disassembly is pretty easy, finished before 8-pm. Then we dropped the block and head into the trailer, packed up a bunch of tools and cleaned the place up a bit before jumping on a very late lunch,and then some WiFi time to post up these photos and notes.


Monday, January 12, 2026:
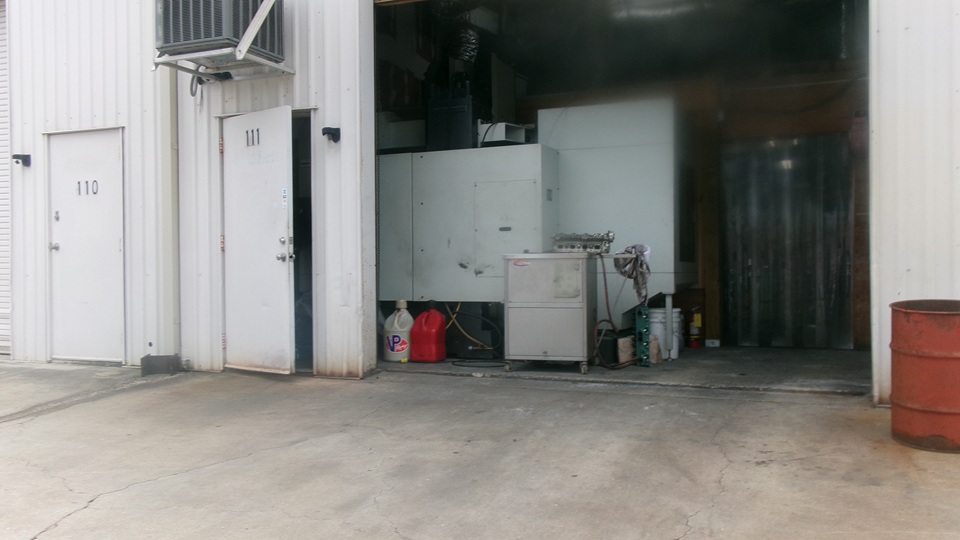
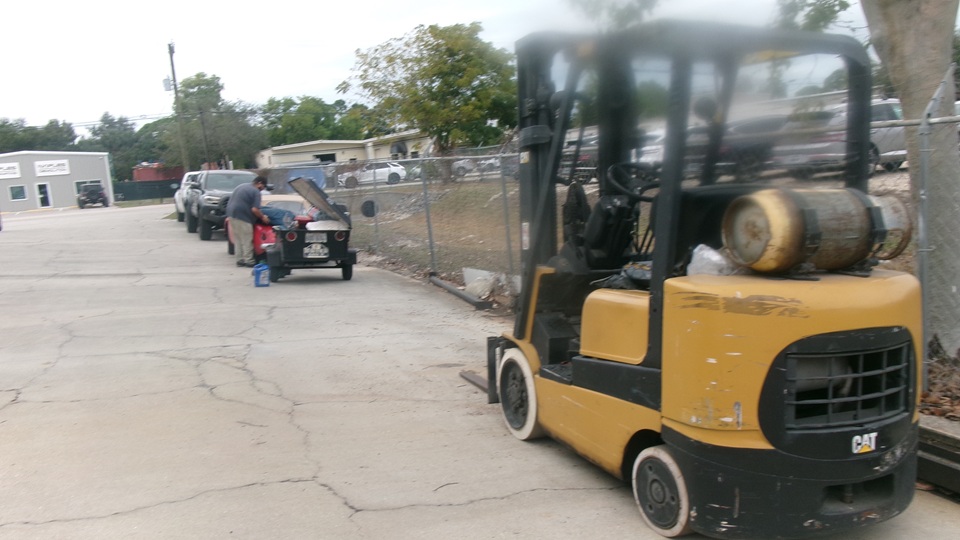
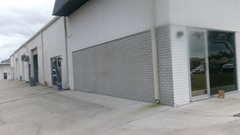
Up early, get moving before breakfast, we have an appointment. By quarter to eight we were parked at Filmore Machine Company in Naples, Florida. A few minutes before eight,there he was to open the doors. Get the fork lift to pick the engine block out of the Magic Trailer, set it inside, and grab the cylinder head to go with it. they are here to resurface both the block and the head to assure there will be no more head gasket problems. The block looks pretty clean, no need to hot tank it, so we can leave the number tag on it. Monday is bookkeeping day at the shop, so no machining today, but it should be finished by Wednesday. Thank you, see you later. -- Laundry day, kills two hours in mid morning. Then we were off for lunch.
Navigator Elliot had spotted it last night during engine disassembly, a few badly worn tappets. And as the tappets go, so goes the camshaft. And since the engine is completely disassembled right now, it is the perfect time to install a new cam and tappets. So kill a few more hours with internet and phone calls. Our Scarborough Fair order from last week had not been shipped yet, so we managed to get new camshaft and tappets added to the order. The good news is, it all shipped by evening today, and we have a tracking number. Not active yet, but guessing for delivery on Thursday. We can start on reassembly whenever machining is finished, but still need the cam before it gets very far along. Looks like we get tomorrow off.
Tuesday, January 13, 2026:
Got through breakfast, email, BBS, thinking what to do on a day off. Then we got a call from the machine shop saying the machine work was finished this morning, come pick it up, so we did. Front door, side door, set the parts into the trailer. Carry the resurfaced block and head back to Tech Central, and see how much we can reassemble in the time allowed.


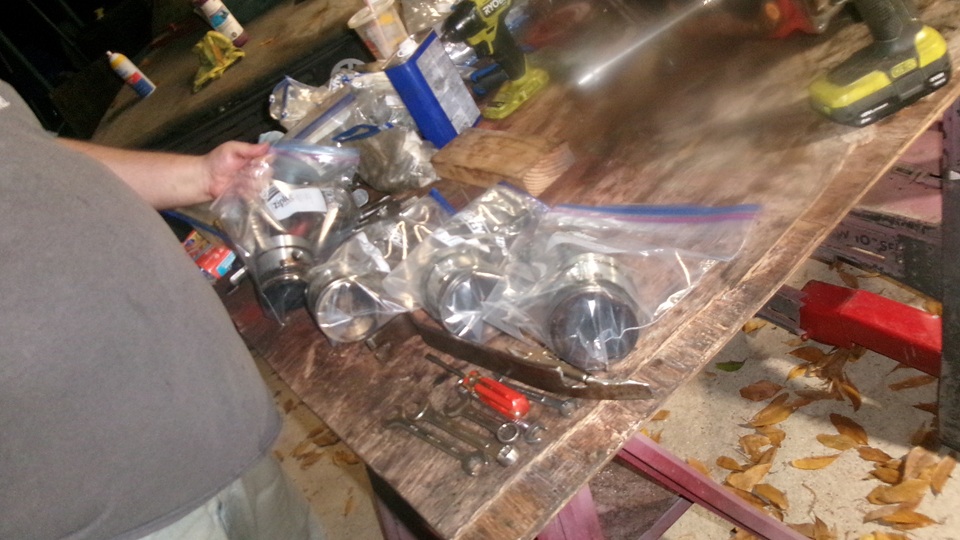
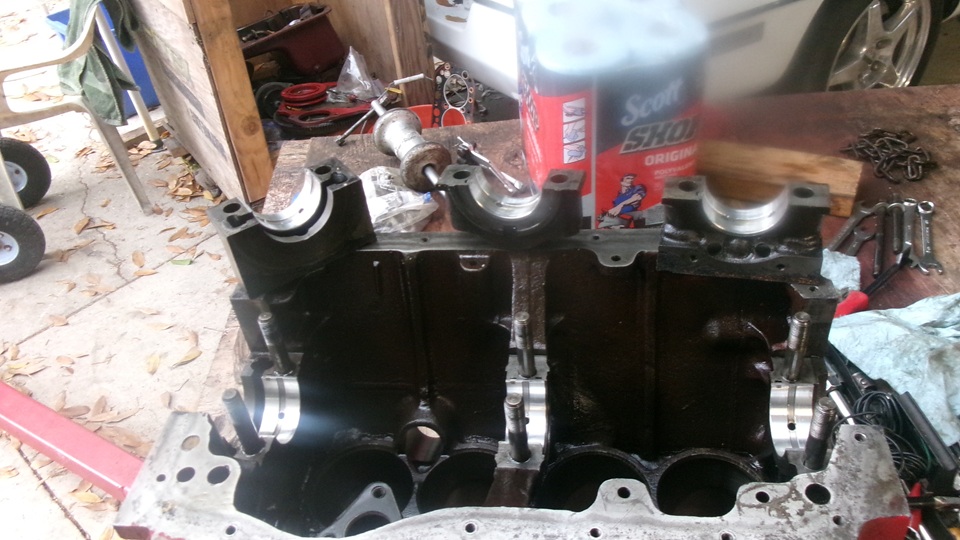
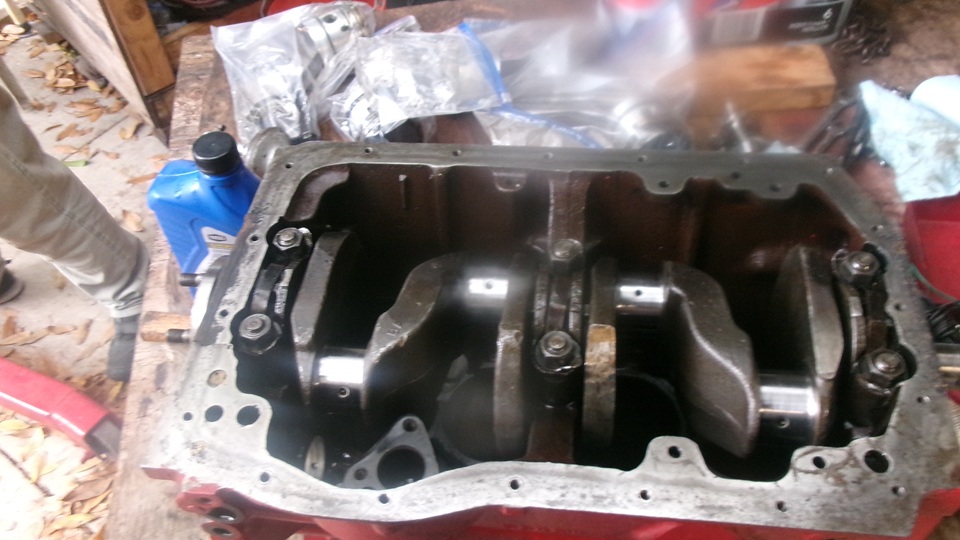
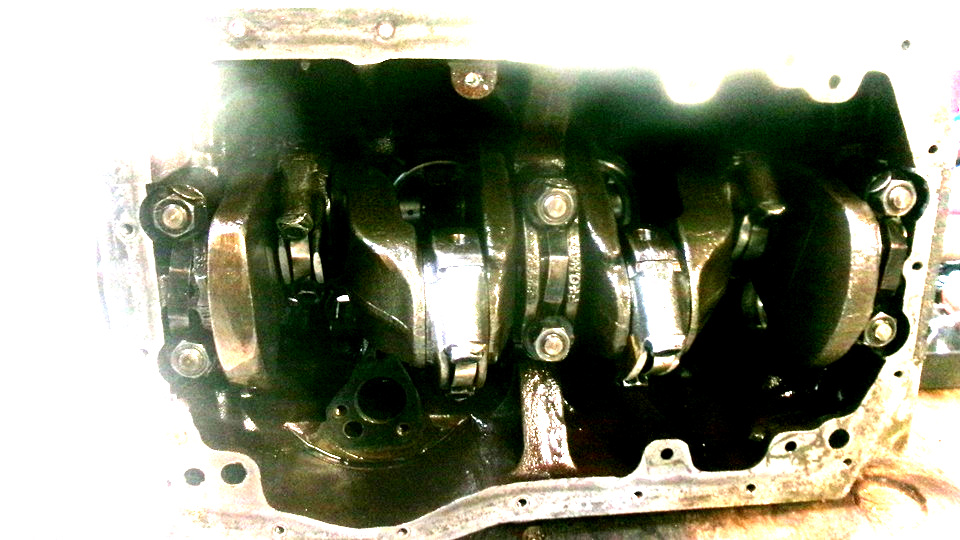
We cleaned this up a bit, then installed main bearings, crankshaft and pistons with con-rods.


installed oil pump and pickup screen with drive gear, and button up the sump. Yes we can install the camshaft after the oil pump gear. Install the head studs, and flip it upright. Install the spin-on oil filter mount with external oil pipe, oil pressure relief valve, and few block side plugs, and temporarily mount the tappet covers just to keep dirt out. By then running out of daylight again. A quick side note on the cylinder head. There was one small crack in the bottom face from one of the water passage holes into the water jacket. Easy fix is to drill a tiny hole at the end of the crack to stop it from running any farther, and the head gasket will cover and seal the little drill hole. Will take care of that later.


Now a day ahead of plans, have to wait for Thursday delivery of more parts for the new camshaft and tappets. So for sure we get tomorrow off. Pack up and head off for very late lunch (again).
Wednesday, January 14, 2026:
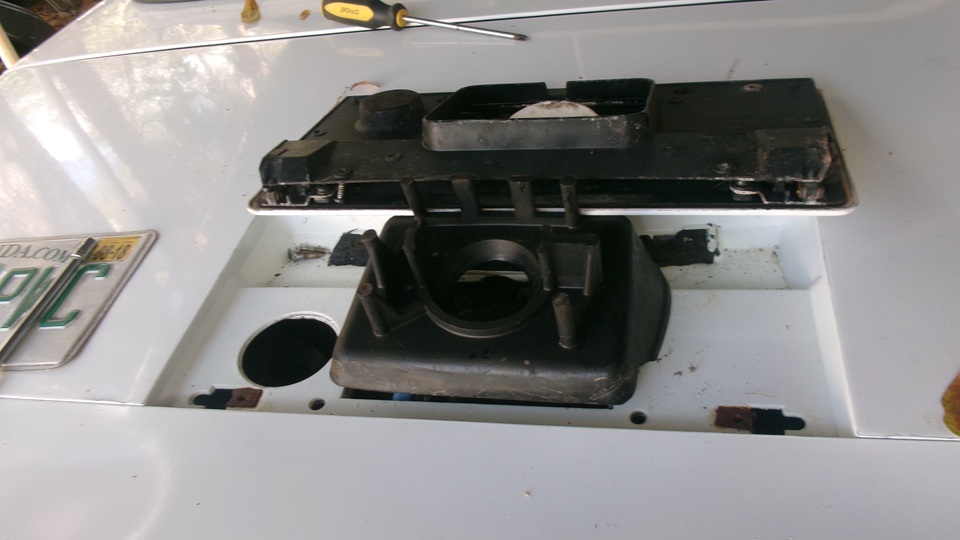
Definitely a day off, since we got a one day jump on engine reassembly yesterday. Spent some time working on a new Accesssories tech page for a storage box in the unused battery space after switching to a single 12-volt battery.
Thursday, January 15, 2026:
Rain 3-am to 7-am, a little concern for the half assembled engine sitting under the canopy. Breakfast while waiting for new parts to arrive. Tracking still says today between 11-am - 3-pm, but at 10-am it does not say Out For Delivery, so sit and wait. -- Package delivered 1:20-pm, let's go get it.
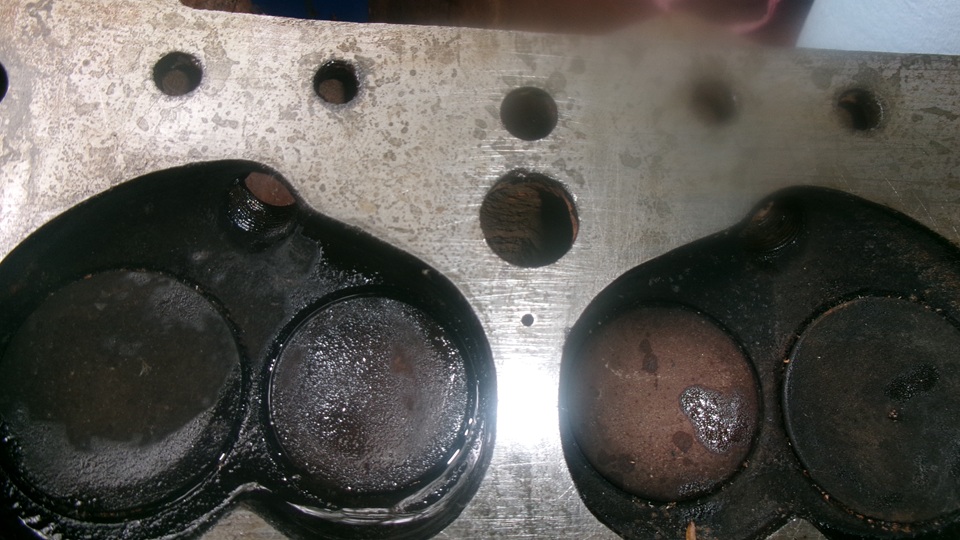
The machine shop had noticed a small crack in the head, starting from one of the water passage holes. Not a big deal, except you don't want the crack to run any farther, and maybe end up crossing onto a valve seat. The fix is to drill a small hole at the end of the crack so it will not progress any farther. In that location the head gasket will cover the drilled hole. Pictures with and without flash, before and after drilling. I was surprised how thick the head was t that point while drilling through into the water jacket, much thicker than it was at the water passage port. Since it rained last night, there was some rust on the fresh ground surfaces of the head and block. This looks better after running an oiled whetstone over it.


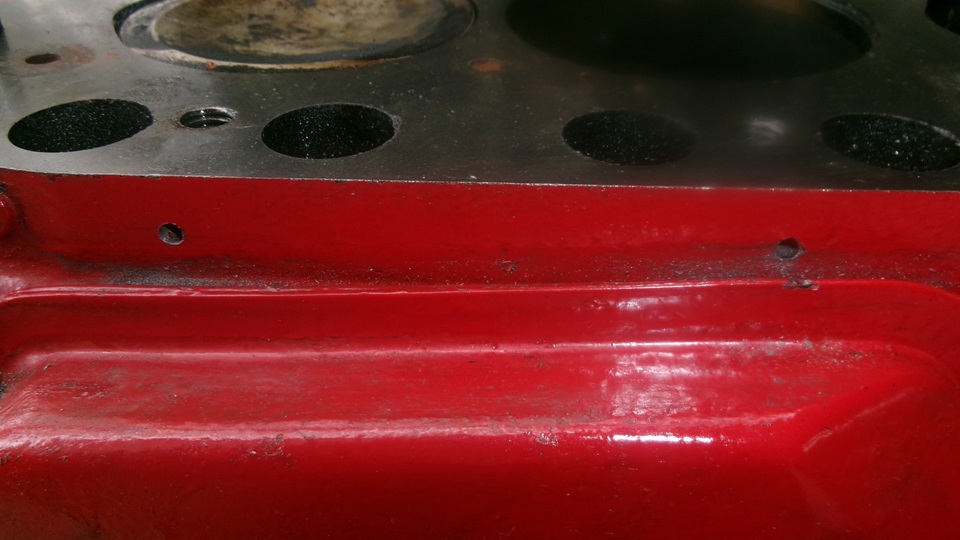
The next task was modification stemming from installation of the PCV valve back in November. Pushing or pulling the hose on/off of the pipe on the vented front tappet cover my cause the cover to rotate around the mounting bolt. To prevent such motion and possible gasket leak, I was installing two physical stop screws. Drill and tap for #10-32-UNF socket head screws with jam nuts. One little oops when I broke tap, then drilled and tapped another hole along side. It came out okay in the end.
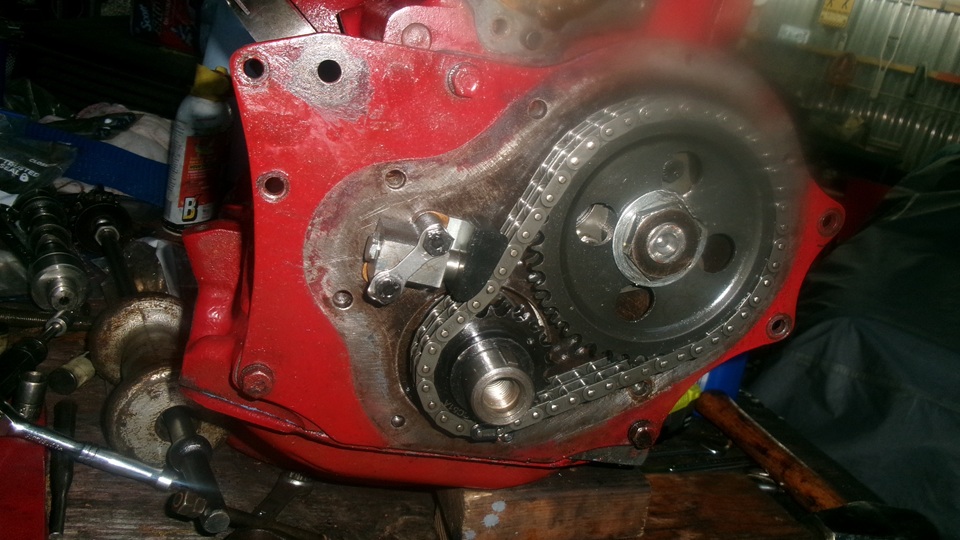
Extract the atchometer drive gear and snap rung and two woodruff keys from the old camshaft to install on the new one. We used a 3-jaw puller to get the gear off, and hydraulic press to reinstall it. Finally the new camshaft was installed, properly aligned with with sprockets and timing chin and tensioner. Before installing the timing cover, we couldn't find the oil thrower ring. After wasting nearly an hour searching everything, we gave it up for lost cause in the dark, and installed the cover with loose screws, to be taken up later. Wet, windy and hilly here. Drop on a head gasket and the head and rocker assembly and valve cover to close it up for the night. Leave it hitched to the engine hoist, throw a towel over it, and call it good for the night.


|