The MGA With An Attitude
MGA Guru Is GOING MOBILE - (December 16 - December 31, 2025)
Tuesday, December 16, 2025:
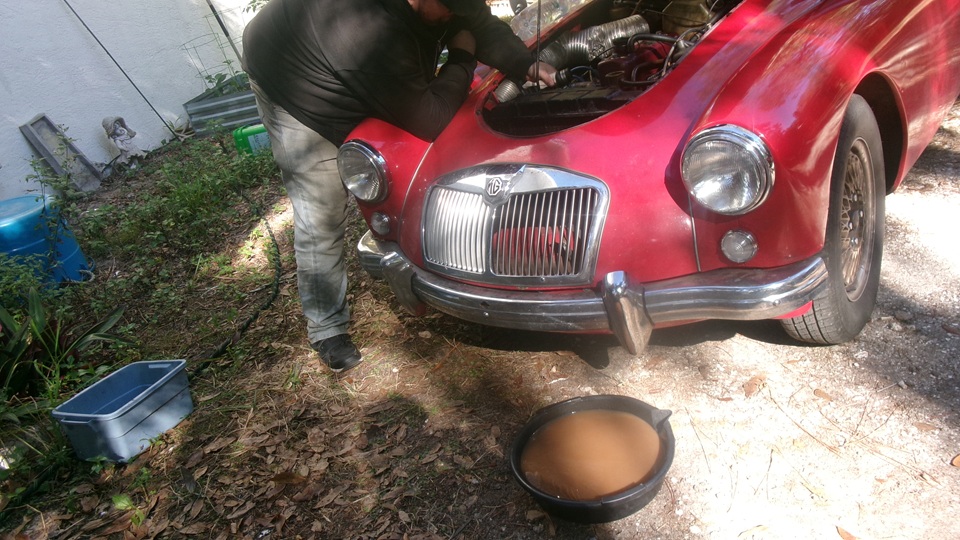
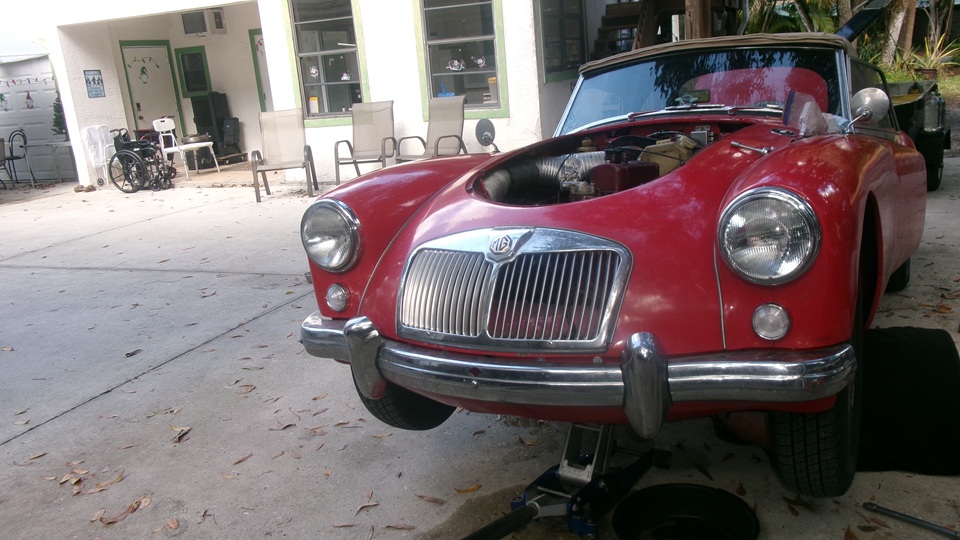
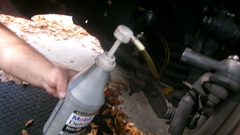
One more day to work on the cooling problem. The flushing fluid has been soaking for another full day. After breakfast we try another run up the expressway, a little farther at speed this time, aiming for 12 miles one way. It went well for 8 to 10 miles before temperature got too high and sent us into preventive mode.. Switch off, coast, switch on, watch temperature drop, repeat a few times. Bail off at 12miles, cool it s bit and top up water. Drive back 8 miles on the side streets, and head for Tech Central for more attention. It does okay with 45-mph limits in traffic, but it doesn't like high speed on the expressway.
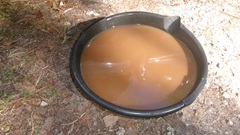

 The flushing chemical has been soaking for the better part of two days, and must have been doing something, as the drain water came out notably discolored. We flushed the engine backward until the water ran clean, with seemingly no flow resistance. Then we flushed the radiator backward until it was running clean, with little or no notable flow resistance. Flushed the radiator more, forward and backward. all clear as far as anyone could tell. Reconnect the hoses, top it up, and take it for another test run As expected, it didn't make any notable improvement. The flushing chemical has been soaking for the better part of two days, and must have been doing something, as the drain water came out notably discolored. We flushed the engine backward until the water ran clean, with seemingly no flow resistance. Then we flushed the radiator backward until it was running clean, with little or no notable flow resistance. Flushed the radiator more, forward and backward. all clear as far as anyone could tell. Reconnect the hoses, top it up, and take it for another test run As expected, it didn't make any notable improvement.
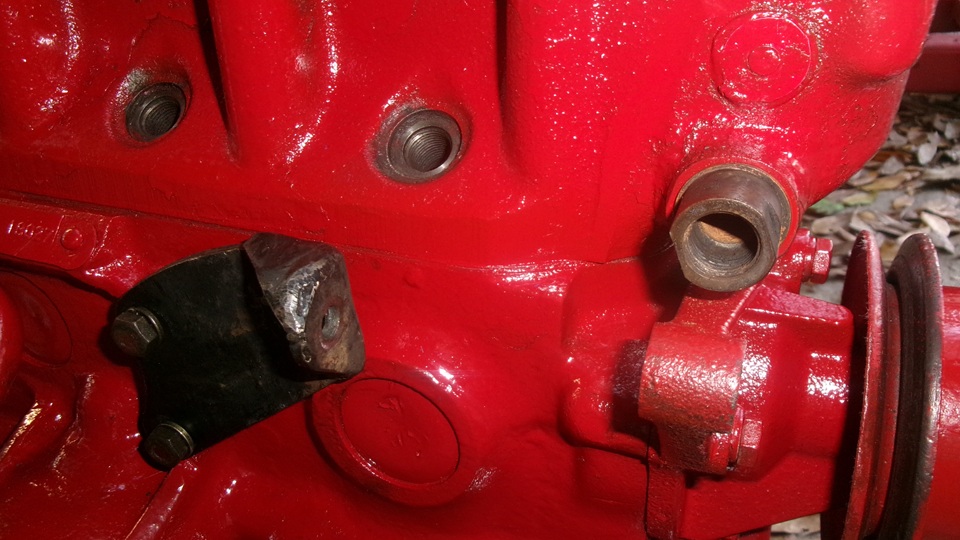
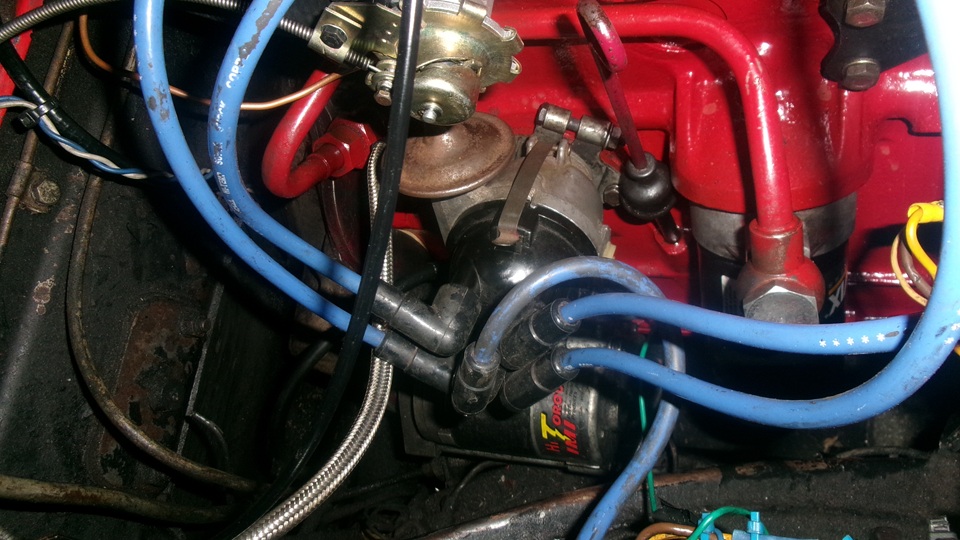
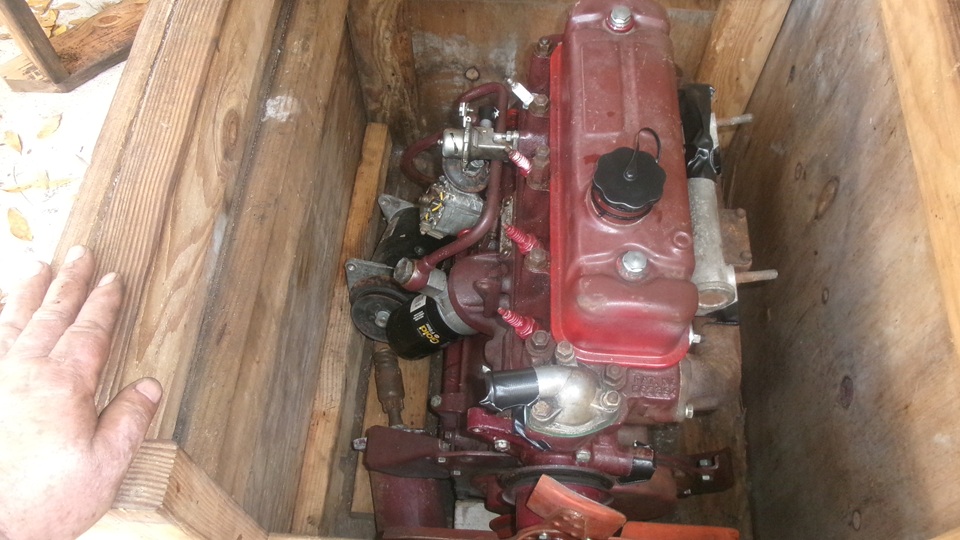
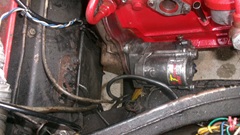
 One more thought. In process of preparing the derelict Magnette engine for us to borrow, we had "repaired" our in-service distributor. The top shaft had been 180 degrees out of place, requiring odd orientation of the distributor drive gear. And the top shaft was rusted/stuck onto the bottom shaft, so the mechanical advance mechanism was not working. We had pulled the top shaft off to free up and oil the interface and put it back together in correct orientation, so the mechanical advance now works. The odd thought is, too many changes all at once, so we lost track of cause and effect. There is a chance that we now have too much spark advance at highway speed. So we jacked it up to get a set-back timing light underneath, intending to set dynamic timing to 32-deg BTDC at road speed. this is when we discovered that our Inova timing light goes wacky with totally random flash output when over 2500 rpm. Sheesh, this is the second one to bite the dirt. I suppose the inductive pickup doesn't like solid core HT wires. We called Jerry (away on business today), and he thinks he has another timing light here somewhere, but can't find it just now, so we will call it a day and will get back to this later. One more thought. In process of preparing the derelict Magnette engine for us to borrow, we had "repaired" our in-service distributor. The top shaft had been 180 degrees out of place, requiring odd orientation of the distributor drive gear. And the top shaft was rusted/stuck onto the bottom shaft, so the mechanical advance mechanism was not working. We had pulled the top shaft off to free up and oil the interface and put it back together in correct orientation, so the mechanical advance now works. The odd thought is, too many changes all at once, so we lost track of cause and effect. There is a chance that we now have too much spark advance at highway speed. So we jacked it up to get a set-back timing light underneath, intending to set dynamic timing to 32-deg BTDC at road speed. this is when we discovered that our Inova timing light goes wacky with totally random flash output when over 2500 rpm. Sheesh, this is the second one to bite the dirt. I suppose the inductive pickup doesn't like solid core HT wires. We called Jerry (away on business today), and he thinks he has another timing light here somewhere, but can't find it just now, so we will call it a day and will get back to this later.
Wednesday, December 17, 2025:
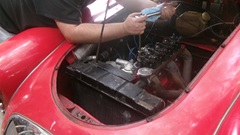
Added two new clubs to the MG Car Clubs USA links list. Treasure Coast British Car Club in Florida, and British Invasion Car Club in Valdosta, Georgia. Then it's engine swap day, time to pull out the loaner Magnette engine out and put the repaired 1800 back in. Drain water, disconnect hoses,and pull out the radiator. First part to swap from Magnette to 1800 is the temperature sender adapter fitting with copper sealing washer.


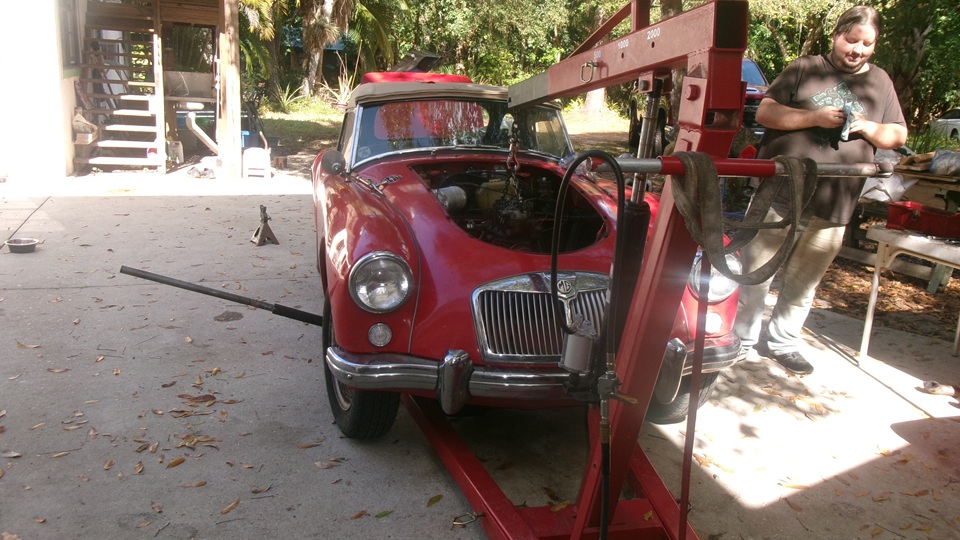
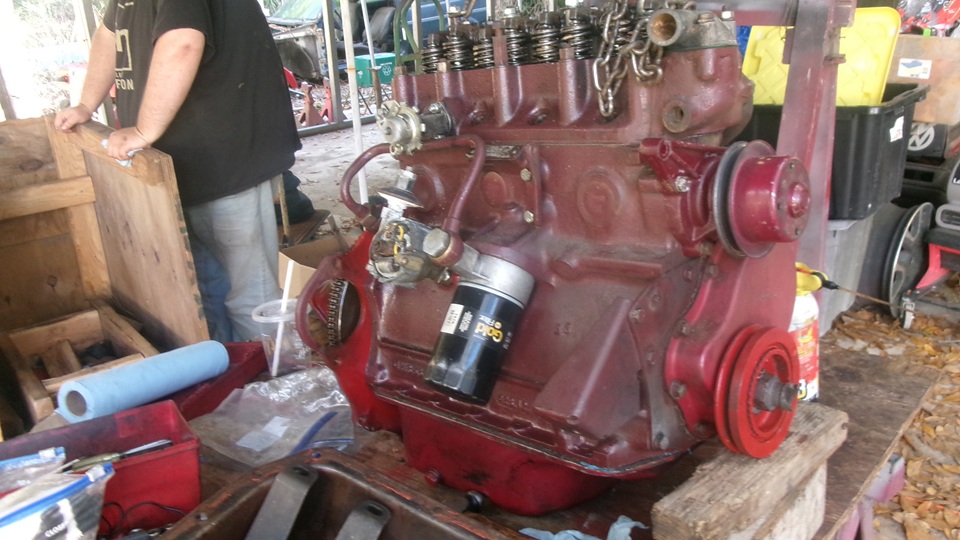
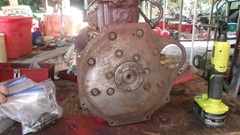
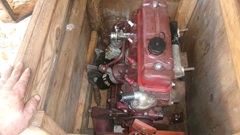
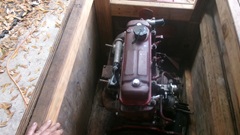
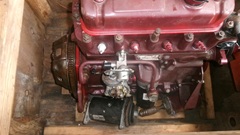
As we are removing carburetors, manifolds, alternator, and other engine peripherals, the next part to transfer to the 1800 is the alternator rear bracket. Remove starter motor,oil filter, engine mount bottom bolts, and start removing bell housing bolts. Attach lifting chain, position hoist, lift engine enough to bring bellhousing up against top of tunnel, and place floor jack with a short 4x4 under the gearbox to hold it there for the duration of engine being out. Remove last few bellhousing bolts, pull and lift and pull and lift until engine is out. Set the Magnette engine on work table, and start pulling more parts to be transferred to the 1800.


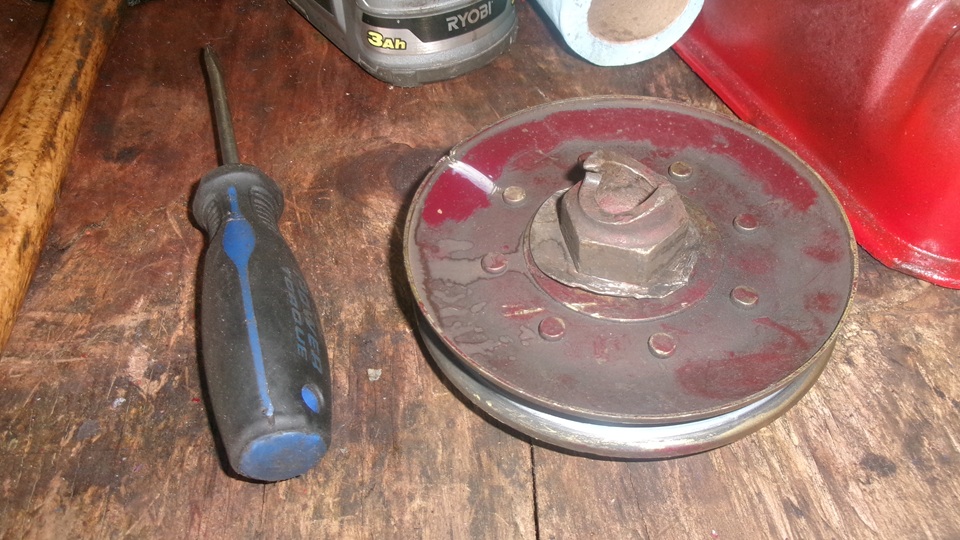
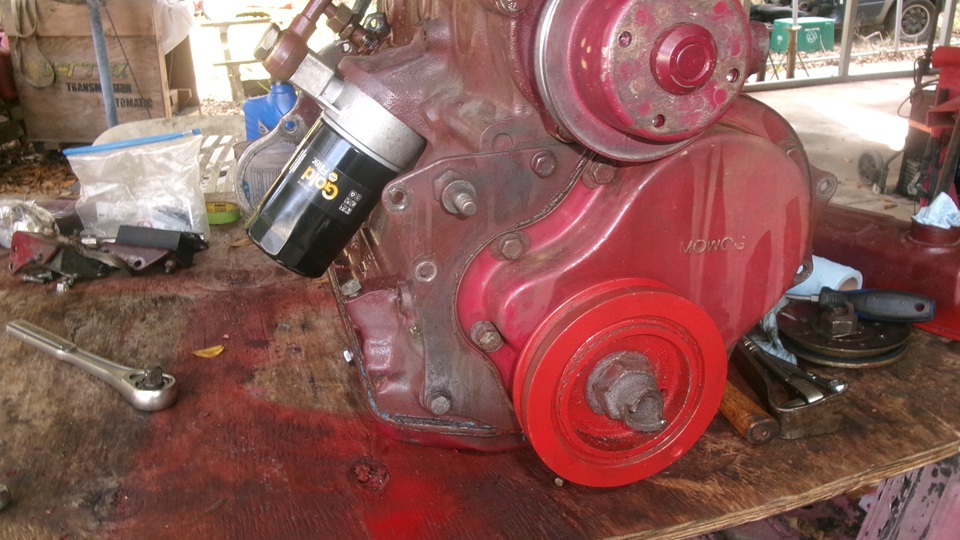
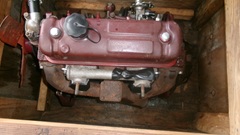
Remove the crank dog nut and nearly new sheet metal crank pulley, Magnette and MGA style. Then remove the temporary placed harmonic damper pulley from the 1800, and stick it on the Magnette engine, in place of the original bent up sheet metal pulley that was removed a couple weeks ago. the damper pulley is now there to temporarily seal up the front of the Magnette engine while it will go back into storage. Put the oil filter back on the Magnette engine, also to seal it up for storage, and strip off the engine mounts that will be needed for the 1800 engine.


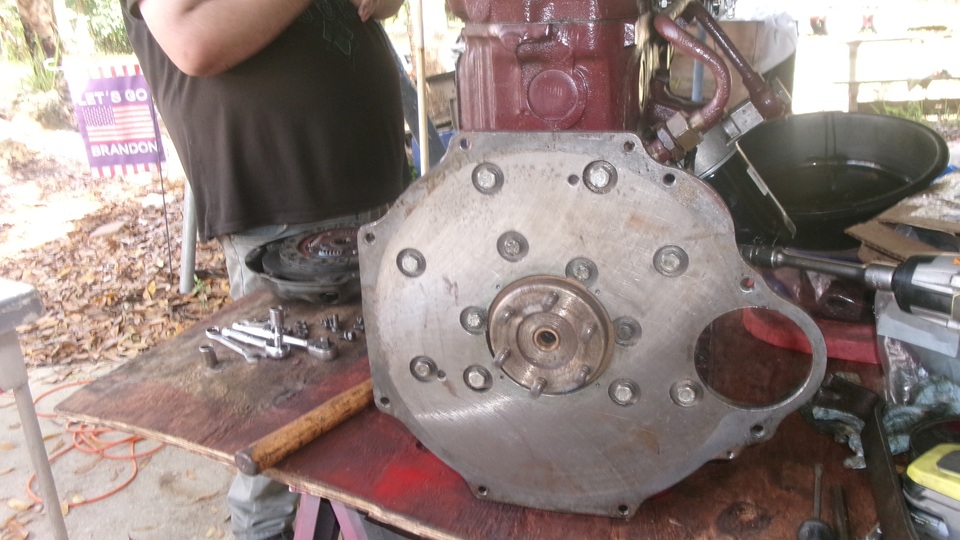
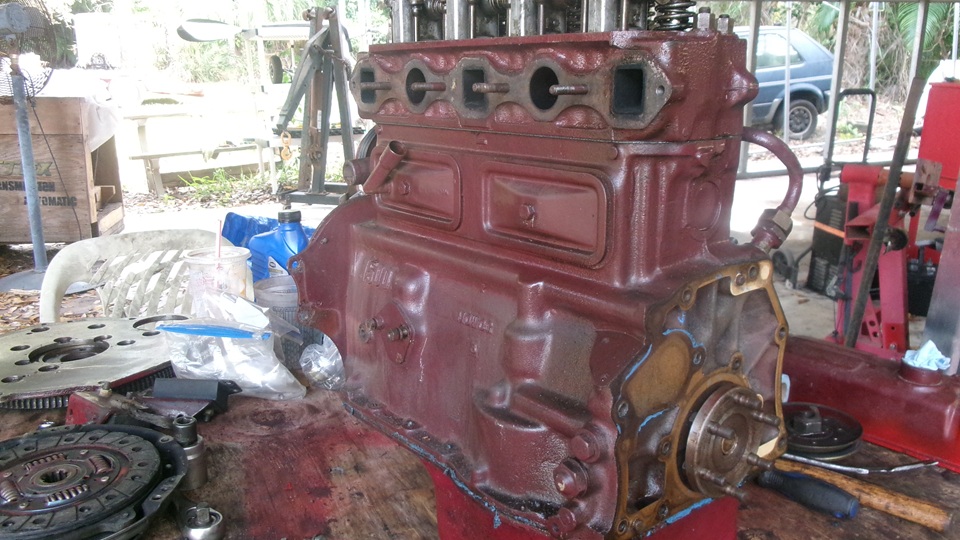
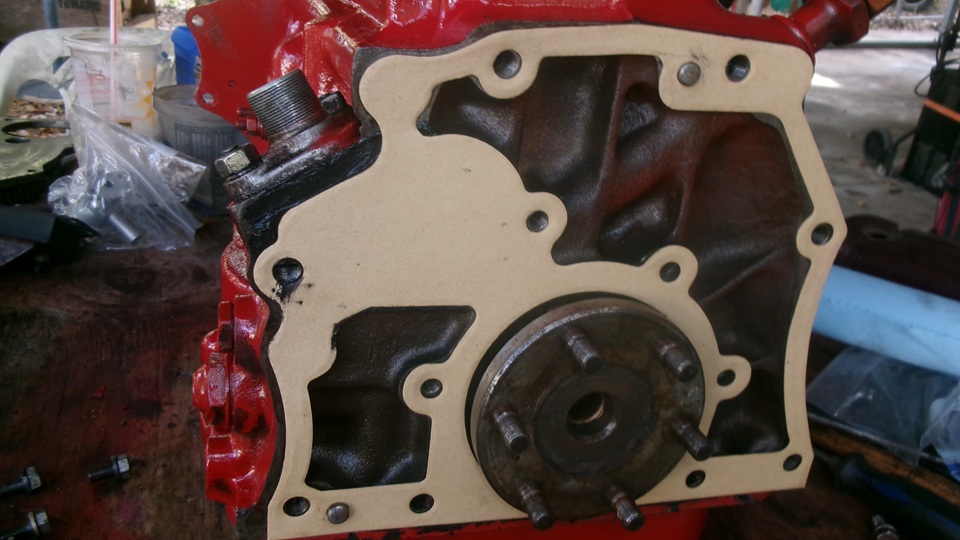
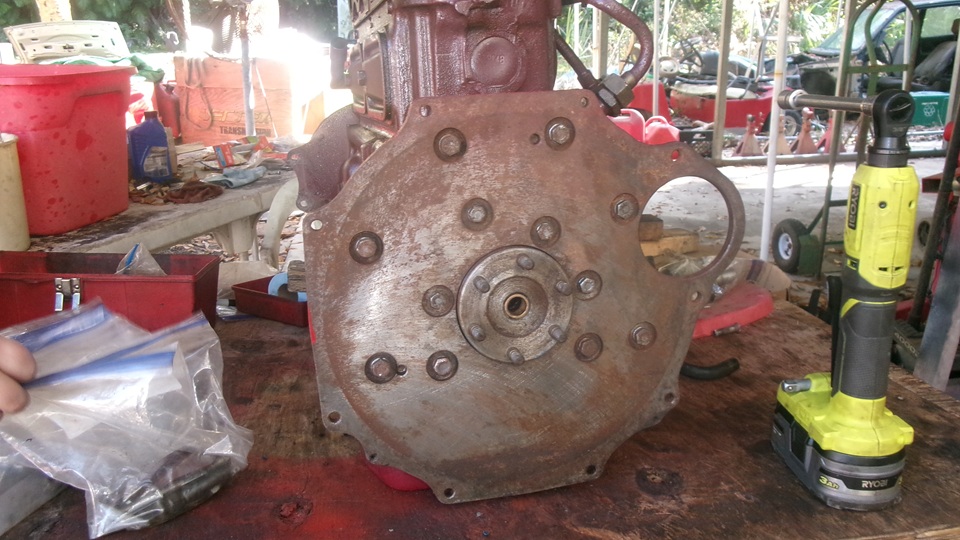
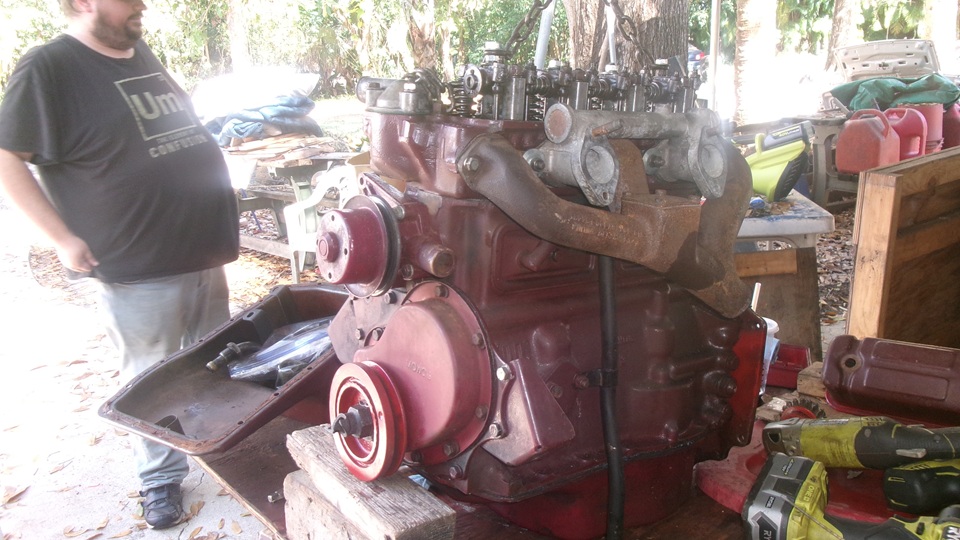
Turn the engine around to remove the MGB style clutch, flywheel, and low starter rear plate (short work with the impact wrench). We also swapped the good manifold gasket to the 1800. Set the Magnette engine down on a rubber mat, and pick up the 1800 engine heading for the work table.


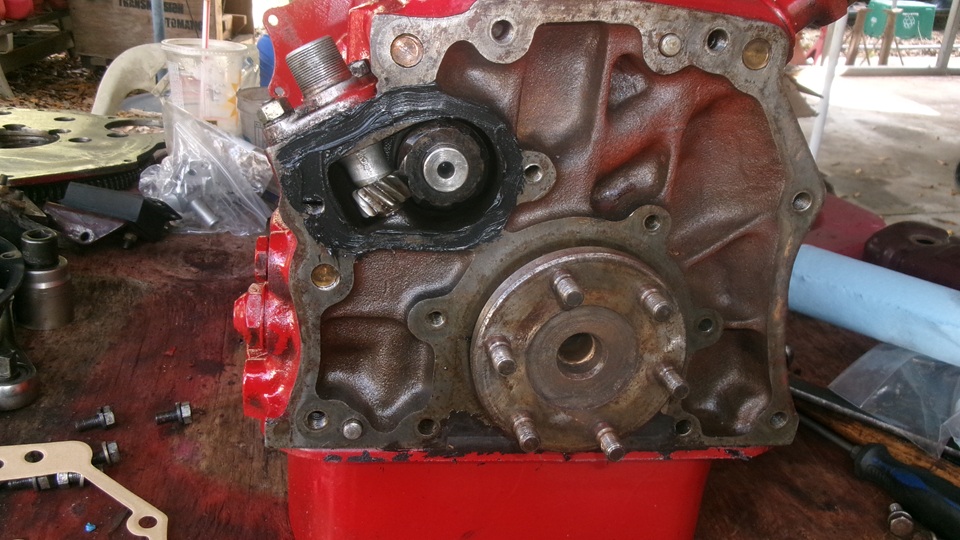
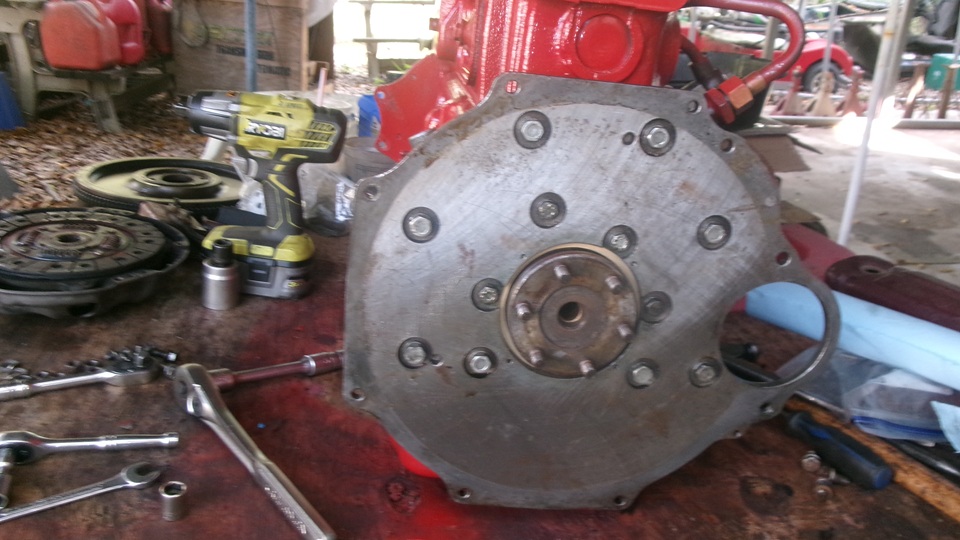
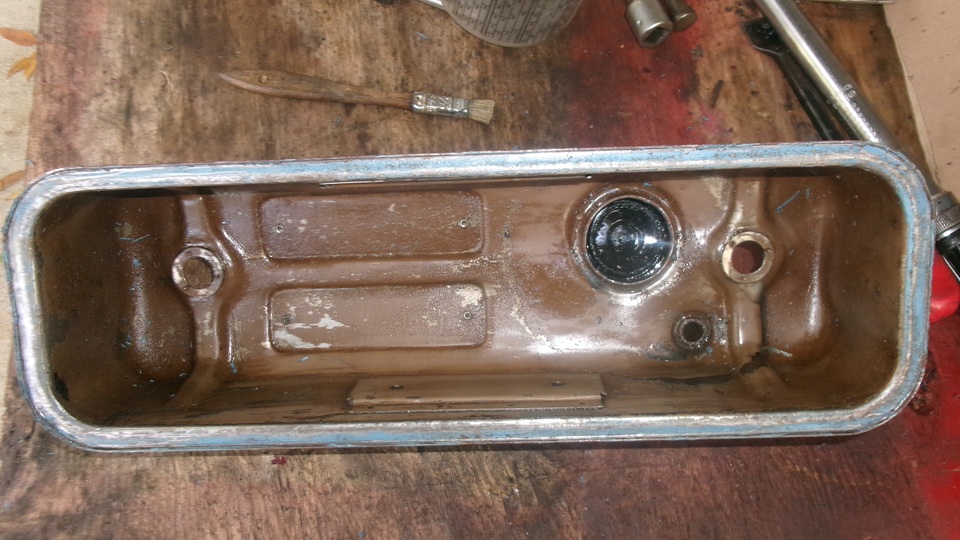
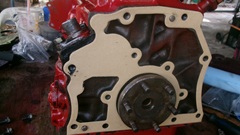
On rear of the 1800, You might notice the joint between engine block and oil pan is nicely sealed with a cork seal and a touch of black stuff RTV. That was done a few days earlier when the Magnette rear plate was used to hold the cork seal in place while the sump was installed. (Sometimes we get creative). Put a touch of gasket sealer round the camshaft and tach drive opening. and install a new paper gasket and the low starter rear plate.


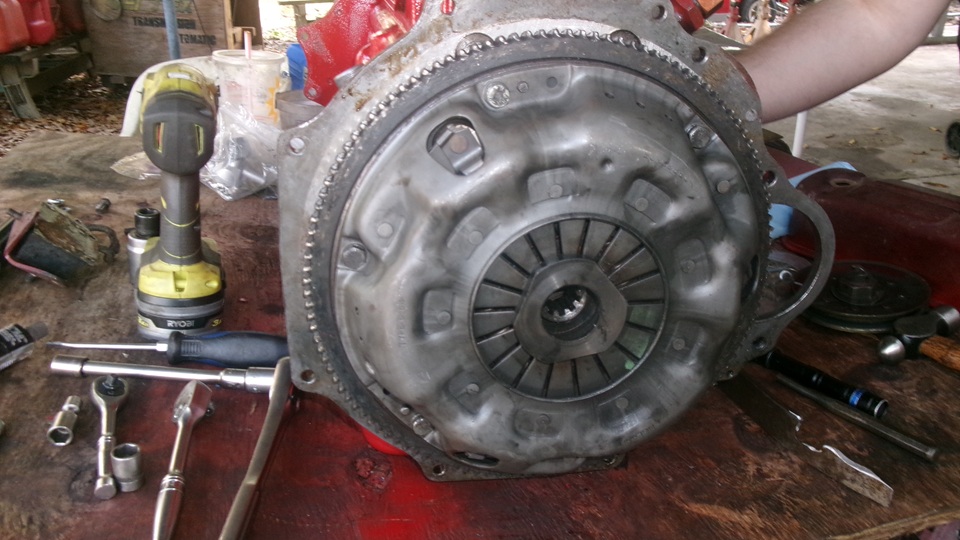
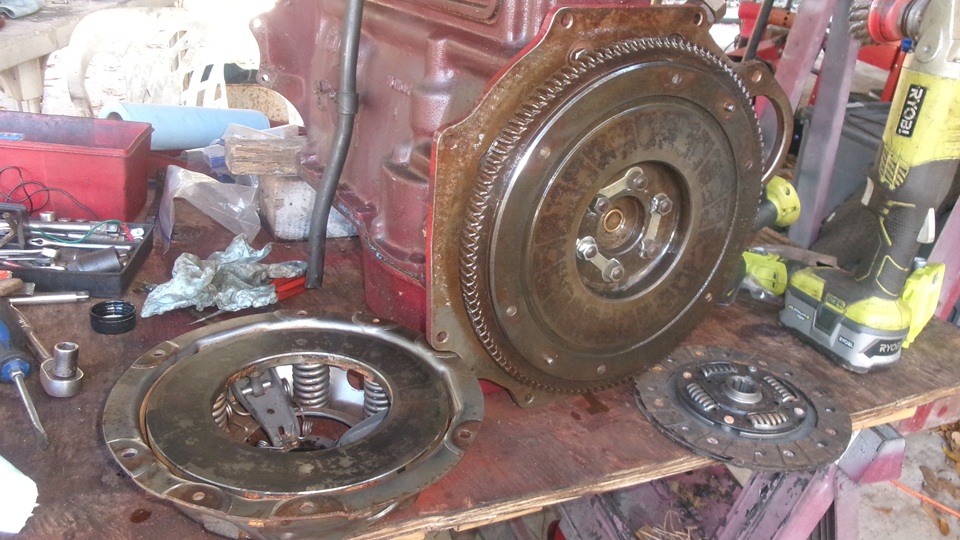
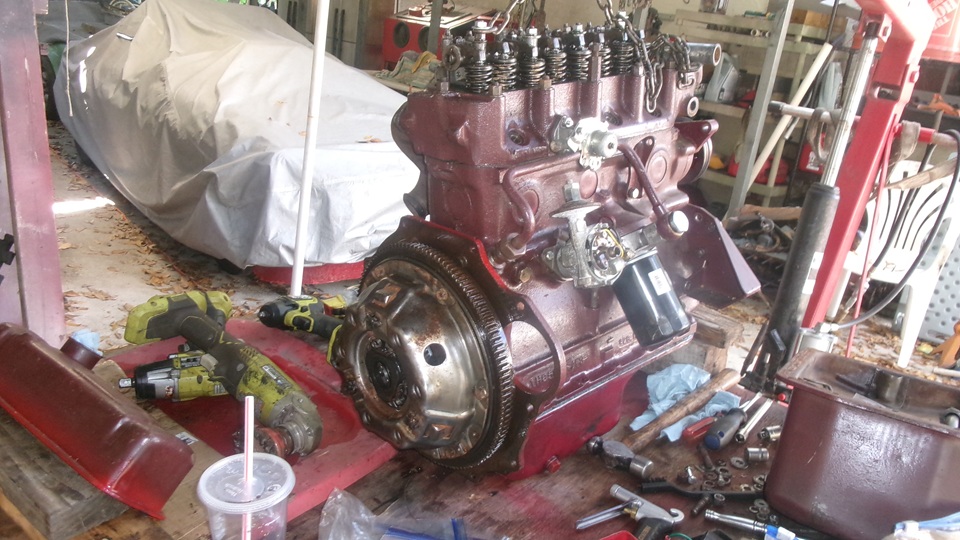
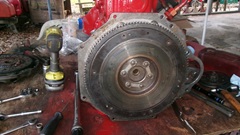
Install early MGB flywheel and clutch pressure plate assembly, with MGA 10-spline clutch disc (yes we did use a clutch alignment tool), and install the front engine mounts.

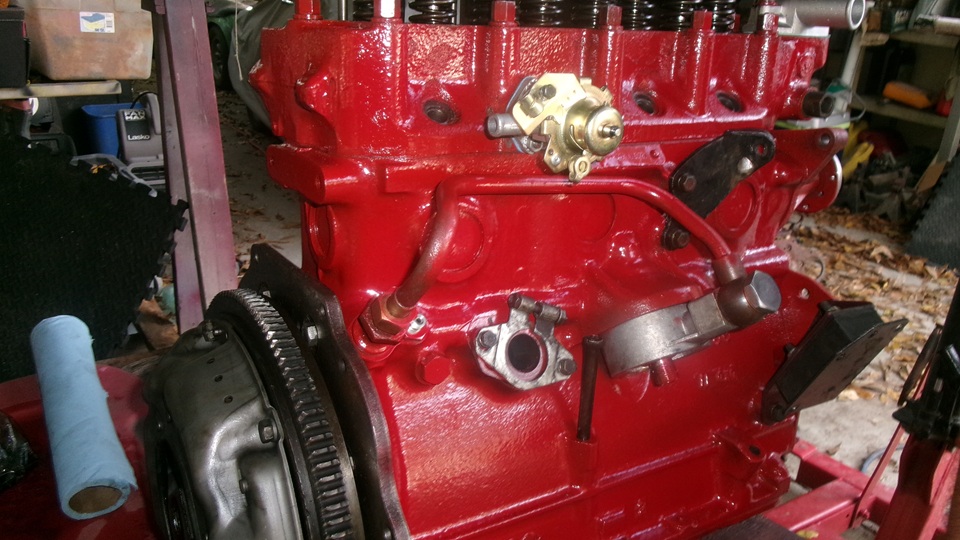
Finish it off with the nice MGA style sheet metal crank pulley and dog nut. Yes I like the thin steel pulley, as it goes past the steering rack much easier than a harmonic damper pulley while we R&R the engine). We had taken the heater valve from
 the 1800 for the temporary Magnette engine, because it didn't have one and we knew ours was good (but they may have limited life). Now we install a new heater valve on the1800, so we can leave a good one on the Magnette engine to keep it sealed when it goes into storage. Also transfer he original dip stick tube from the Magnette engine back to the 1800.
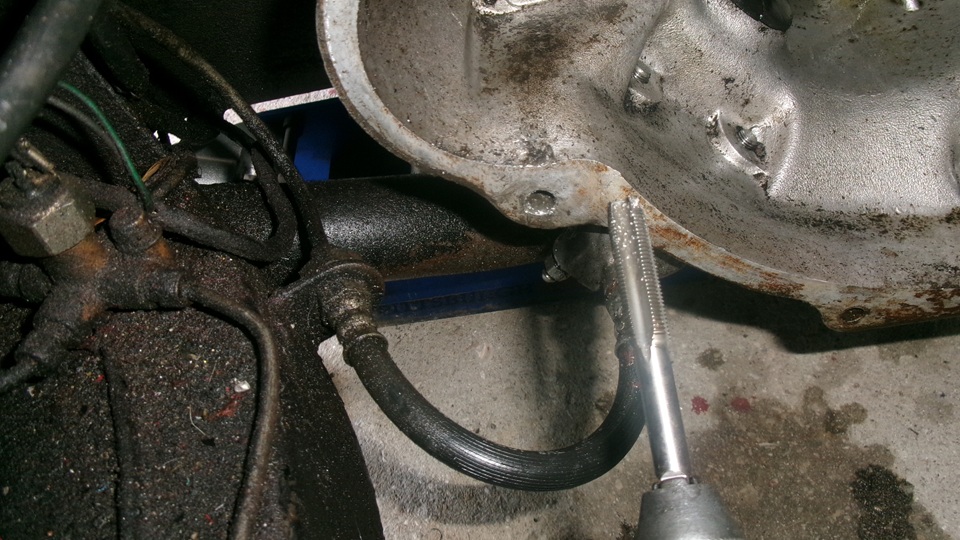
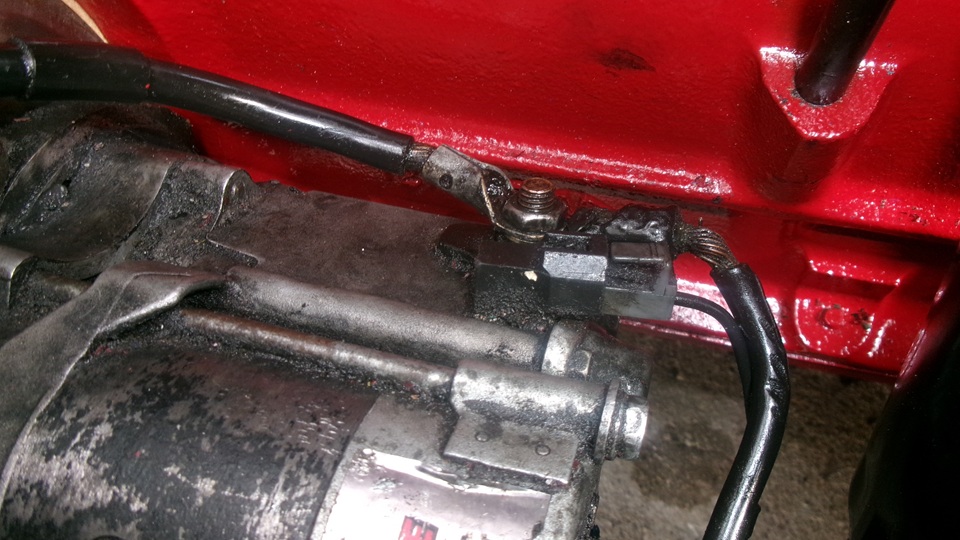
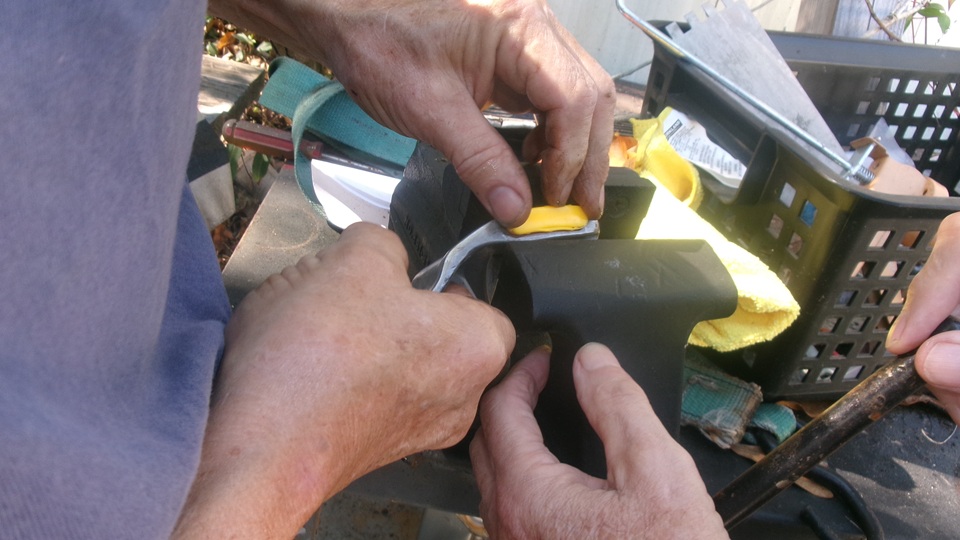
One last thing to fix before stuffing the 1800 back into the car. When we last installed the Magnette engine, we noticed the lower starter bolt was difficult to screw all the way in. When taking the engine out it was even more difficult to remove the bolt. This turned out to be a failed Heli-Coil which was installed back in April (2025) when re rebuilt the current low-starter gearbox. I use I

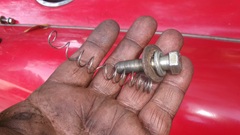 use Heli-Coils a lot, and I can't recall the last time one ever failed. Fortunately we lucked out here. After carefully pulling out he stainless steel diamond shape wire coil, we were able to use the Heli-Coil tap to clean out the thread, and install a new Heli-Coil.
Losing daylight quickly, we did manage to get the 1800 engine set in the car with bellhousing bolts installed tight, and engine mount lower bolts all installed loose. That is just what we had planned for a short day, so happy to stop there for late lunch, and get the photos and notes posted before midnight.
Thursday, December 18, 2025:
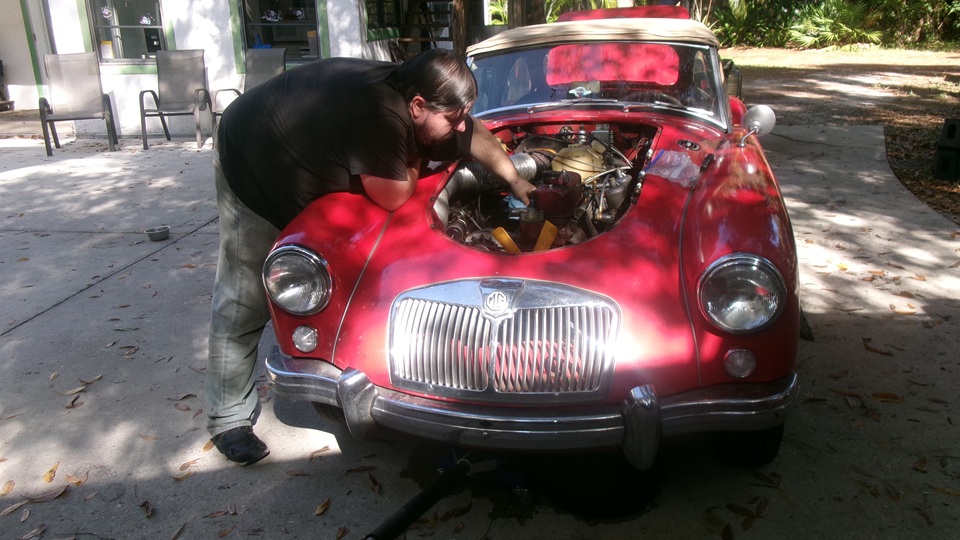
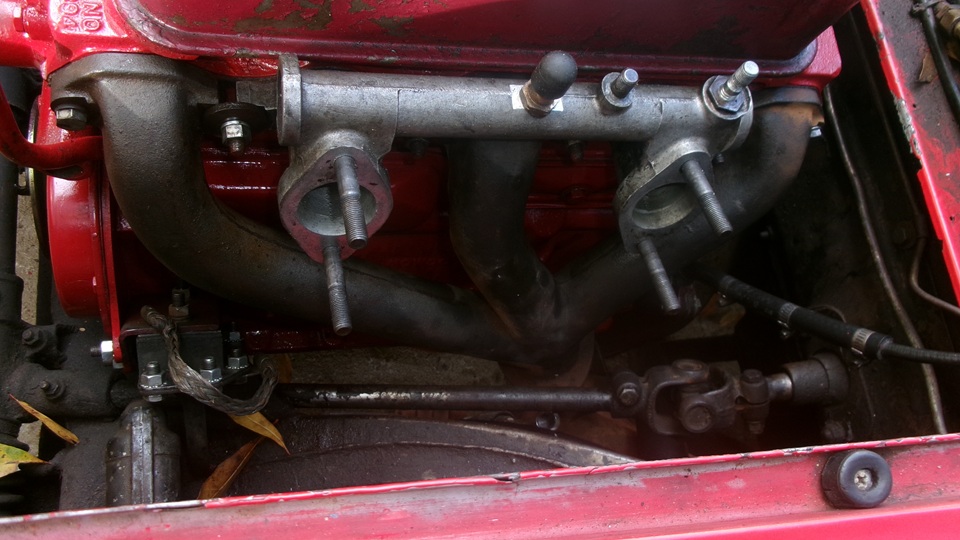
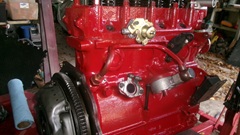
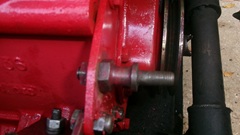
Day two of the engine swap, snatch the generator adjustment link pedestal from the Magnette engine, and put it back on the 1800. Hang the exhaust manifold with one bolt at each end, so we can get on with connecting the exhaust pipe and the brace from pipe to bellhousing. Install the intake manifold, and tighten the six studs. Connect the tachometer cable. Then Elliot was underneath bolting up the exhaust pipe flange to manifold and brace to bellhousing, and tightening the last few bellhousing bolts.


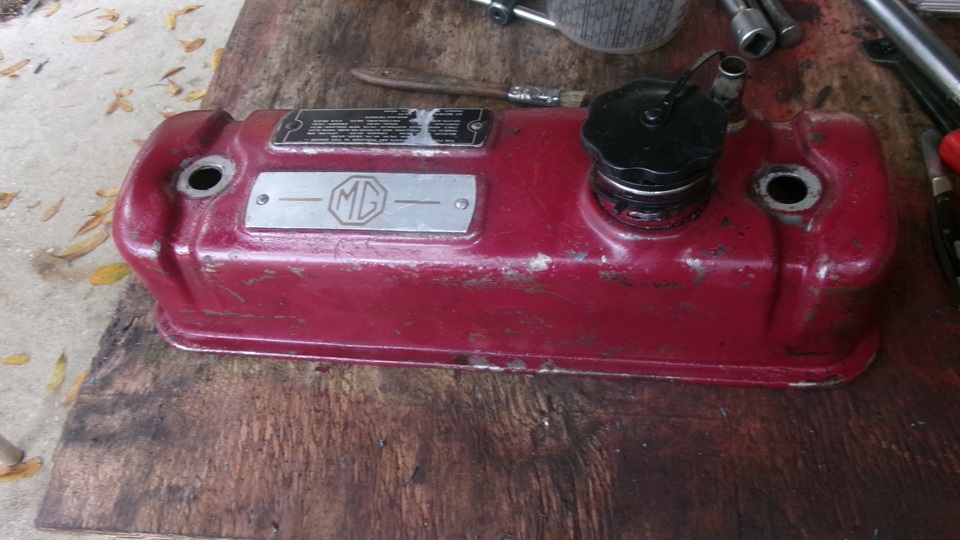
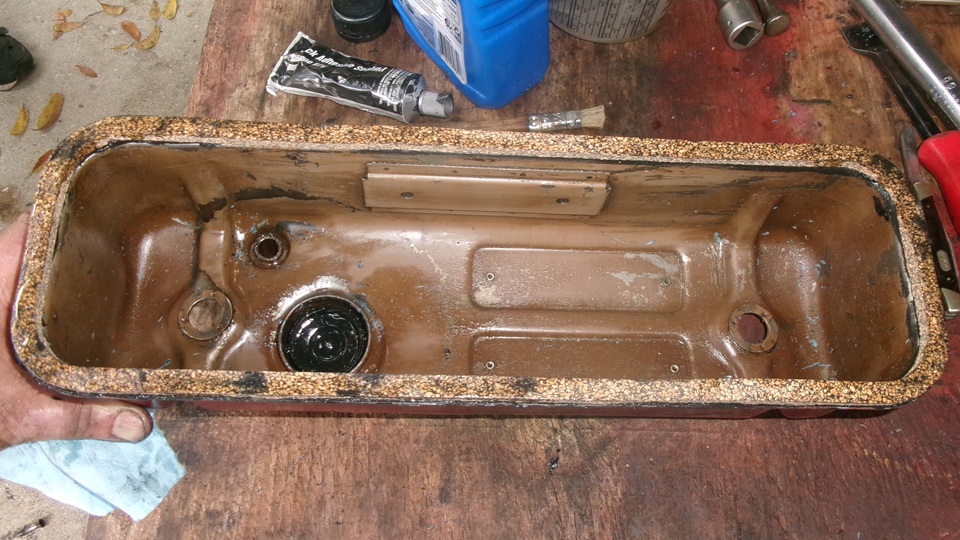
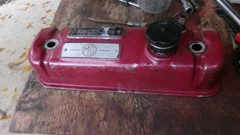
While he was doing that, I was cleaning up the valve cover and installing new cork gasket.

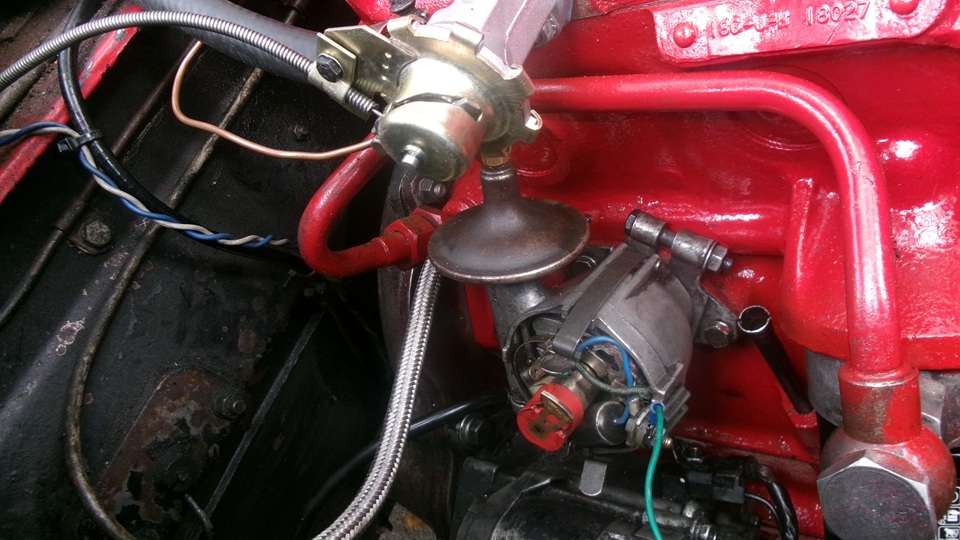
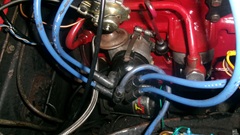
Down on the left side, jack up the right side to install the lower bolt for starter motor, reconnect the cables and trigger wire, and install the distributor.


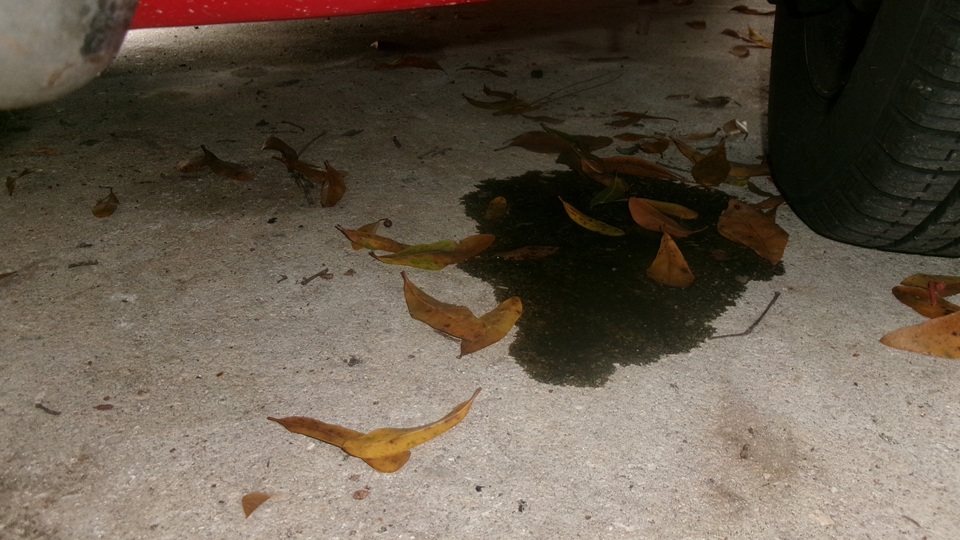
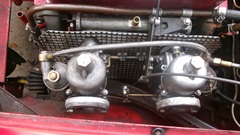
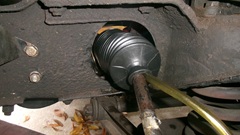
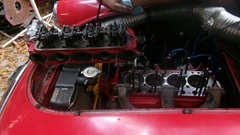
Down on the right side and get on with installing the carburetors and linkages. We are getting better at this, now using tiny "R" clips in place of split pins. Just poke the R-clip into place with long nose pliers, and it's done with far fewer scratched knuckles and less swearing. Change the SU carburetor fuel metering needles back to number 5, as we are now back to the 18GA engine configuration with PCV valve. Installing water pump pulley and fan, alternator and radiator. Oops, notice a puddle of oil just inboard of the LF wheel. That would be another split steering rack seal gaiter, compliments of Moss Motors constantly rotten rubber parts. Will have to change that out soon.

Check tightness of the spin-on oil filter, install 4-1/2 quarts of oil. Spin the engine with spark plugs out, 45 seconds to bring up oil pressure, right on schedule. Plugs in, fill water in the cooling system, connect wires to the alternator, install distributor cap. One
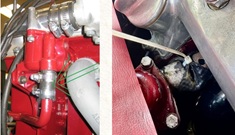
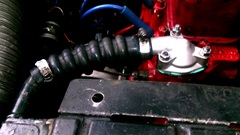 last check, pull starter, pops once or twice. Try more spark advance, and it pops a couple more times. More advance and it balks at turning over. Back off the advance a bit, crank again, and it was running. Set a nice fast idle speed, and Elliot was checking for any leaks as I was fine tuning the carbs. He said. "Hey, check this out". We had drops of water sneaking up around a thermostat stud to leak from the threads on one of the top nuts. Okay, just fix it now. Remove top hose and thermostat cover, and extract three studs. Reinstall studs with thread sealer on the bottom end, as two of those studs go through into the water jacket. Back together with a fresh gasket, and I think we're in business.
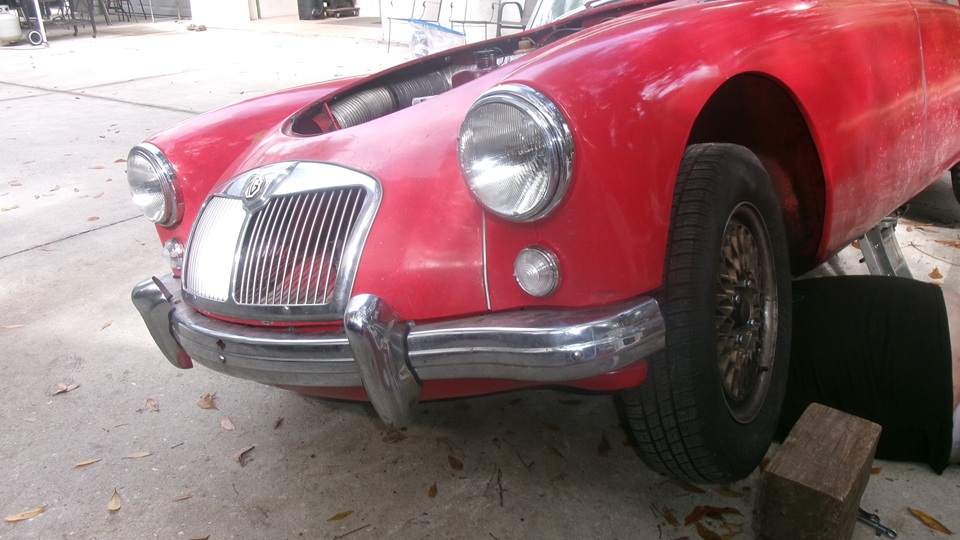
 Reinstall the bonnet, quickly with the thumb screws. Getting dark fast, so clean up and pack up. We will be back tomorrow to clean up some more. Just five miles to our WiFi spot, and the temperature was notably climbing too much, as it was with the Magnette engine. Yeah, pretty sure it's a wacky distributor. We must have screwed it up while trying to fix the frozen meachanical advance weights. As noted before, too many changes at one time. We haven't been able to find any used distributor that wasn't badly worn out or frozen or having parts missing. Maybe it's time to buy a new one (like anyone might actually make quality distributor these days) or have one rebuilt like new. Come to think of it, we need two, so we can carry one in the Magic Trailer for backup.
Friday, December 19, 2025:

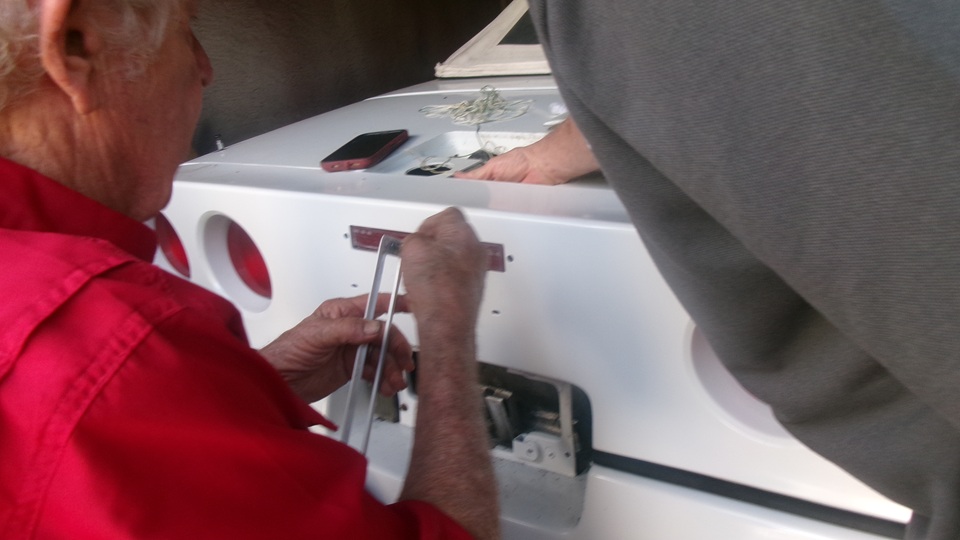
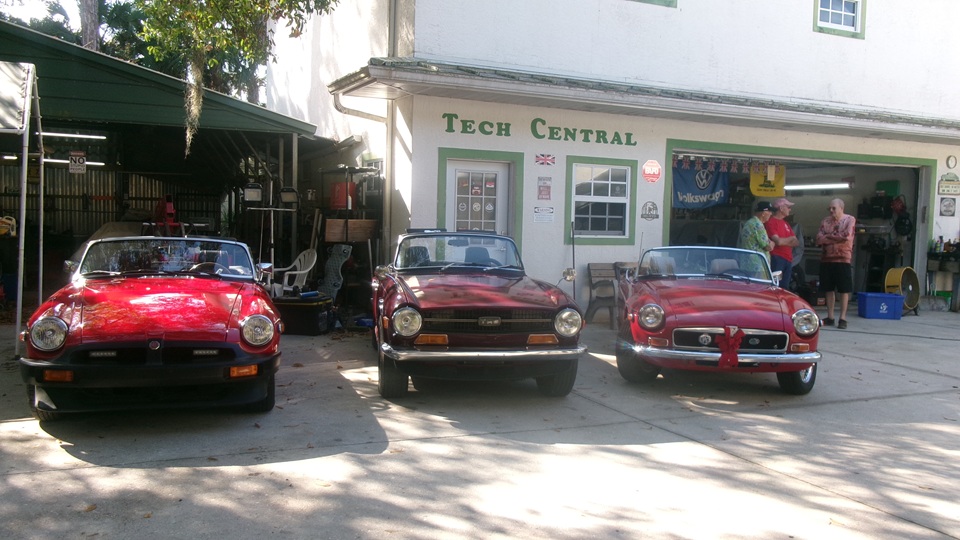
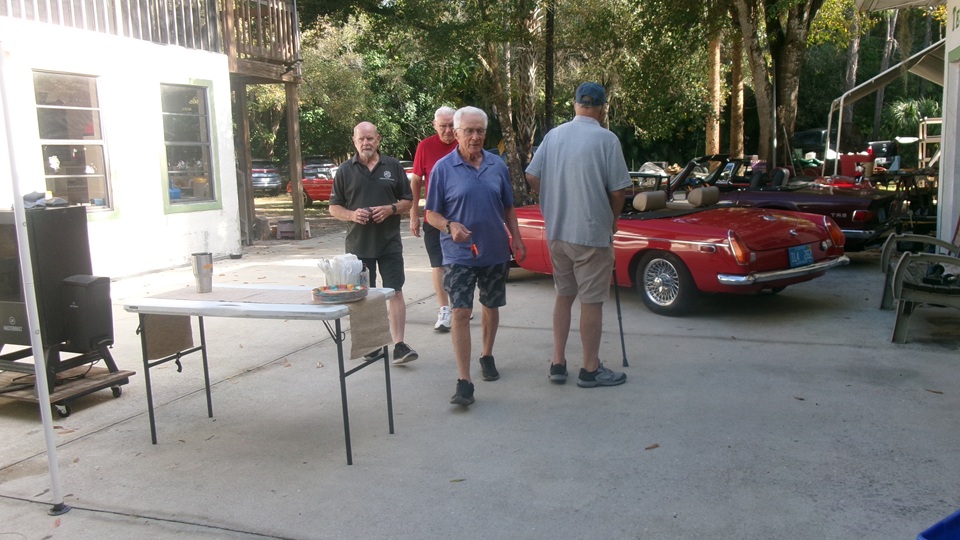
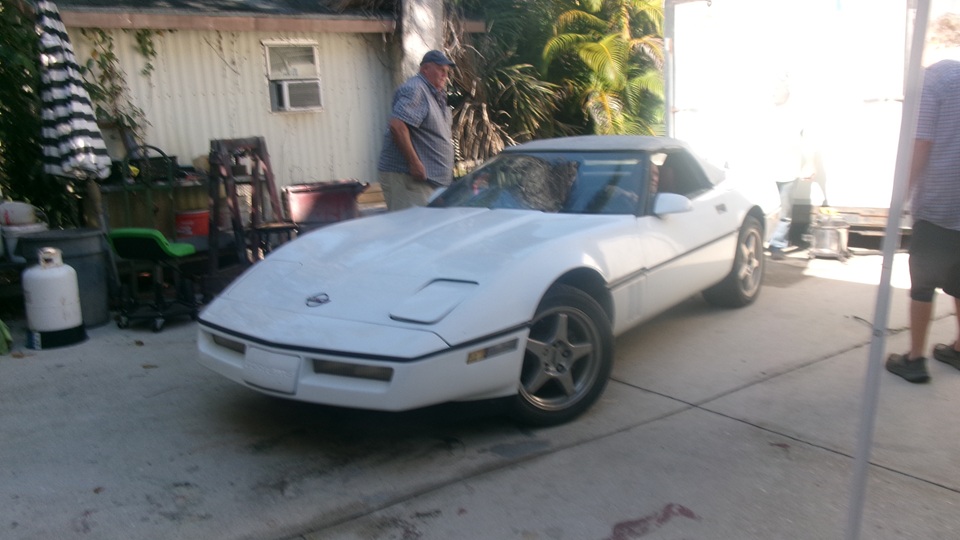
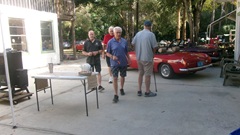
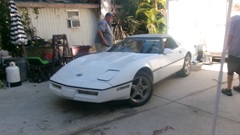
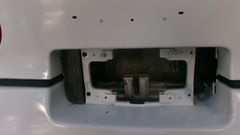
This would normally be tech Friday at Tech Central Racing, but being the last Friday before Christmas, this is their annual Christmas dinner party. Cars are rolling in by 10-am, couple hours to socialize before lunch. There was a little tech going on as the guys were installing the third brake light assembly on the Corvette that just had its plastic bumpers touched up. There was that fiberglass bodied Toyota (with four steel doors), about 100 produced in a retro styling exercise.


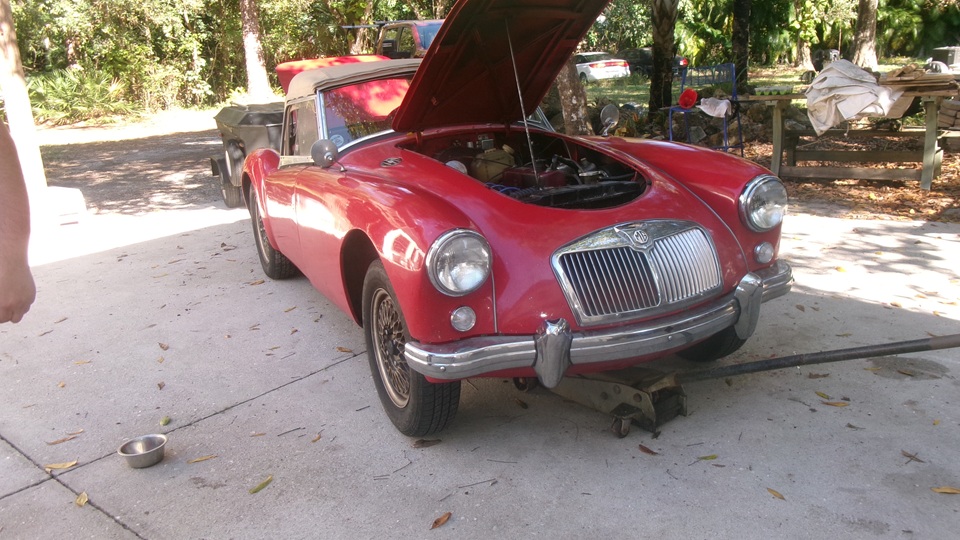
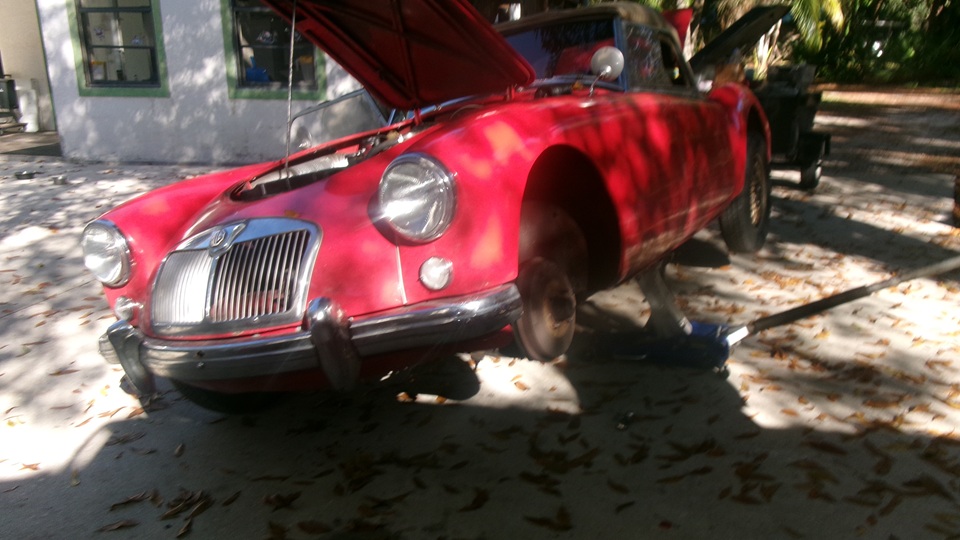
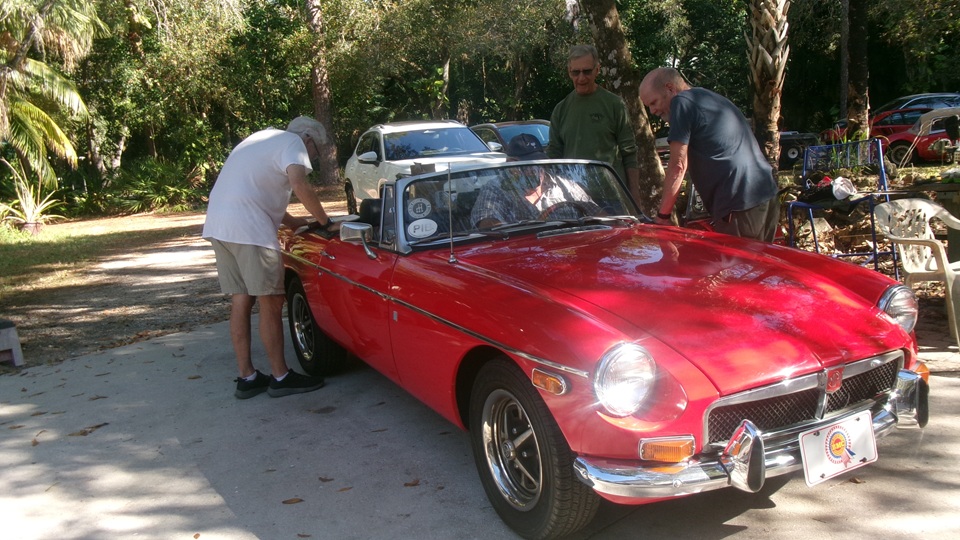
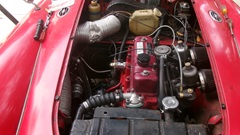
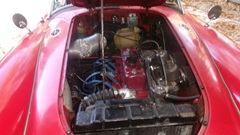
Our MGA is doing okay with the repaired 1800 engine with the replacement crankshaft, as the borrowed Magnette engine is now sitting on the side. We had chat with the fellow who donated the Magnette engine for our temporary use, discussing the form it would be in as we would now be reassembling the attachments before storing it again. Well stuffed, take the rest of the day off.


Saturday, December 20, 2025:
Via phone calls and email messages, I have ordered up a new (rebuilt) distributor, hopefully custom tailored to my specific engine configuration. That may take up to two weeks for delivery. Meanwhile, yesterday I picked up a used distributor in pretty good condition from Tech Central. Today we replaced few missing fasteners to get it into serviceable condition, got it installed in the car. When it didn't start right away, we installed a new condenser, after which it was coaxed into running. We have only driven it few miles, but so far it seems to work okay.
Sunday, December 21, 2025:
the car seems to be running more or less normally with the change of distributor, so we can get on to something else. Today we will be reassembling peripheral parts to the Magnette engine, and get it back into storage. Pick it up from the floor, get it on the work table, and bolt on the rear plate. One quick measurement and a computer check to verify that the Magnette uses the same rear plate as MGA after January 1959, with the high starter position.
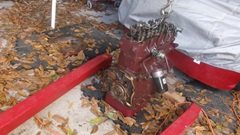
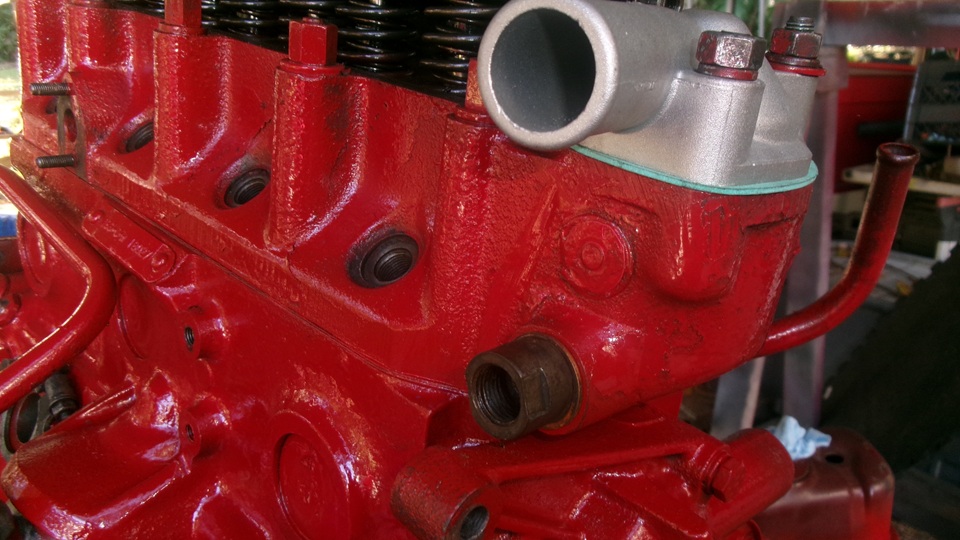
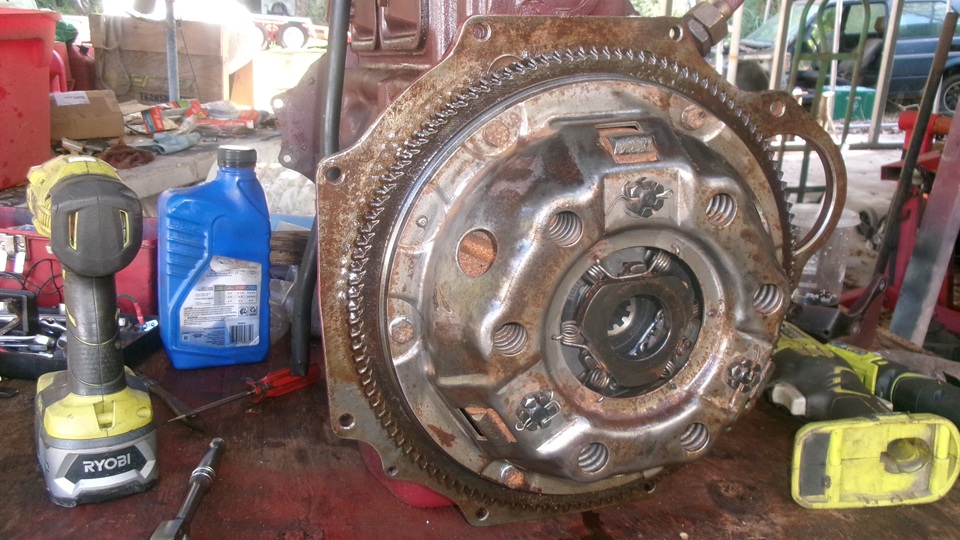
I spent some time with a wire cup wheel on an angle grinder buffing rust and dirt off of the rear plate, both sides of the flywheel and the ring gear, and accessible parts of the clutch pressure plate assembly. We gave them a generous coating of oil to reduce corrosion during storage, wiped oil off of the friction surfaces, and assembled it with the dry friction disc inside. Since we will leave this engine in MGA configuration (9for now), we collected the left over Magnette engine parts, just in case anyone may ever want to convert it back to Magnette configuration. This includes the Magnette oil pan, oil pump. pickup pipe, sump screen, and the bracket that holds it all in place. We tossed out the old timing cover with felt seal, because we had installed a new timing cover with rubber seal. This collection would be placed in the storage box with the complete engine.


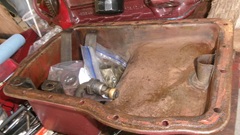
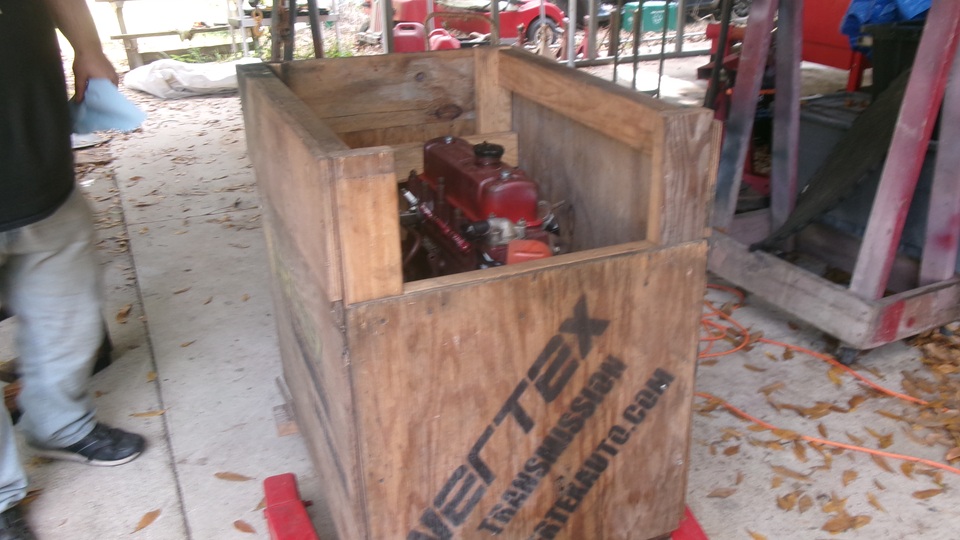
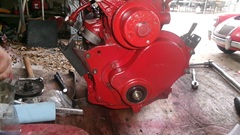
We had already reinstalled the oil filter to keep it sealed up, and oil was still in the sump. We installed the old distributor, originally from the Magnette, again to keep it sealed up. Leave the heater valve on it, install the generator rear bracket and water pump pulley. We did later find the two-piece Magnette steel fan blade and screw it into place with the pulley. Install the Magnette draft pipe plus intake and exhaust manifolds, and the original Magnette engine mounts, just to keep everything bolted together so nothing gets lost. Notice the old Magnette sump with oil supply parts close at hand. Another look around to be sure, at this point it looks like it is ready for hibernation. We covered intakle ports with Duck Tape and squirted some WD40 into the cylinders before installing spark plugs to seal it up.


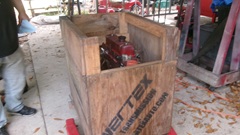
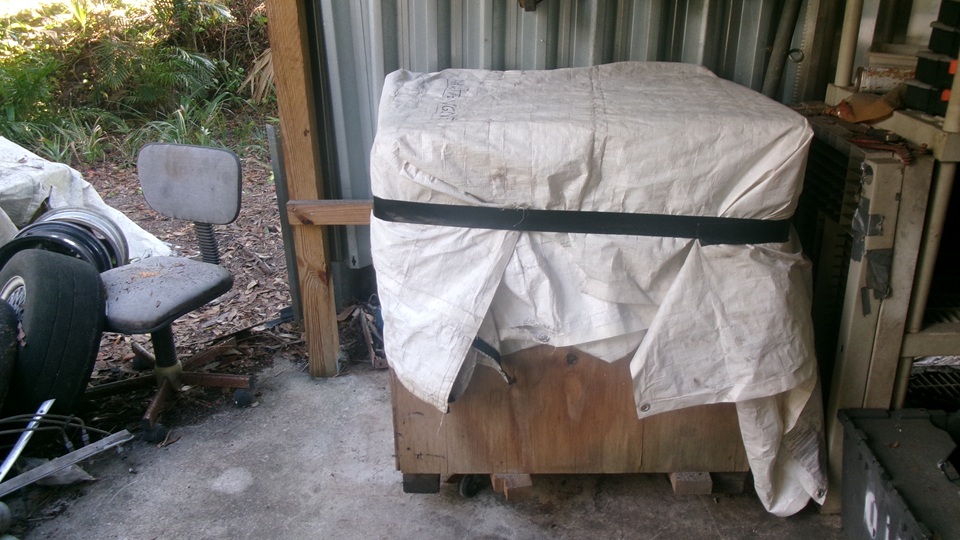
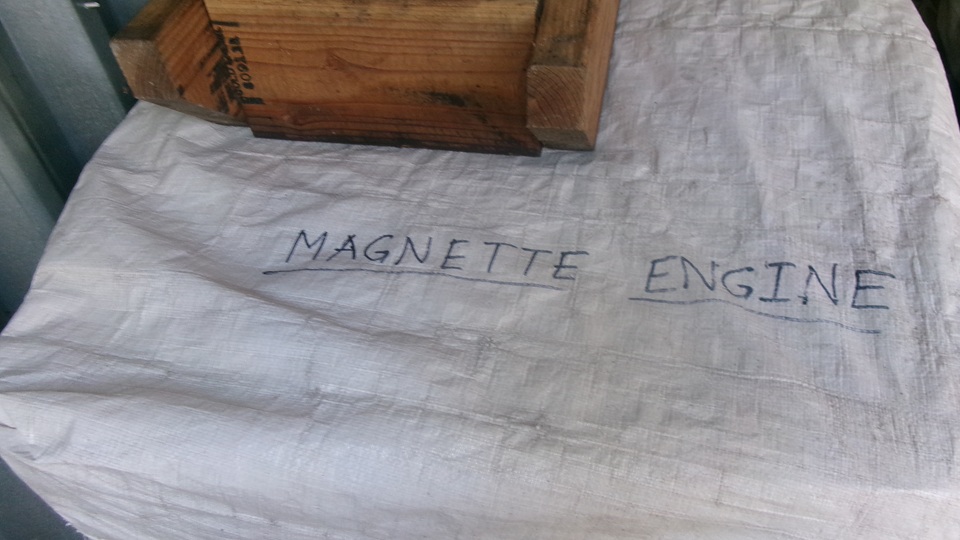
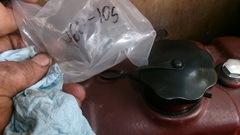 Install the valve cover with a new plastic oil filler cap to seal it up. Then we set it into the box, with the extra sump and related oil supply parts, starter motor and generator. I swear,this feels like sealing the passed Pharaoh into the sarcophagus for burial. Do not tip. The engine is just sitting loose on the roller pallet.

Final note for the day, this is my favorite day of the whole year, Winter Solstice. I call it upside down hump day, the shortest day of the year. From this day on, we look forward to longer days, less Seasonal Affective Disorder.
Monday, December 22, 2025:
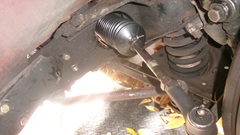
First chore for the day was to install a new steering rack gaiter, which seemed easy enough, but got more involved with end clamps that do not fit into the grooves on the boot.The new boot was supposed to be a good quality part, ordered from Scarborough Fair, but a new pair of these boots turned out to be the same crap parts we have been getting from Moss Motors for the past several years, Moss parts re-tagged with S/F part numbers. Bummer. But now we have to install these crap parts again. Thin vinyl material with too many bellows that you can almost tear with your fingers during installation. And of course they won't last long, so we can look forward to doing this again soon.

 Jack it up, unscrew the tie rod from the rod end, 18 turns counted. Remove the broken boot, install a new one, screw the tie rod back together 18 turns. Pry open the small end of the boot, insert a small plastic tube, pump in 8-ounces of gear oil, reinstall the small end clamp. Done, put the wheel back on.
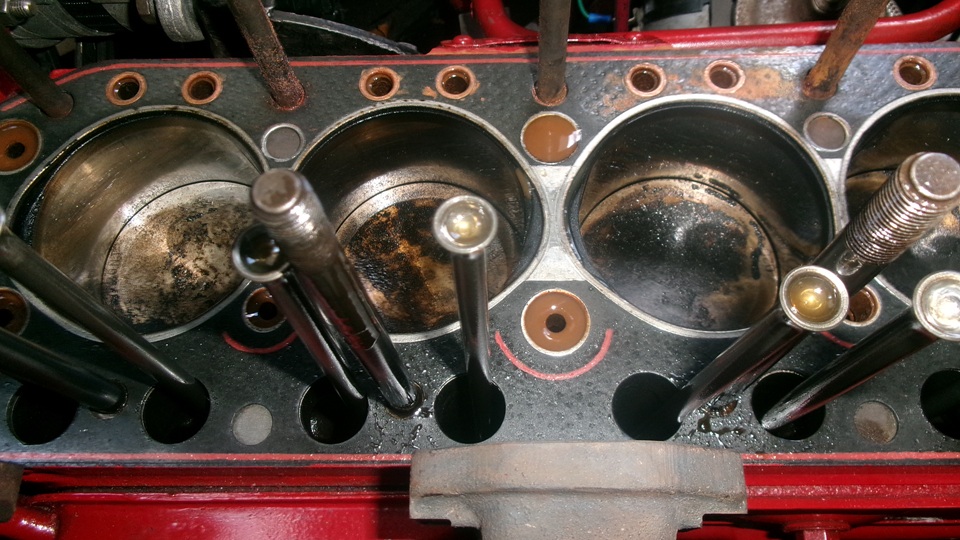
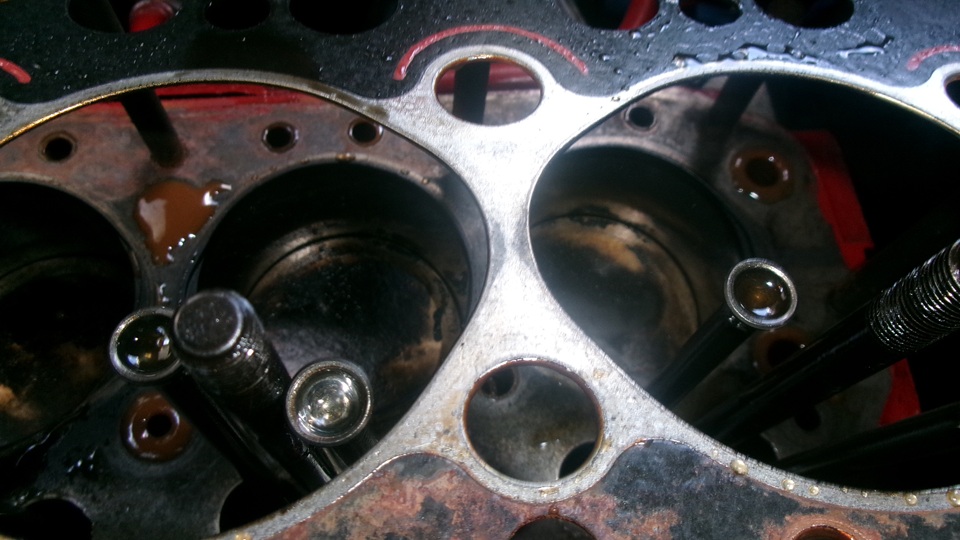
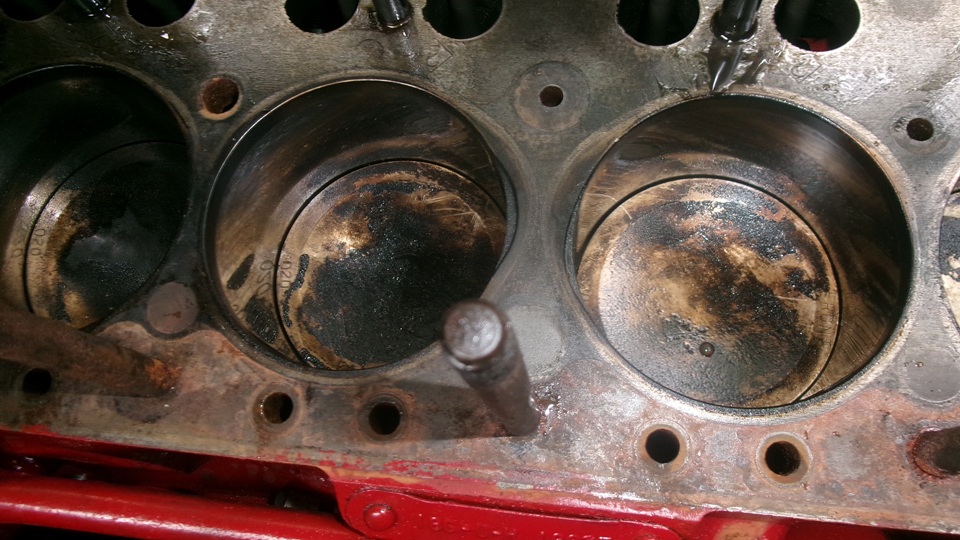
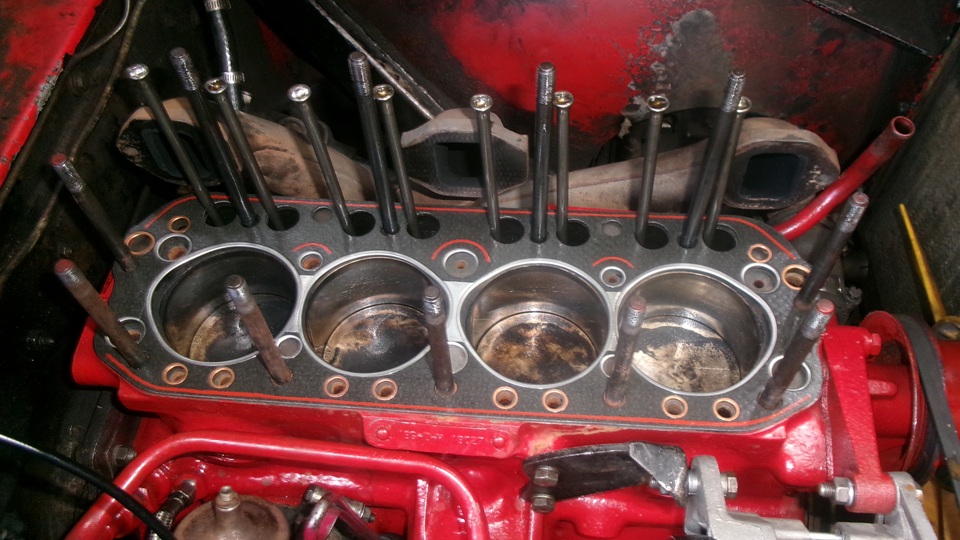
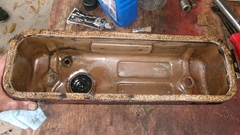
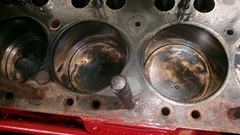
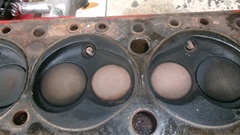
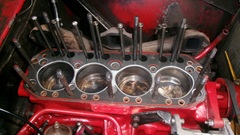
 The next task is to replace a head gasket, again, because of low compression on #2 & #3 cylinders (compression test 150, 120, 120, 150). Don't know why it's low, but we have to take a look. Having removed the head, we don't immediately see anything wrong with the head gasket. Grab a straight edge and put a bright flashlight behind it. Rats, a small amount of light underneath. The space is less than a thin sheet of paper, not more than 0.002-inch, but it looks like a space like that on both the cylinder head and the engine block, so it must be leaking there to give identical low pressure reading on the adjacent cylinders.
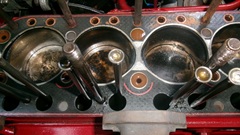

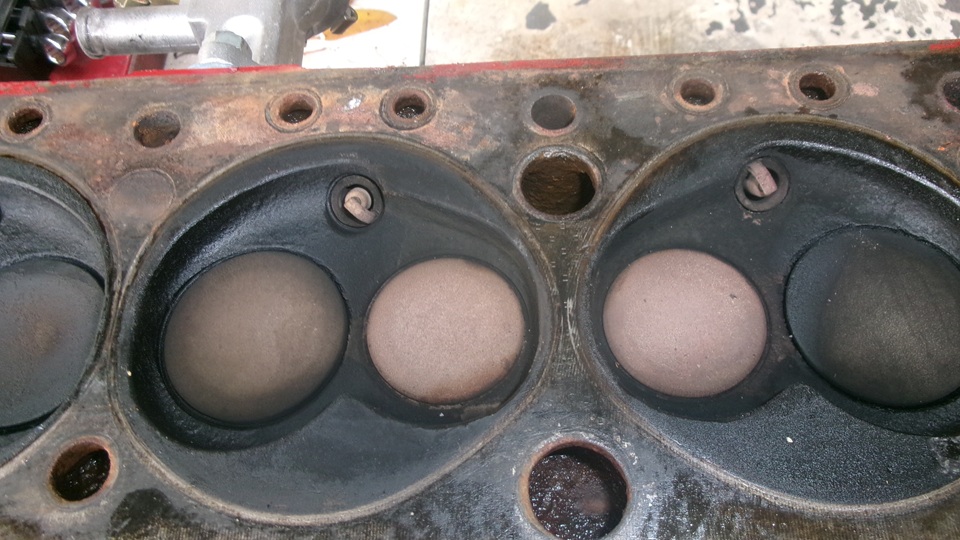
We set the cylinder head upside down and poured water into all four chambers. After a few minutes wait, nothing drained out of the ports, not a drop, so the valves are not leaking. Last service of the head is when it had new hardened exhaust seats and all new valves in August, 2022. The 1800 block was rebored with new pistons in November/December 2024, and it has been serving well since, until the recently broken crankshaft.

 Okay, clean it up and put it back together with a new head gasket, and give us some time to think about it. I don't like what I'm thinking right now. Something about putting the Magnette engine back in it while we tear the 1800 apart to have the block and head resurfaced? Luckily no rush at this time. Too bad we didn't know about this a week ago.
Tuesday, December 23, 2025:
Day off to think about the future. I hate holidays, as there is great reduction of car related activities, and the vendor shops are closed a lot. Looks like it will be hard to order car parts for the next couple of weeks. We may likely lay low until after the new year.
Wednesday, December 24, 2025:
What I do on day off, furthering my education. I read or watch videos or do some research, whatever catches my interest. Today I spent time on Sir Joseph Whitworth, precision measuring, thread standards, interchangeable parts, electrical standards and instruments. I've been involved with this stuff since my student days in the late 60's, including a full career as a mechanical engineer in machine design and consulting, but we can still learn something new every day.
Thursday, December 25, 2025:
Merry Christmas to all.
Friday, December 26, 2025:
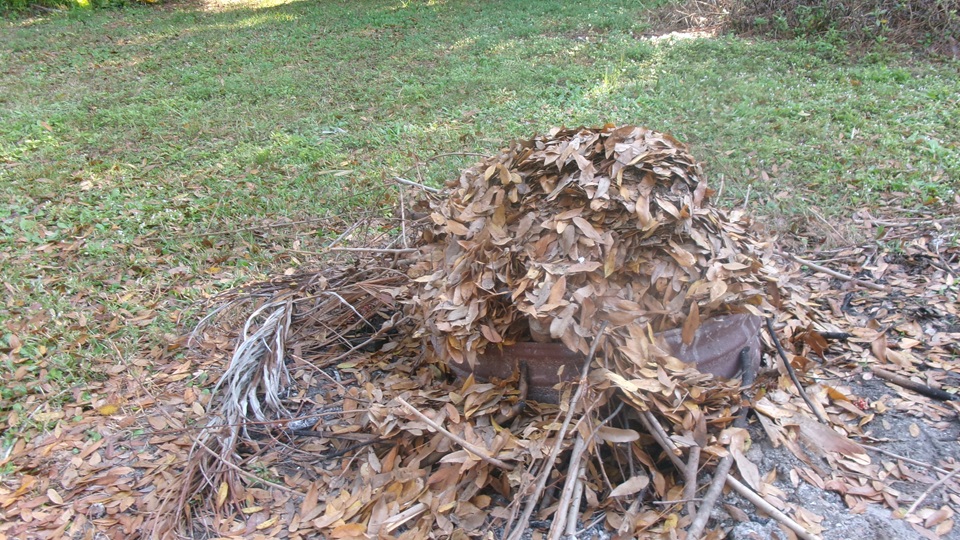
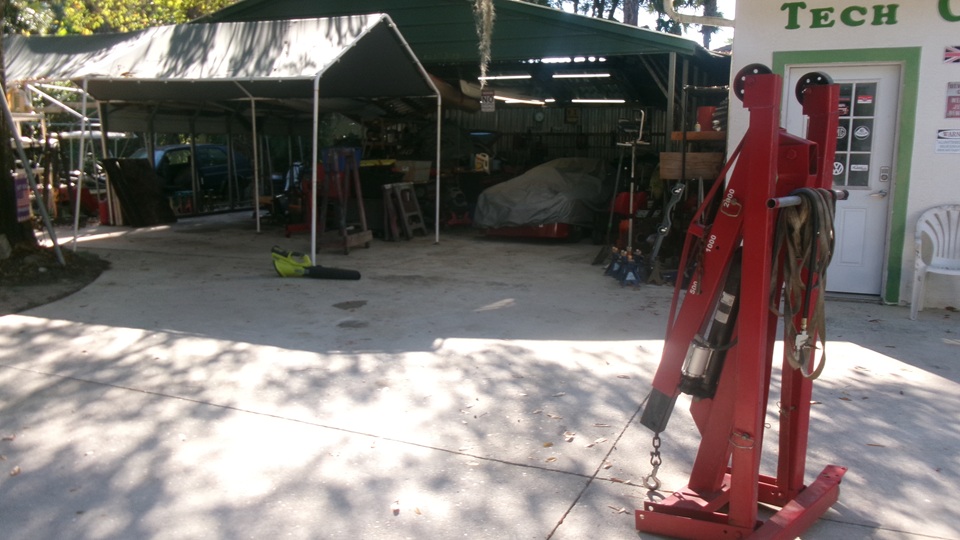
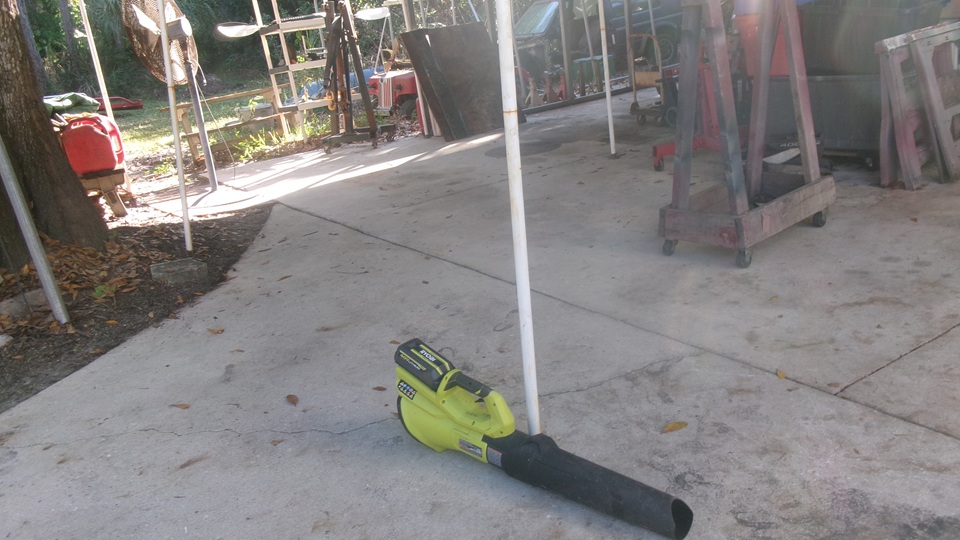
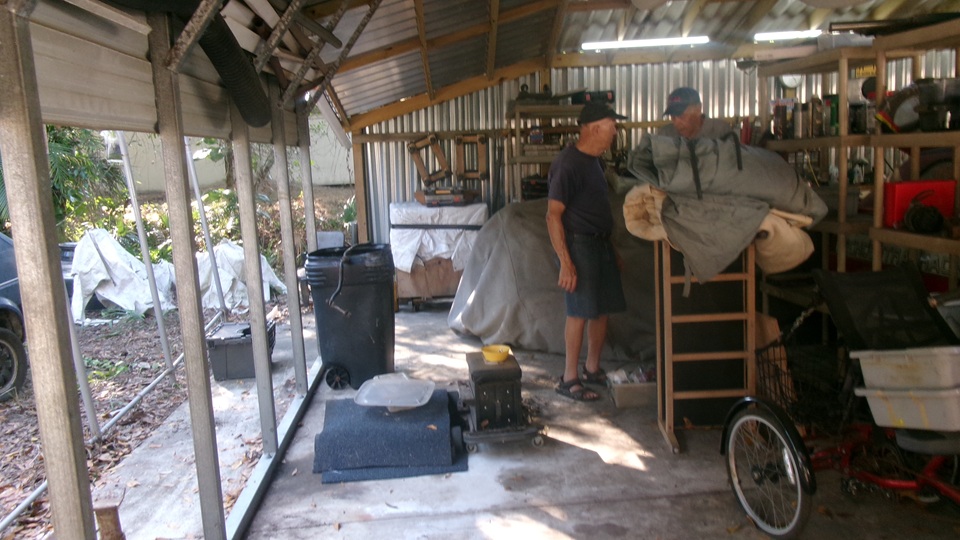
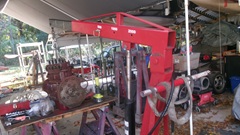
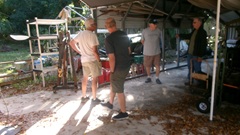
Tech day Friday, and the guys show up, even on the day after Christmas. Still cleaning out junk and clearing out work space .The ongoing effort is to remove everything beyond the post wall in the yard. And while we're at it, there is the full blanket of leaves all over. With he big leaf blower, some shovels and dust pans, we moved a few bushels of leaves into the fire pit, so at least we could see what we needed to throw out.


Fold up the engine hoist we have been using the past few weeks. Give the slab another once over with the blower, and c9notuinuing sorting and storing and throwing stuff out.


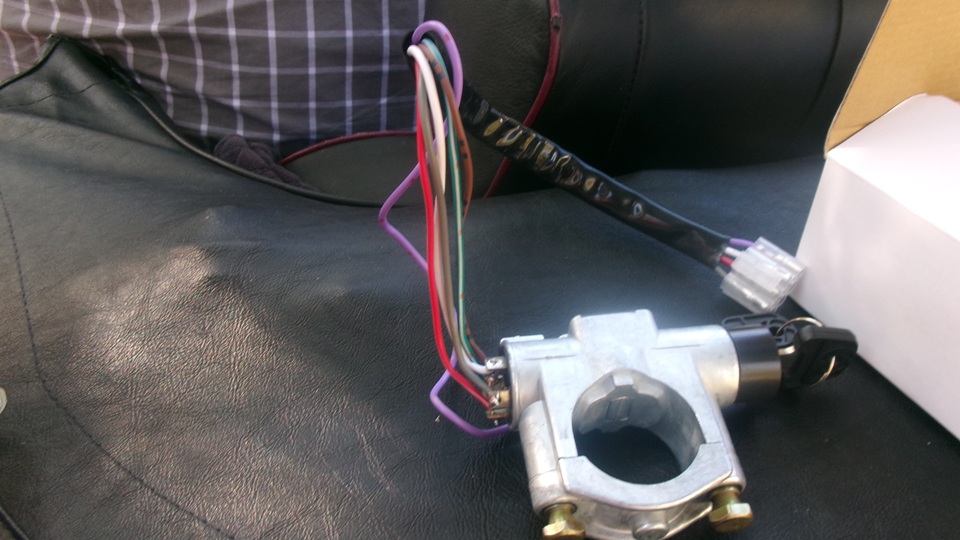
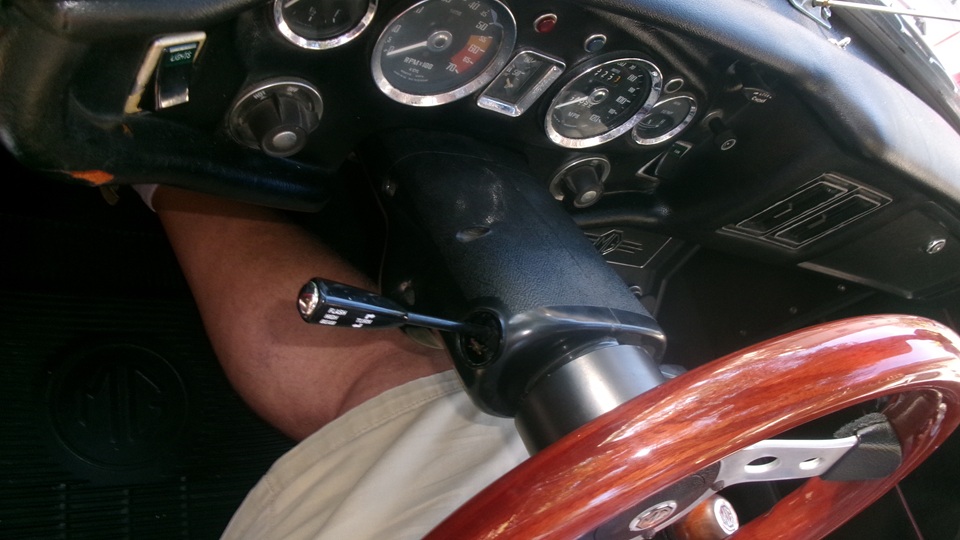
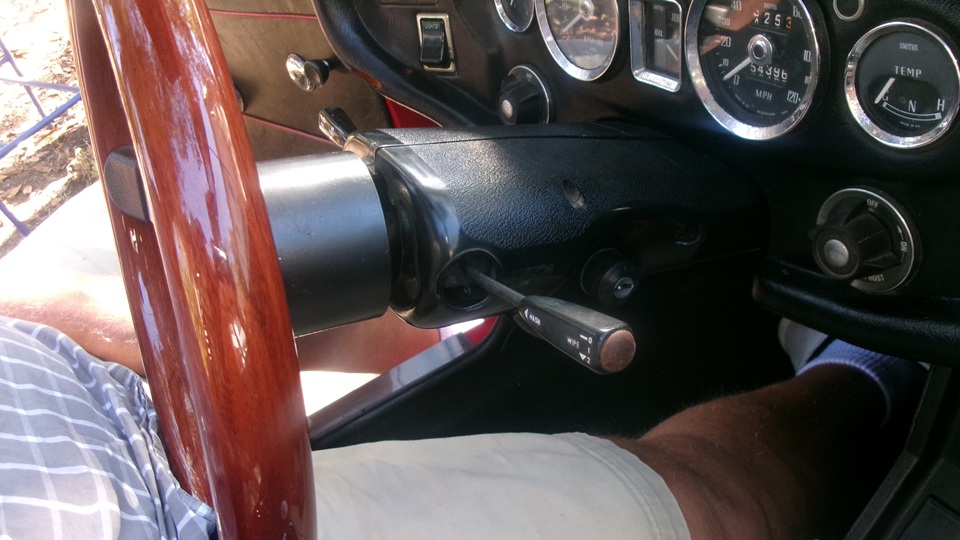
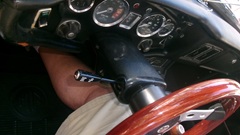
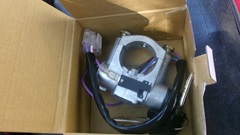
The MGB was going to get a new steering lock ignition switch. There were two different models, one with bullet connectors and one with a plug-in connector. The complaint was, sometimes the key would not turn after insertion. This turned out to be a misunderstanding how it works. If the steering wheel is preloaded to one side, the steering lock pin will bind in the key slot.


Perfectly normal, actually. just give the steering wheel a little nudge while turning the key, and it works. That was an easy fix. put it ll back together. Now to decide what to do with two new steering lock ignition switches.

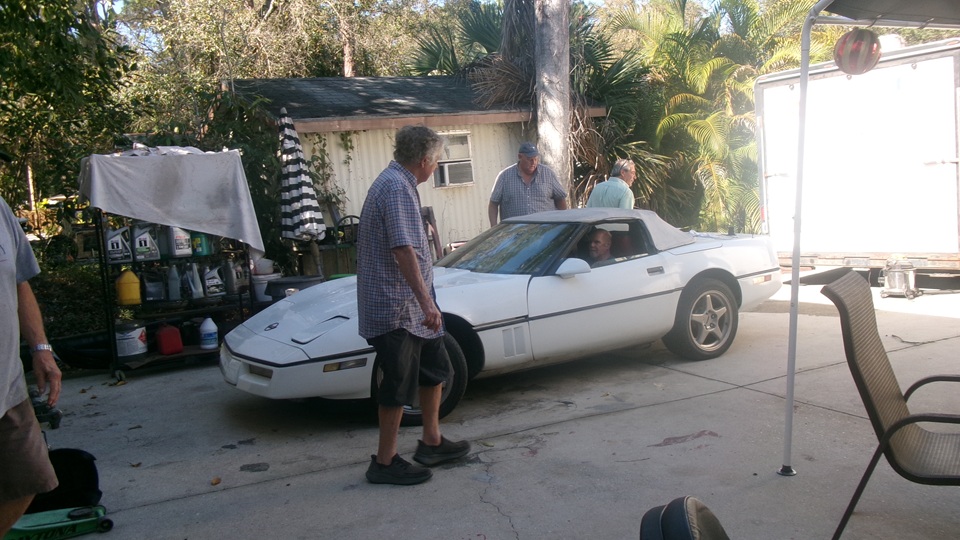
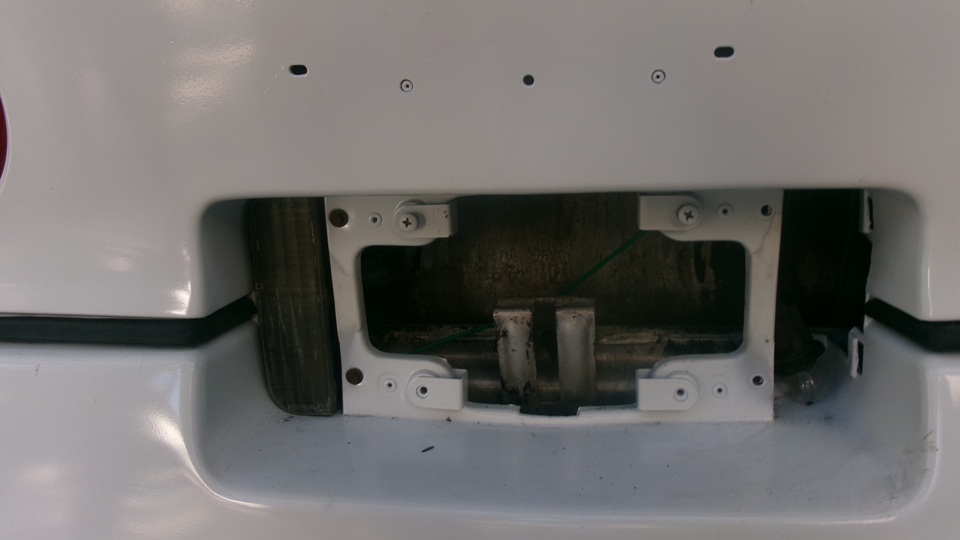
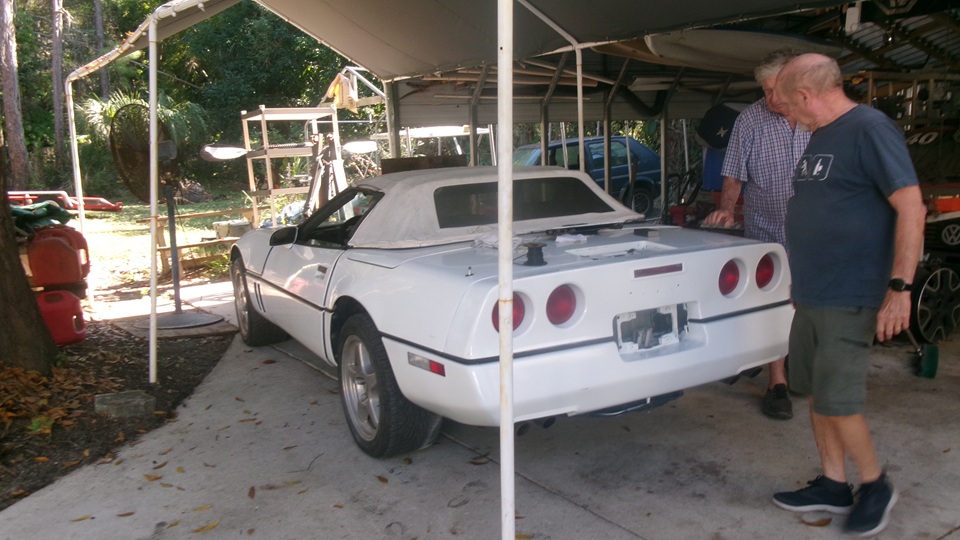
Looking at the Corvette that just had the bumpers touched up and repainted. They started it up to drive it inside,and it died and would not restart, That turned out to be a failed ground wire on the fuel pump. Strange failure mode. For a wire three feet long, it was solid copper at one end and internally corroded at the other end. We kept trimming it back two inches at a time, and had to cut away half the length of the wire before we found good copper fro the other end. Very odd.
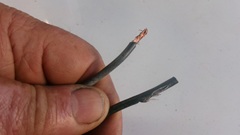
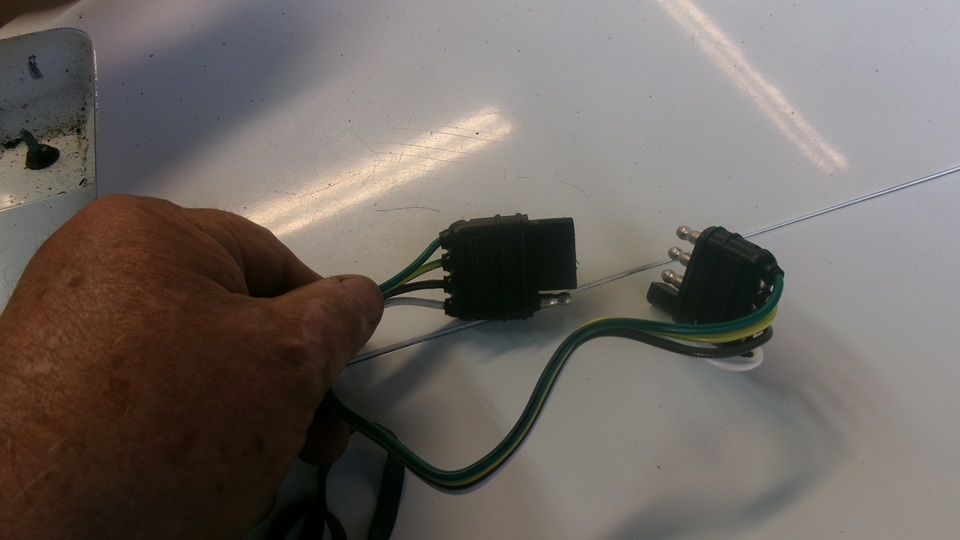
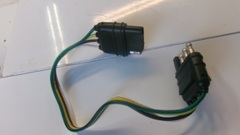
Solution was to install three feet of new wire. In the process the Magic Trailer offered up a new 4-pin rubber trailer connector, but they had it running again without the new connector.


Turn it around in the tight space allowed, and get it into the shade under the canopy where they intend to detail it. Now what ever happened to the second back up light?

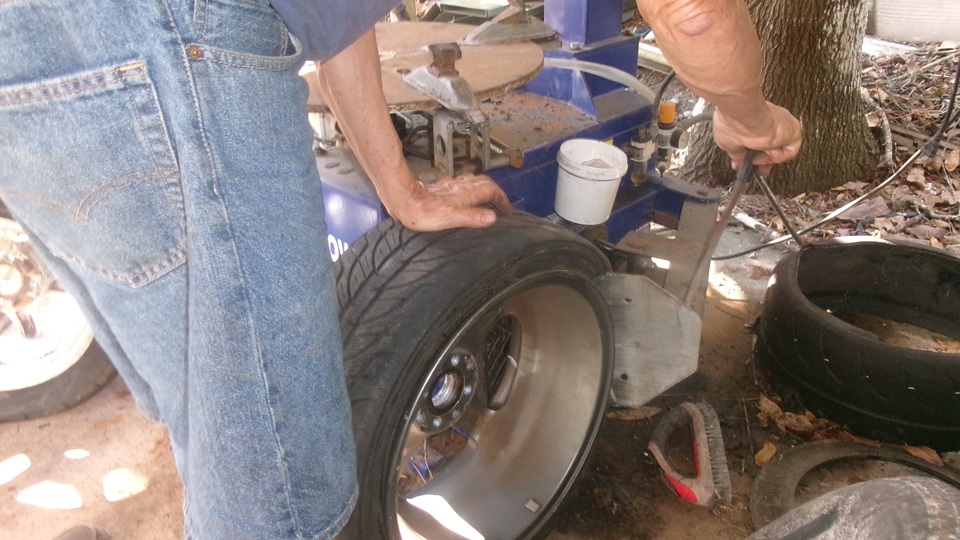
Continuing last weeks efforts, there is another tire for the Miata that leaks and will not hold a plug, so breaking that loose from the

 rim to install an internal patch. the tire machine needed a little repair first. -- Before we left, we were inquiring about some local shop that might mill the head and deck the block for the 1800 engine. We tried calling the shop later, left a message, waiting for a call back.
Saturday-Sunday, Dec 27-28, 2025:
Working on new tech pages for double-threaded studs use in the MGA.First step was to search the Service Parts List for everything called "stud", then drop from the list anything that is not double-threaded. This makes a list of over 100 line items on one page, with more than 50 unique part numbers on a second page. The intention is to list thread types and dimensions for the studs, so you might procure them from local sources. The greater chore now will be to find the dimensions for these parts to fill in the spread sheet. I may have to request community help for that project.
Monday, December 29, 2025:
Start the day with a new tech page for how to install a hose between the MGA Twin Cam cylinder head and thermostat housing, with impossibly close spacing. -- More work on the new tech pages for double threaded studs with BMC part numbers. Page for part numbers with descriptions and applications is complete. Page with part numbers with dimensions is a skeleton form with blank spaces for the threads and dimension numbers. Posted a note on the MGA forum requesting assistance for determining the dimensions.
Tuesday, December 30, 2025:

Response from a friend on the MGA forum yields a document for B.M.C. Standards, "Combination Studs- 55-Tons". This gives a standard format for stud part numbers with type and length of threads on each end. I just posted this document in the Books tech section, along with the BMC Standard Fasteners numbering booklet.
Wednesday, December 31, 2025:
Getting thread types and thread lengths into the tech page for Threaded Studs used in the MGA. -- Still trying to contact the machine shop that might deck my engine block and cylinder head to fix the leaky head gasket problem. Just learning what an SMS message is. -- Couple of hours spent editing/updating the CMGC web site for the upcoming Chicago Swap Meet in March. Can't seem to get out of that job.
|