The MGA With An Attitude
| MGAguru.com |
|
MGAguru.com |
MGA Guru Is GOING MOBILE - (July 16 - July 31, 2024)
Tuesday July 16, 2024:
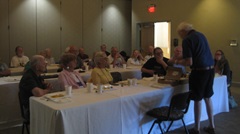
Start the morning with the Magnette Breakfast, which is also the Annual General Meeting for the MG Magnette Group. I'm glad these folks hold this meeting at the NAMGAR GT, because they have no other regular gatherings, so this is the only time I get to meet these folks as a group.


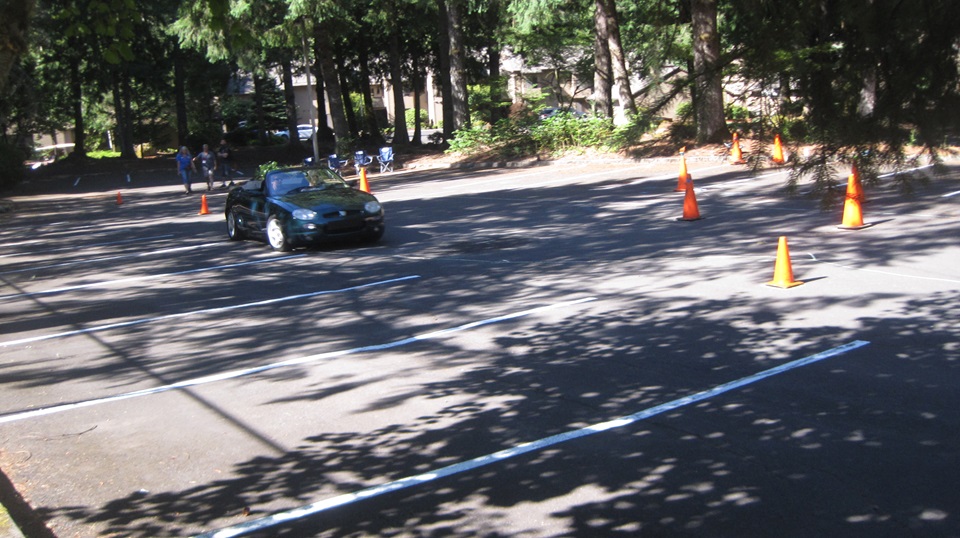
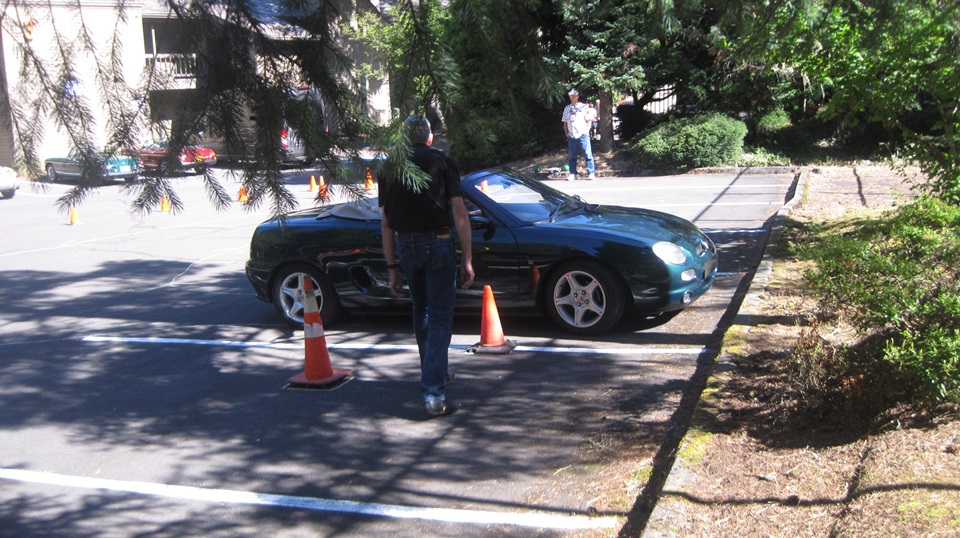
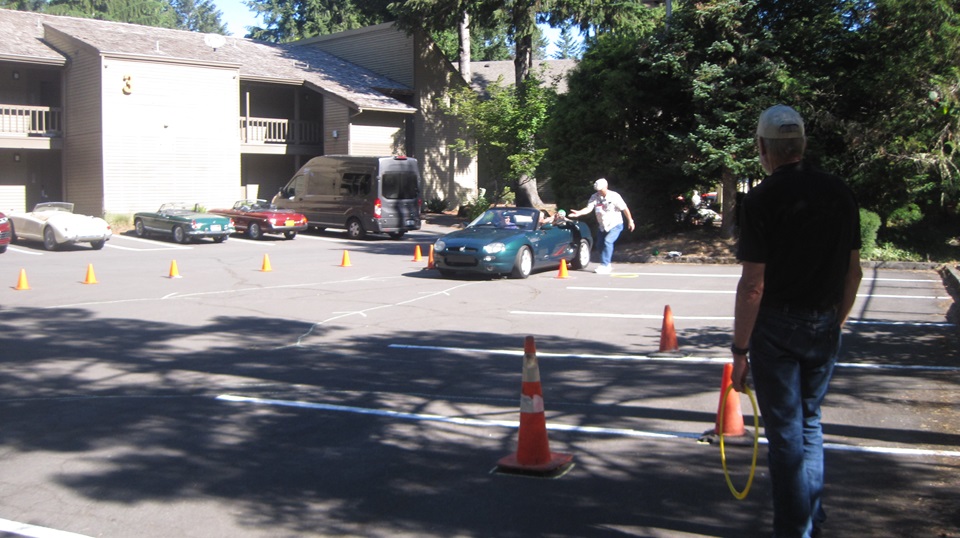
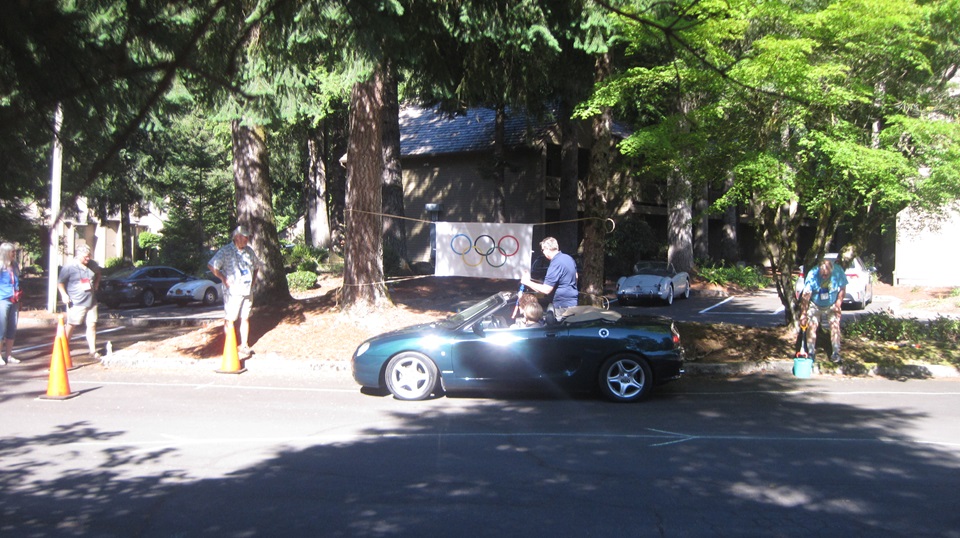
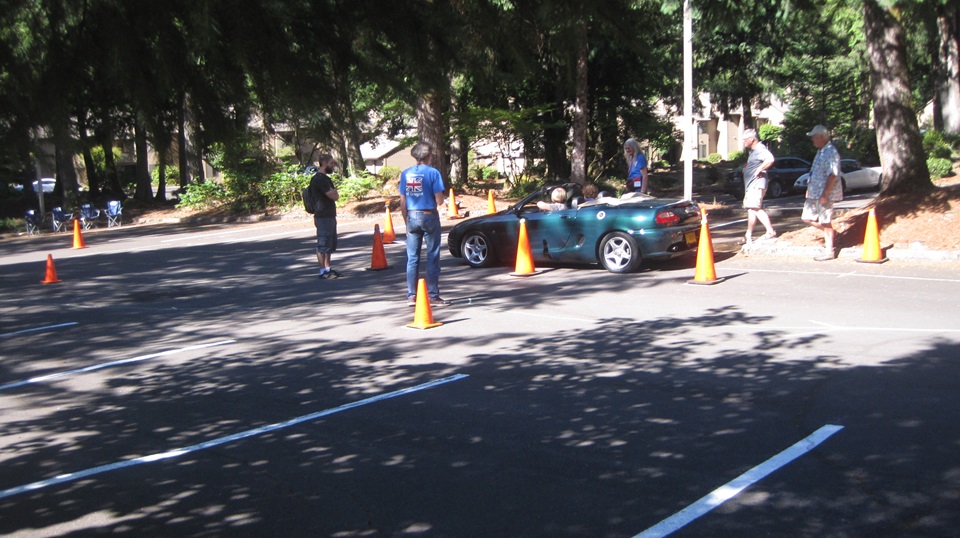
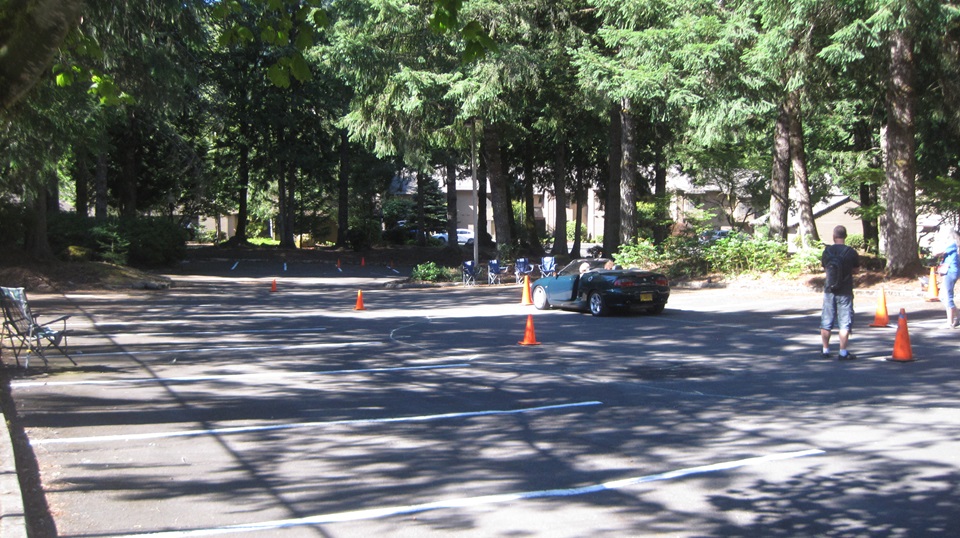
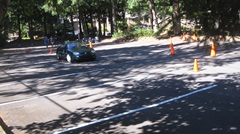
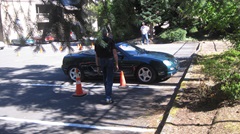
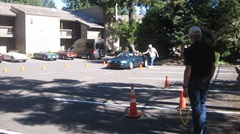
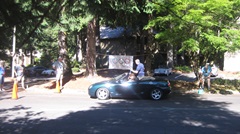
I was walking through the tennis court parking lot where NAMGAR was running the Funkana event, which despite appearances has nothing to do with time or speed (for insurance reasons). Drive the car close to cones while picking up and depositing various items, shooting plastic darts and the like, backing up to turn around and other casual driving tests. I do believe that is an MGF running the gauntlet.


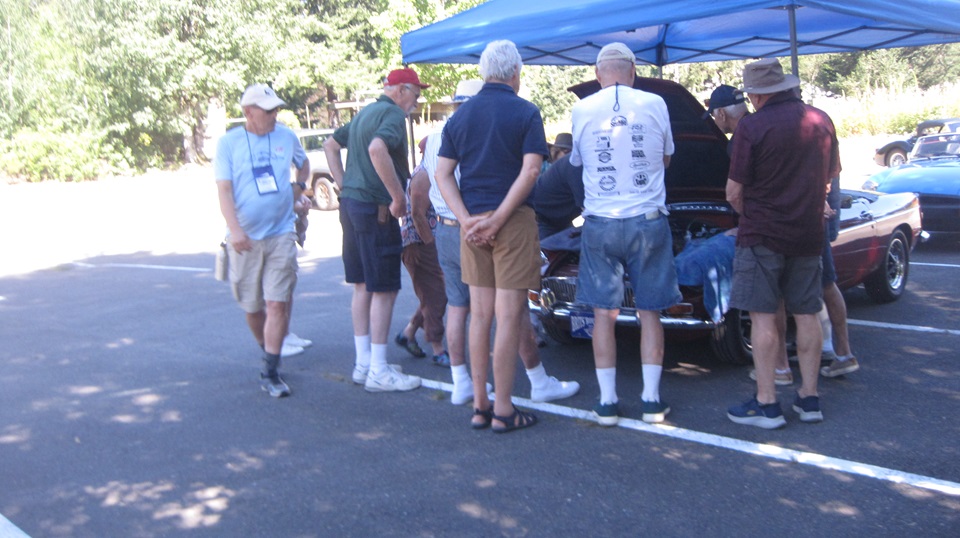
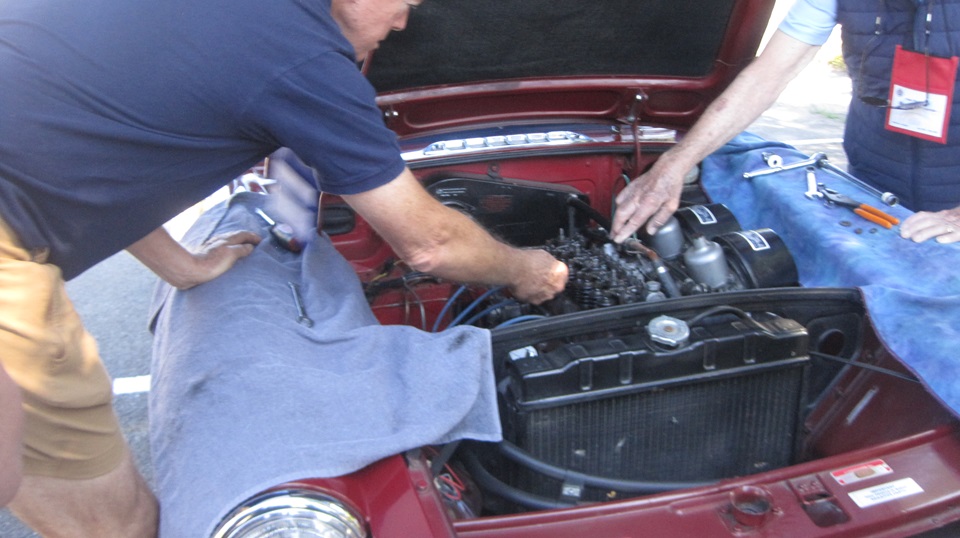
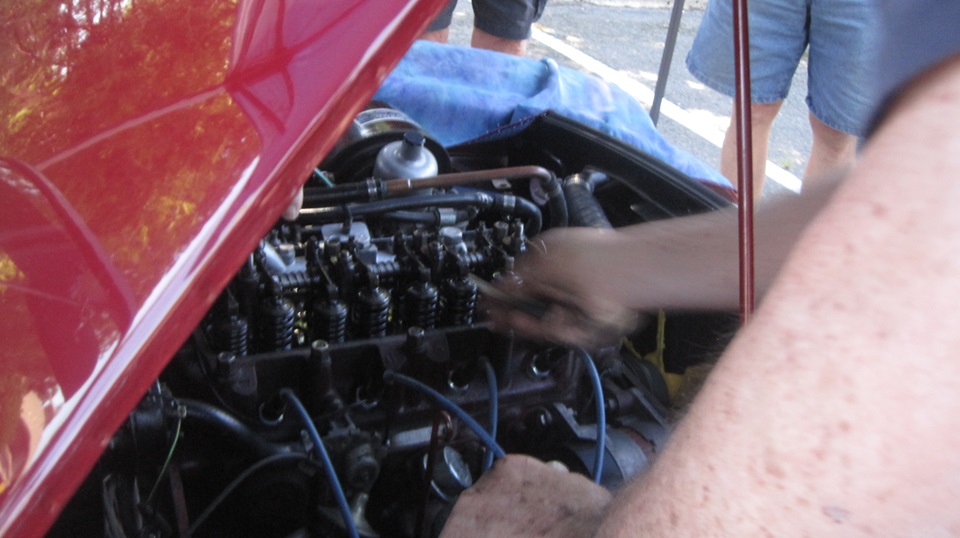
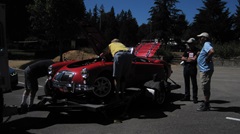
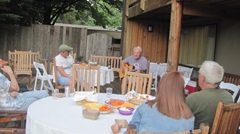
Then I was off to find John Twist's Rolling Tech Session.


As is common, the Magic Trailer got to offer up a few parts for the cause (after I walked a few blocks to retrieve my car and trailer). This time it was a shoulder bolt and Thackeray washer to re-attach a fast idle cam, and a choke return spring.
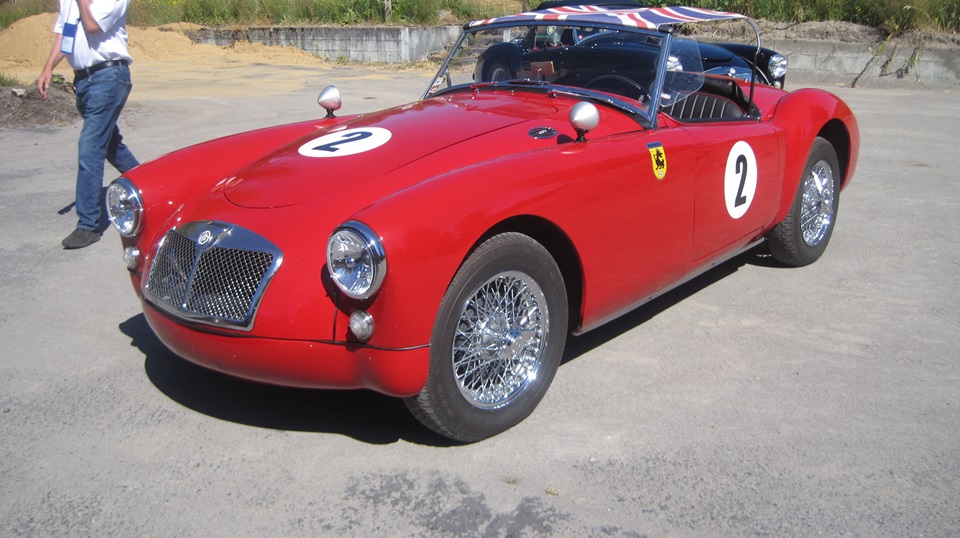
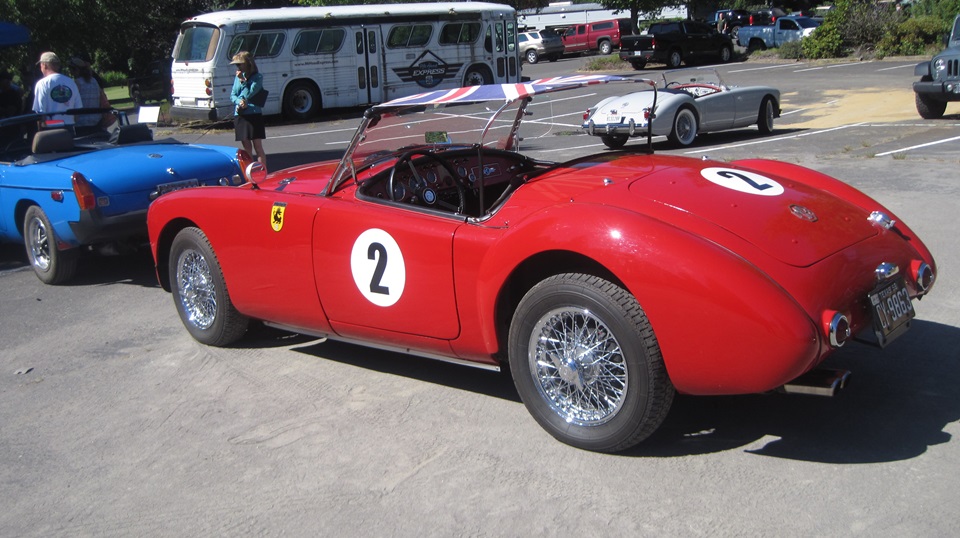
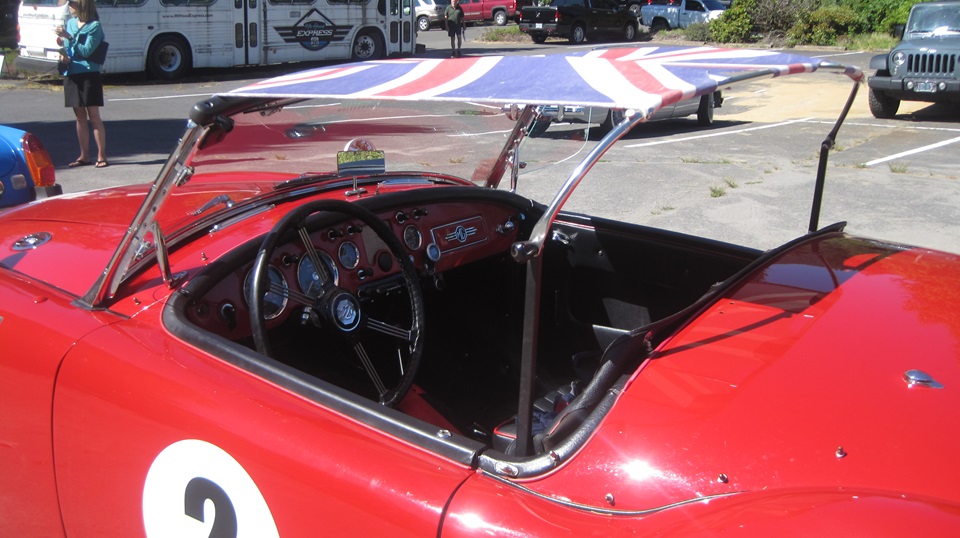
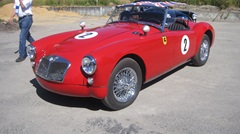
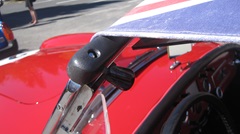
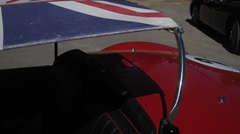
The Sebring style MGA Tribute car was sporting a Bimini top for shade and ventilation. At end of session it was loaded onto the transport trailer, followed by bleeding the brakes. For this the Magic Trailer provided a 10-mm wrench, which would be needed because some aftermarket slave cylinder had been supplied with non-standard metric fasteners (boo-hiss).


Wednesday July 17, 2024:
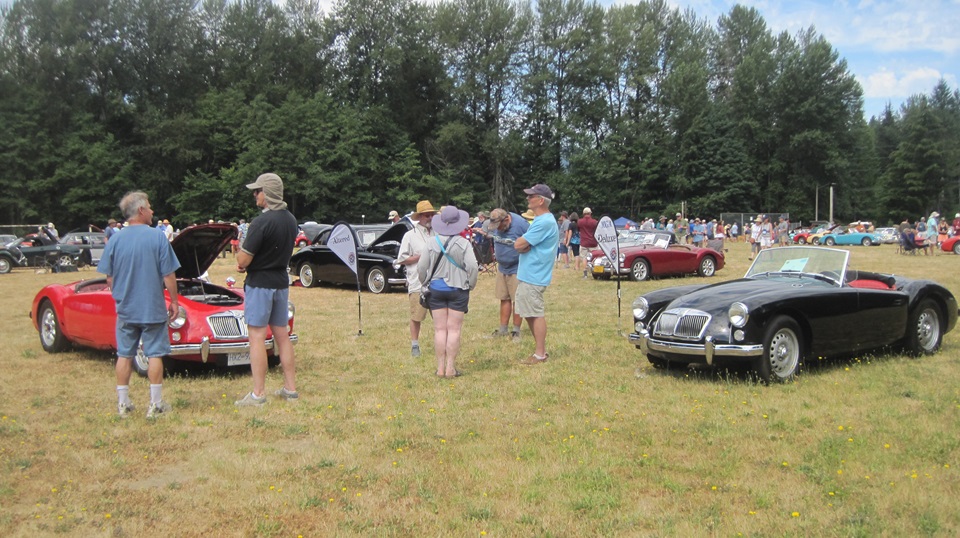
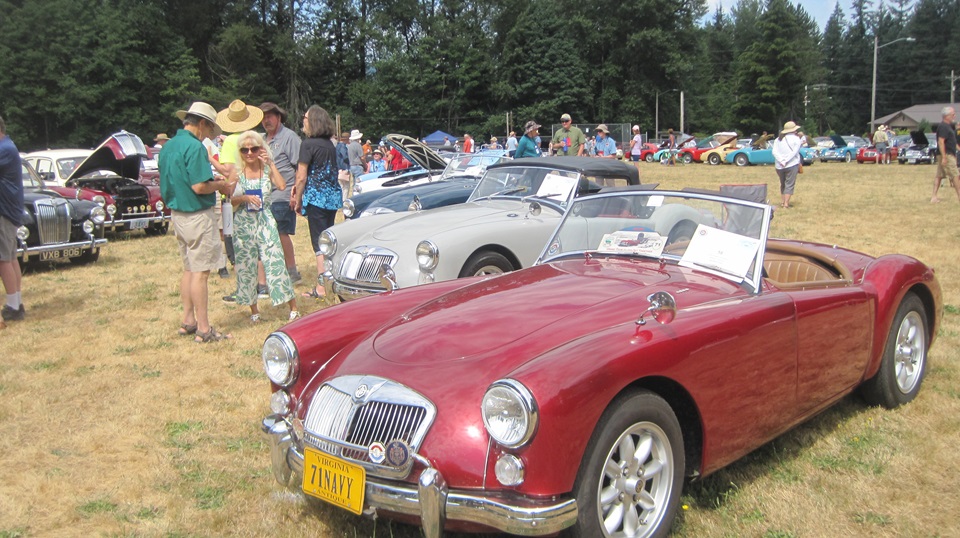
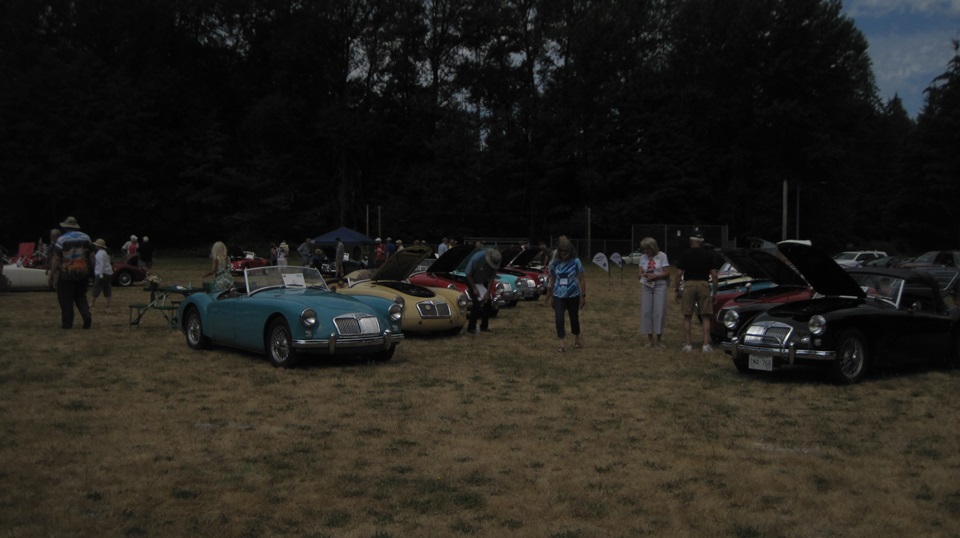
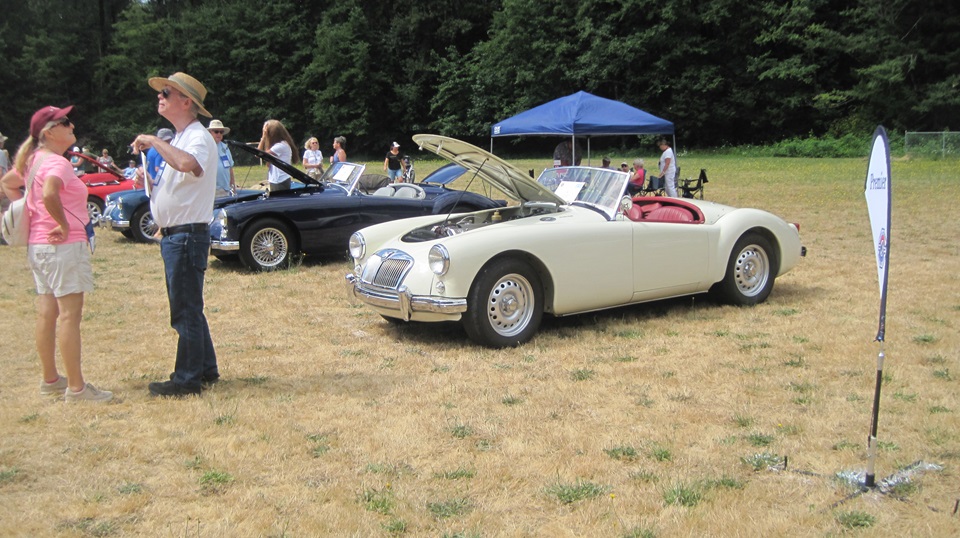
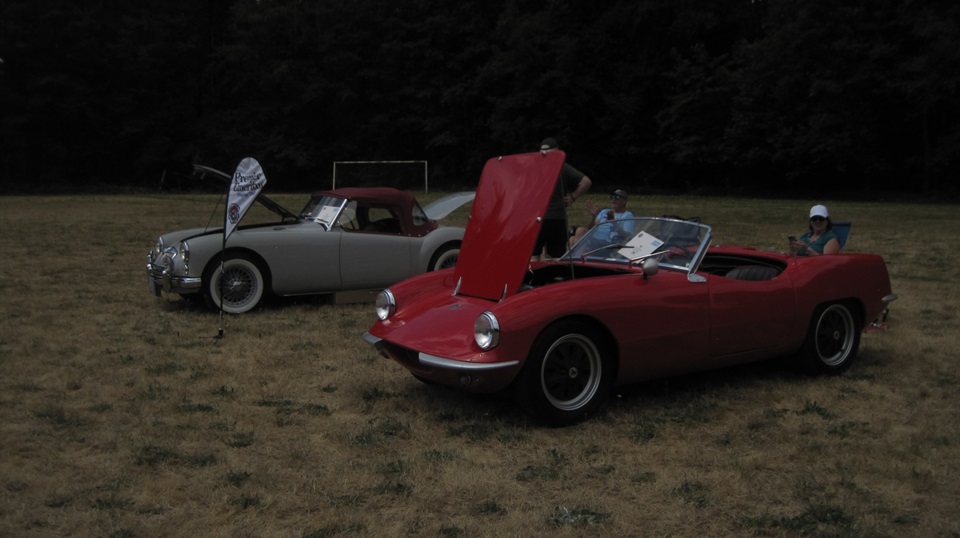
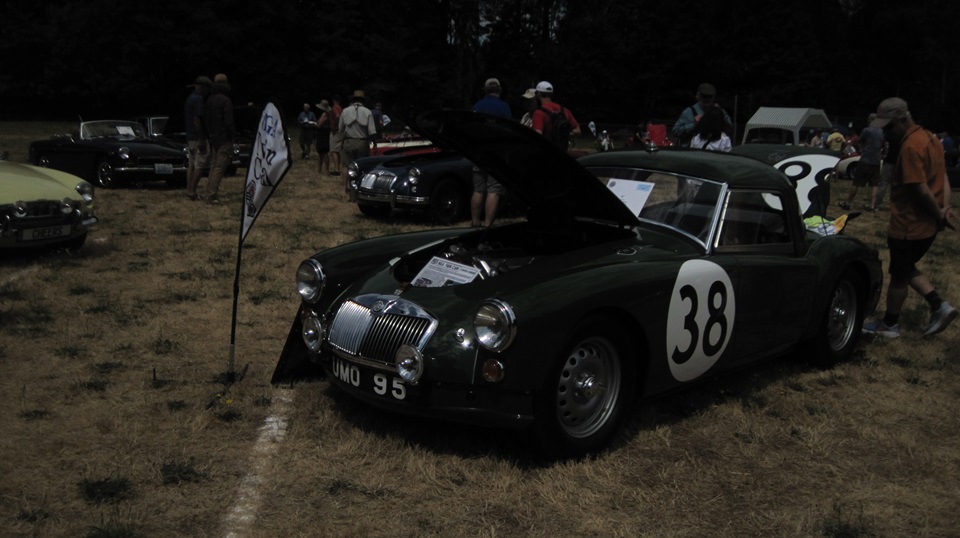
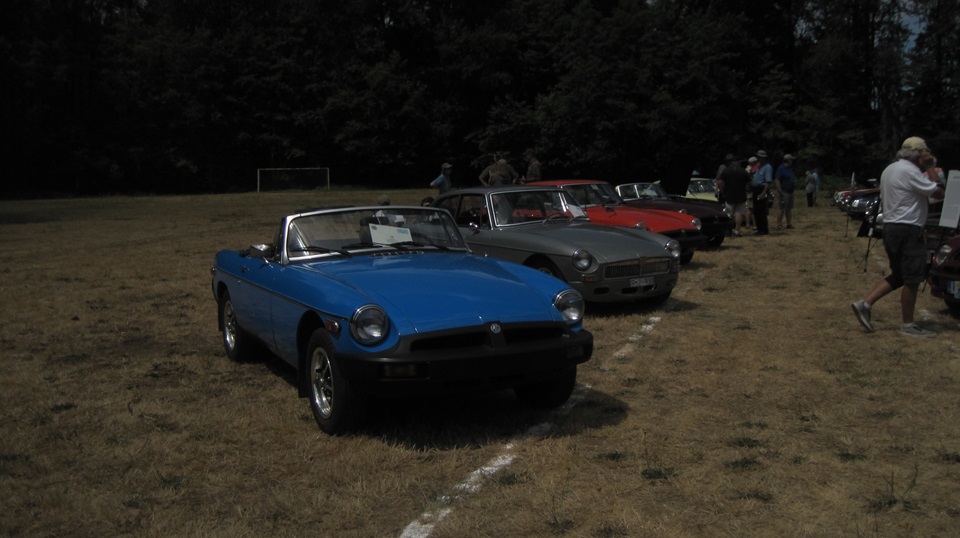
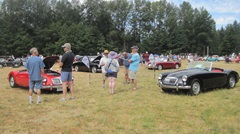
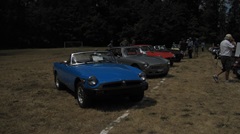
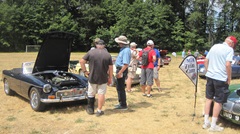
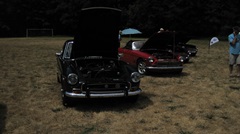
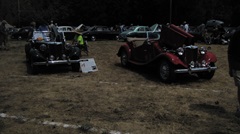
Car show day with more than 100 cars on the field at Welches Grade School. I intend to present here pictures of the classes in general with not much detail of individual cars, and leave it up to NAMGAR to list the class trophy winners. At north end of the field there was one "Deluxe", one Twin Cam, and couple of Modified cars. There was one more Twin Cam in the Premier class, a trophy winner from a prior year.


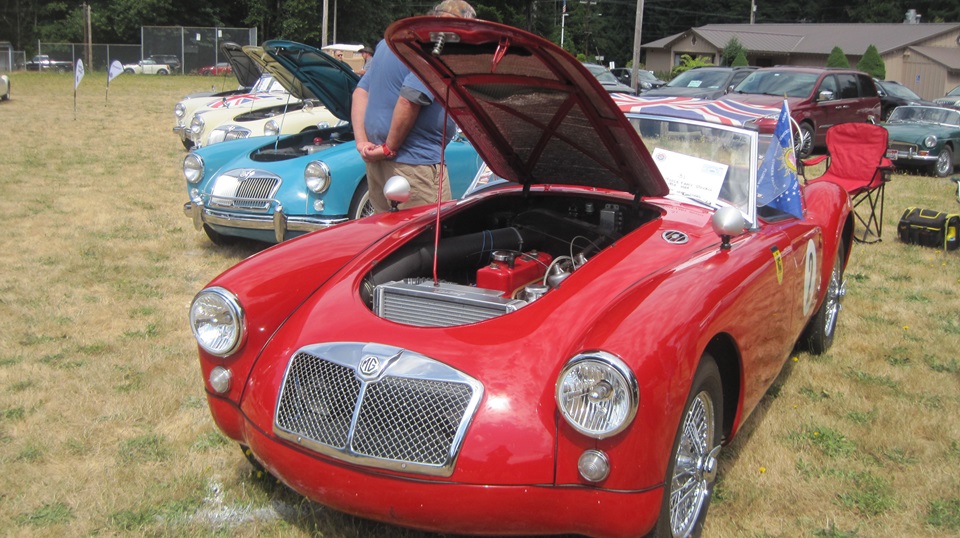
Number 2 is the Sebring style tribute car seen at the rolling tech session the day before. Then the Premier Class with one Twin Cam and one Elva Courier, which was a Variants class winner form a prior year (more about that one later).


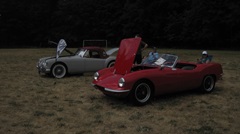

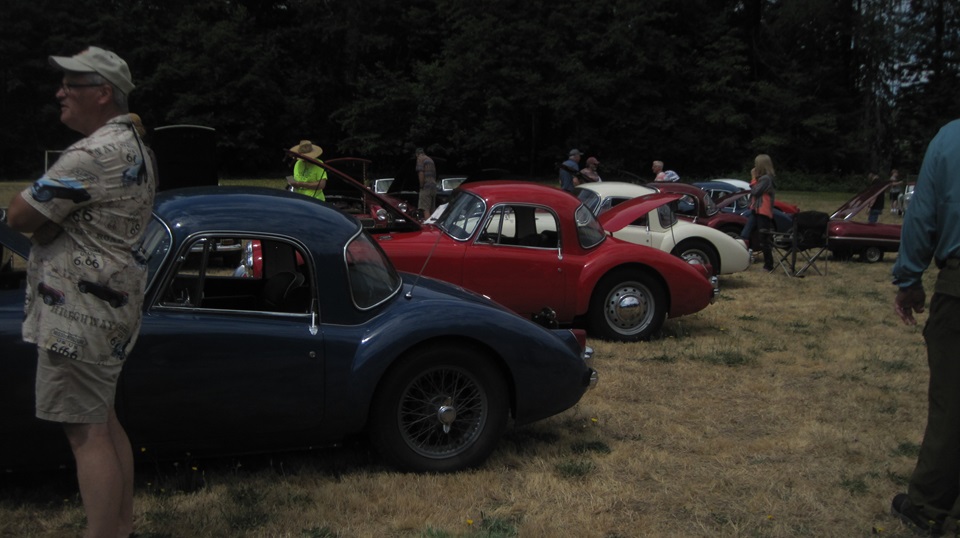
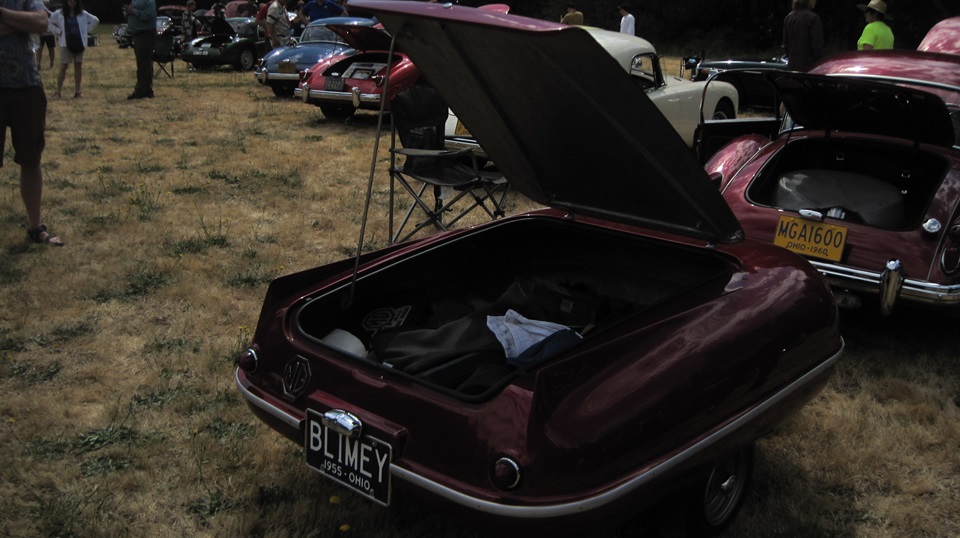
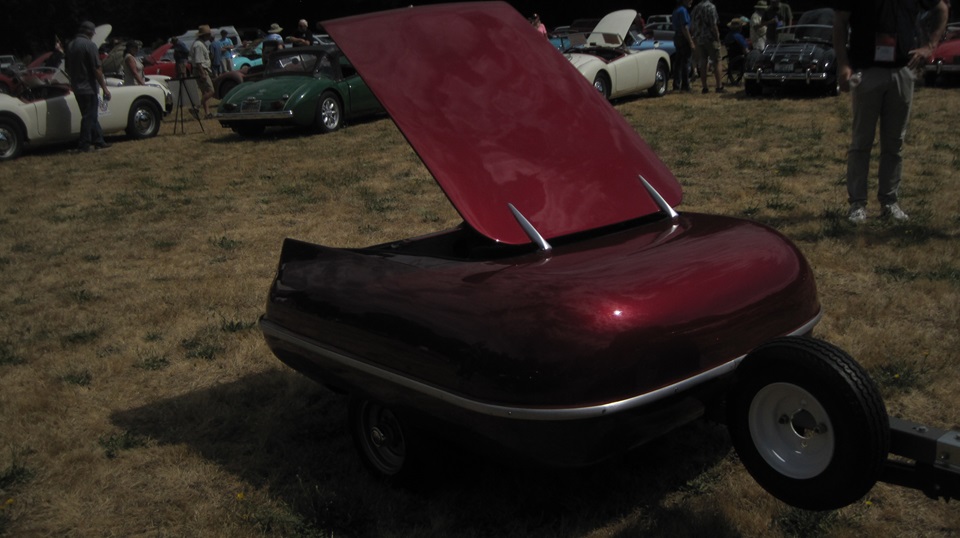
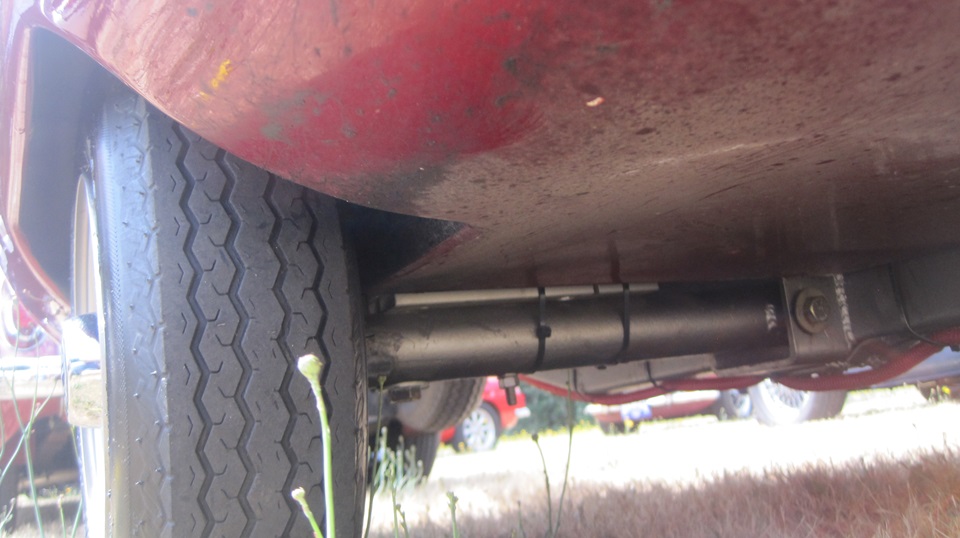
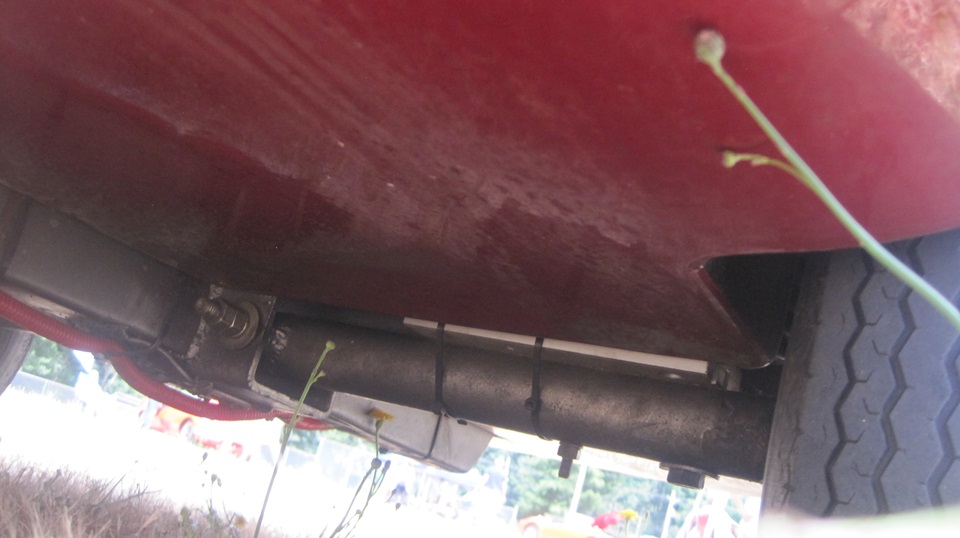
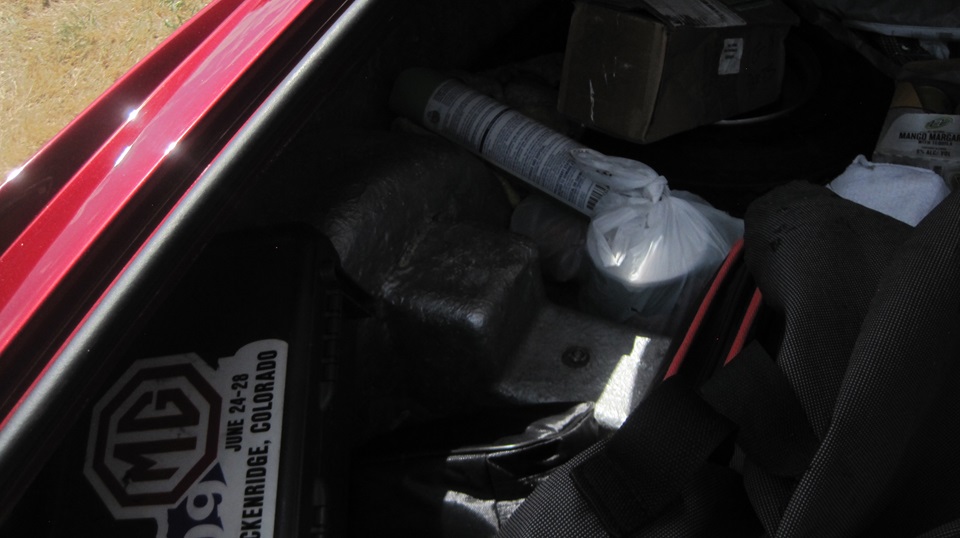
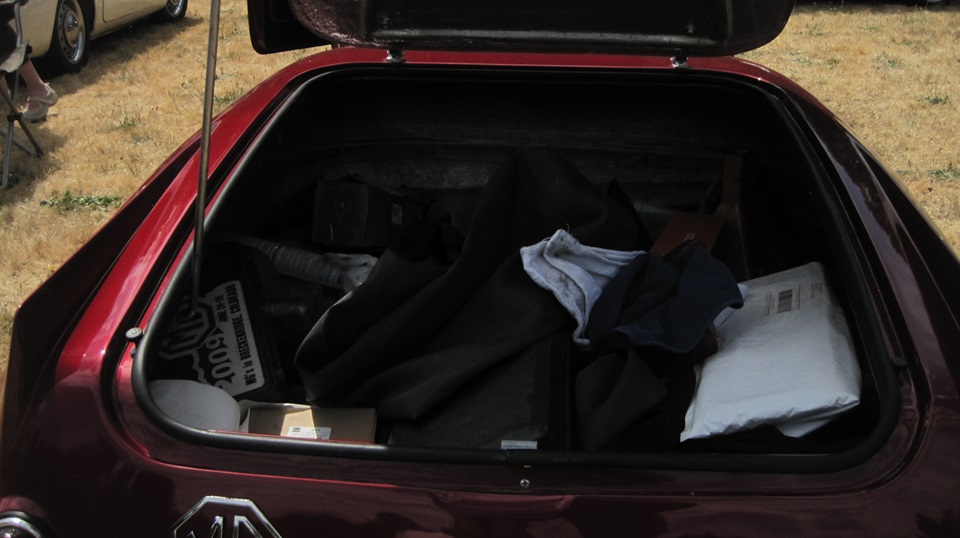
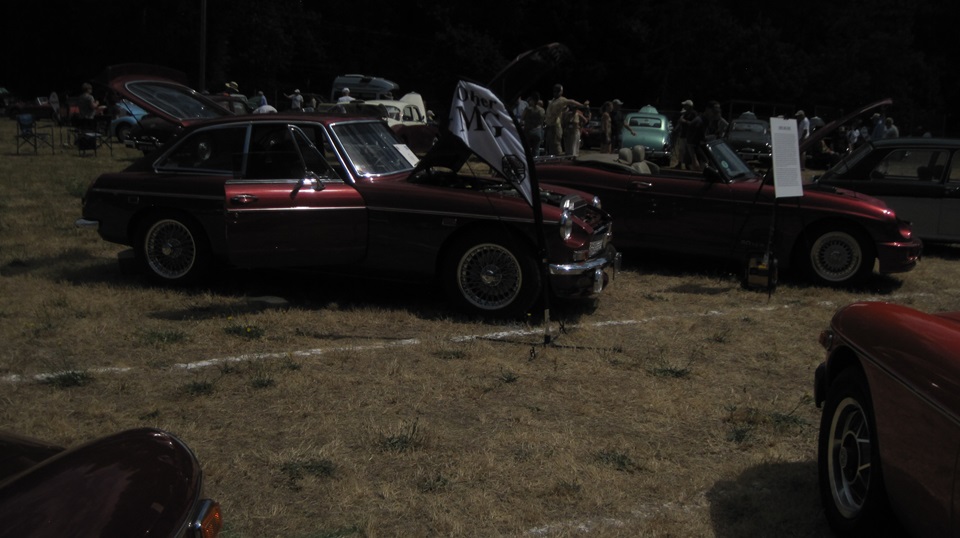
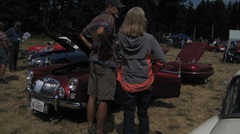
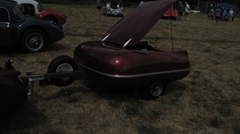
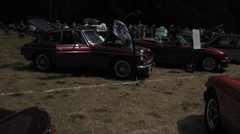
 There was at least one Universal Laminations fiberglass bolt-on hardtop, followed by half a dozen MGA Coupe. The Burgundy color Coupe was towing a matching color luggage trailer. I have a vested interest in small luggage trailers, and this one is new to me. It is long and low profile fiberglass with swing arm suspension and coil springs. Tail lights look like MGA 1600 type rear turn signal beehive lamps, no other rear reflectors, no side marker lamps or side reflectors either. Looks like some early 1960's production model built in England. The owner has never seen another one like it, and there are no manufacturer name or model markings on it. But it is cute. This one will be copied into the Trailers Tech section.


Half a dozen MGB were enough to make their own class.
One MGBGT, one MGC, one RV8.


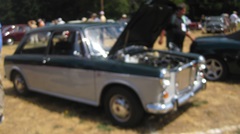
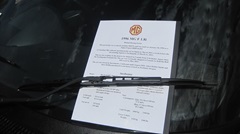
The darling of this show was the MG 1100/1300 sport sedan, which was badged as a Leyland car. That was parked very near to the MGF 1.8i, Japan export RHD car.

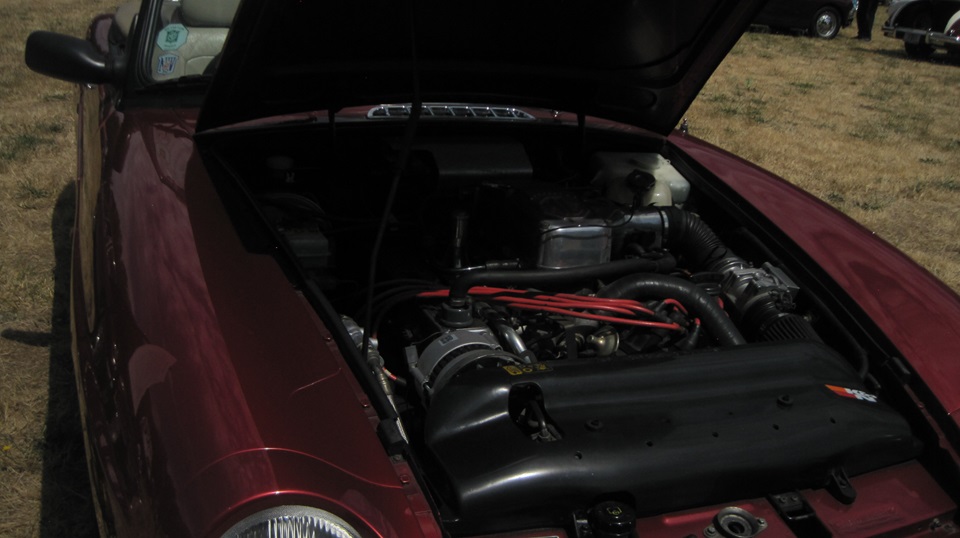
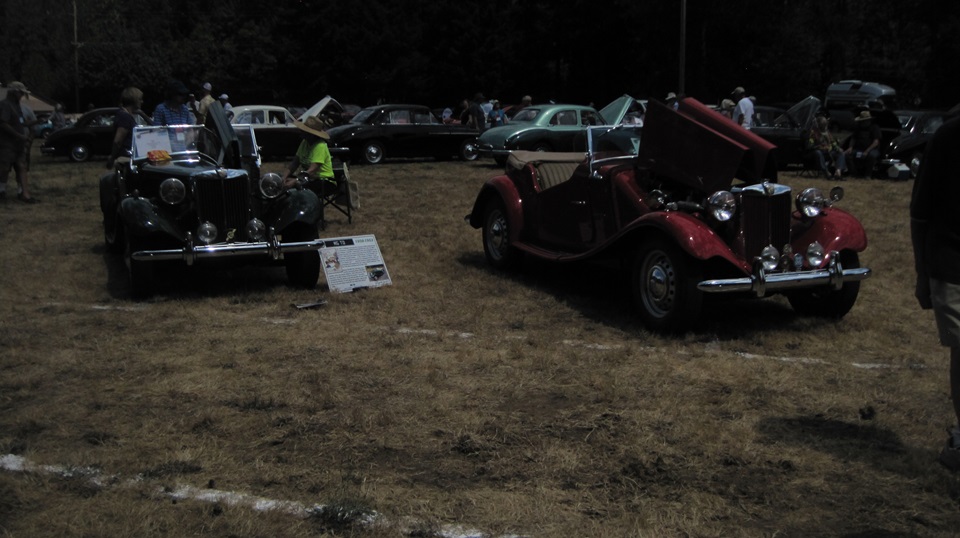
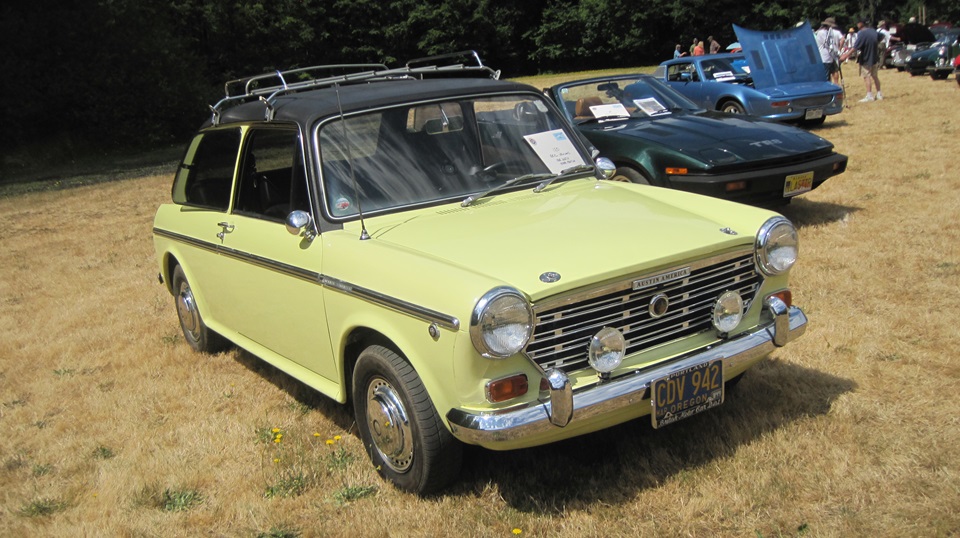
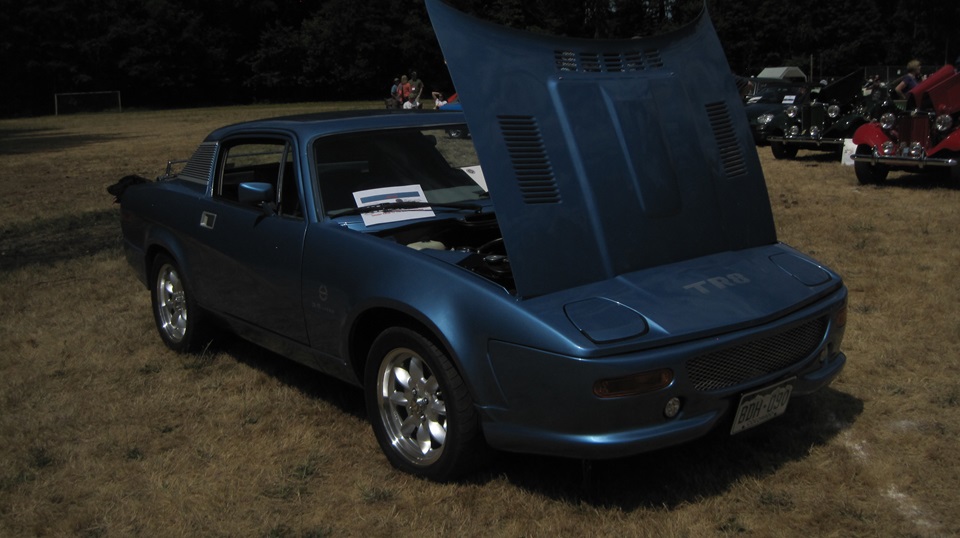
After a pair of MG T-types there was one 1968 Austin America, which holds a soft spot in my heart, as I bought one new in 1969 and drove it or four years (although it turned out to be a lemon). It was sitting next to two TR8 in the Other British class. the second TR8 was sporting a unique style aftermarket front bumper with enlarged grille, kind of neat I think.


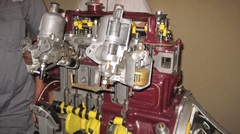

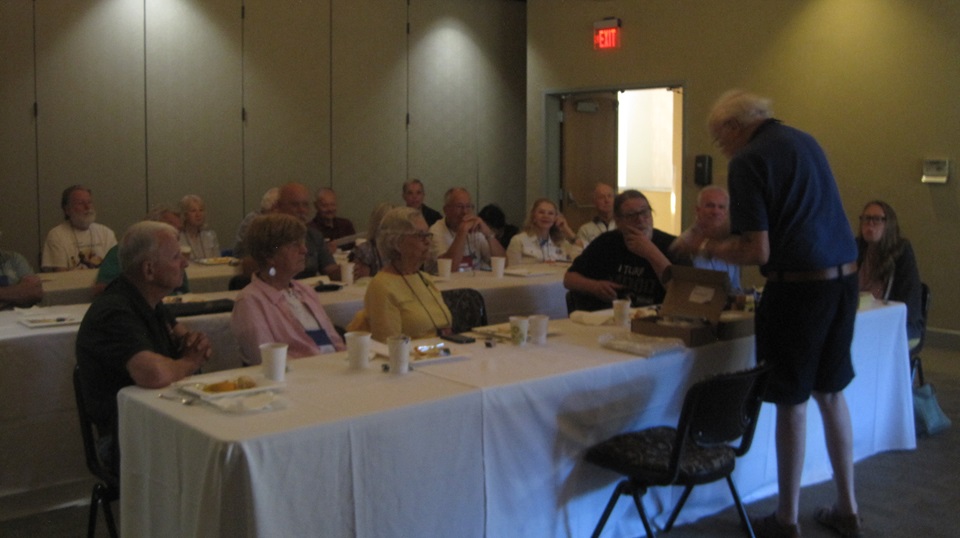
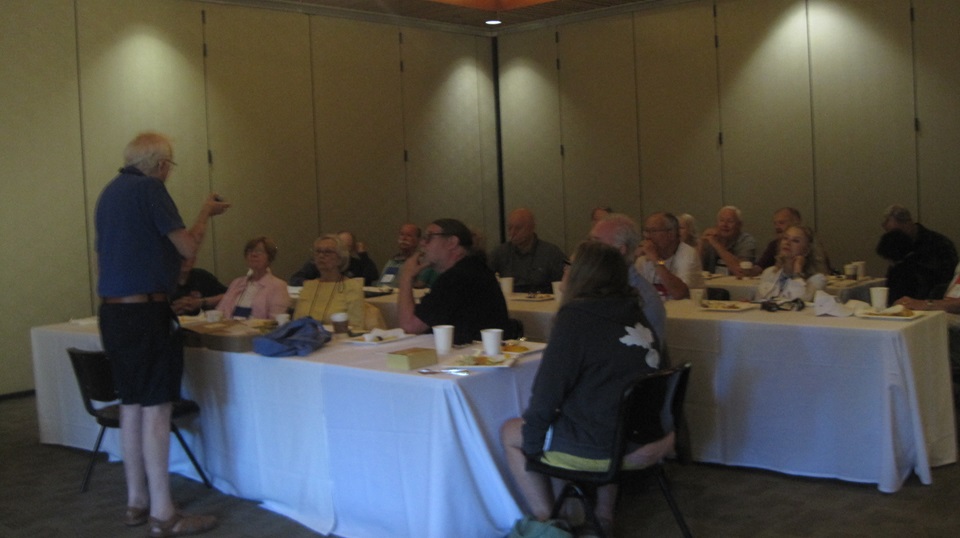
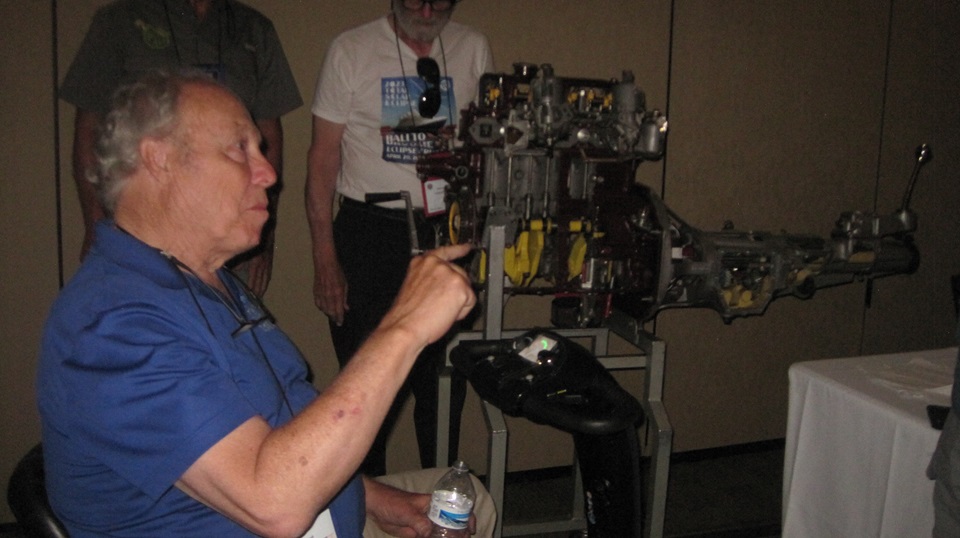
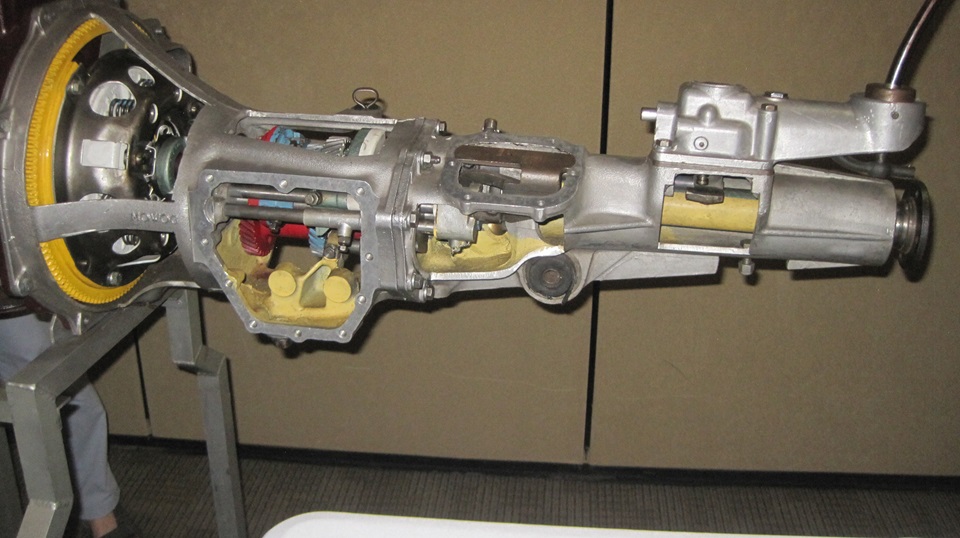
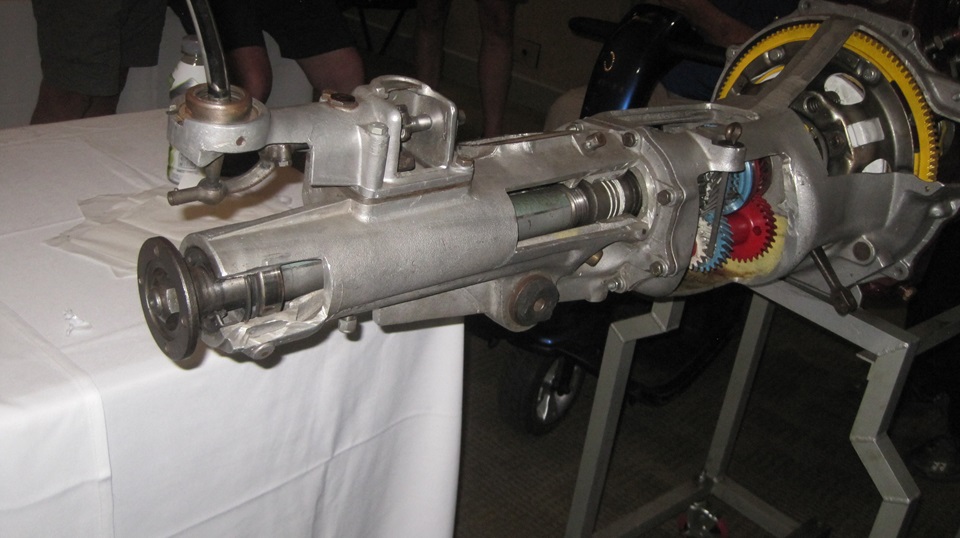
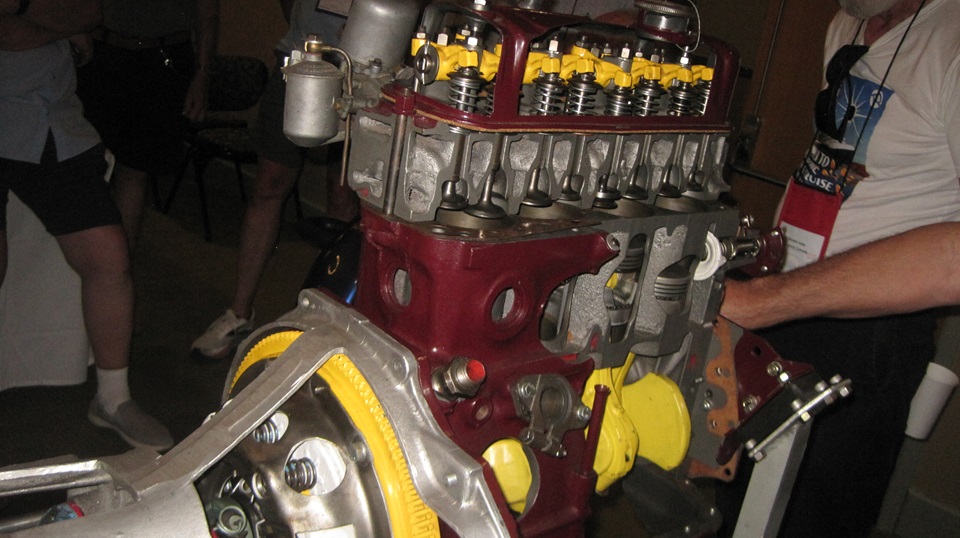
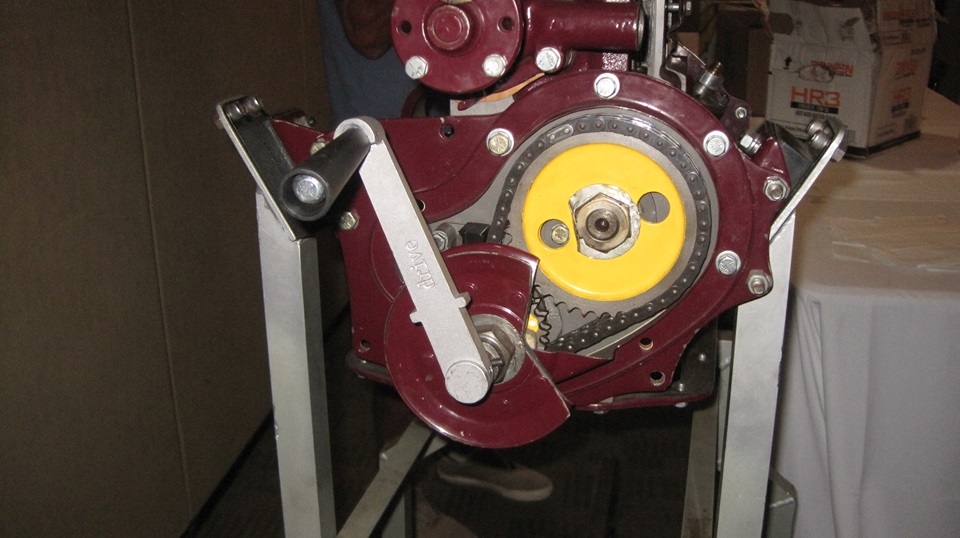
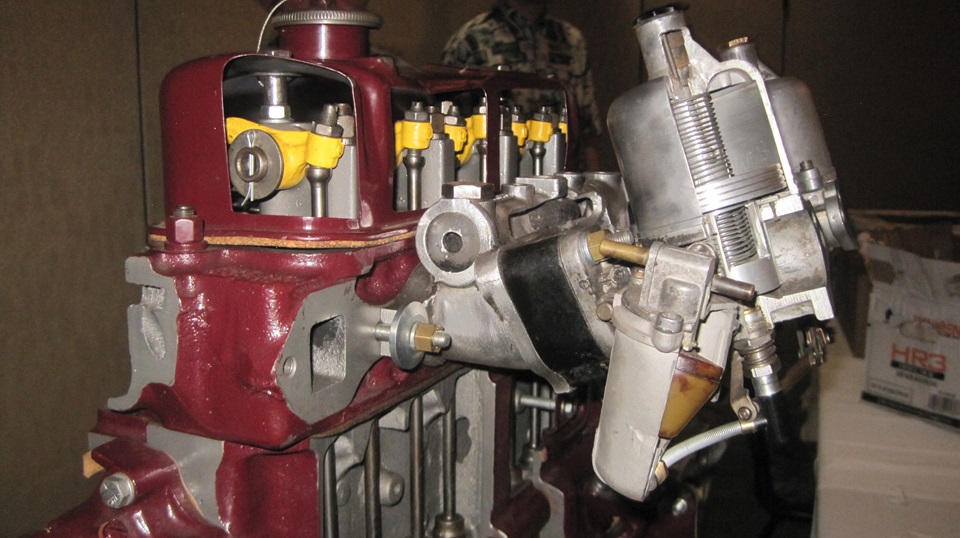
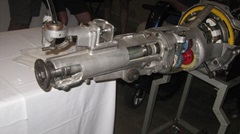
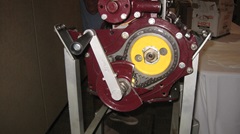
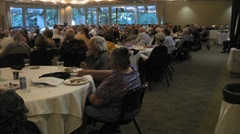
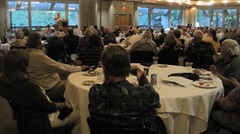
Car show finished at noon, followed by a Lawn bowling Tournament 1 to 4-pm, or back to the hotel conference room for a tech session on Tuning SU Carburetors 1 to 2-pm. The demonstration carburetors were mounted on a cut-away example of an MG engine and gearbox, which was a grand attraction in its own right.


After the tech session we could wander back to the Hospitality Room for some more hospitality. hanging out until 11-pm if we liked. Dinner on your own. There was also Game Night in the conference room from 7:30 to 9-pm, card games, board games and dominoes. After a couple hours in the Hospitality Room I was back to my room at Whispering Woods Resort to catch up some email and try to make some progress on photos and notes for this travel log mostly a lost cause at the time).

Thursday July 18, 2024:
 Road rally today, 9am to noonish. Also a guided tour to Western Antique Aeroplane and Automobile Museum 1 to 4-pm. Afternoon Tea at the hospitality Room, followed by the Awards Banquet 5 to 10-pm. I was catching up business most of the day, skipping the earlier events, but I did have a ticket for the Awards Banquet. Some of us wandered back to the Hospitality Room for one last chat with friends before turning in. I was back to the computer 11-pm to 2-am, trying to catch up with the chores before morning check out and departure. Going to be a bit short on sleep tonight.
Friday July 19, 2024:
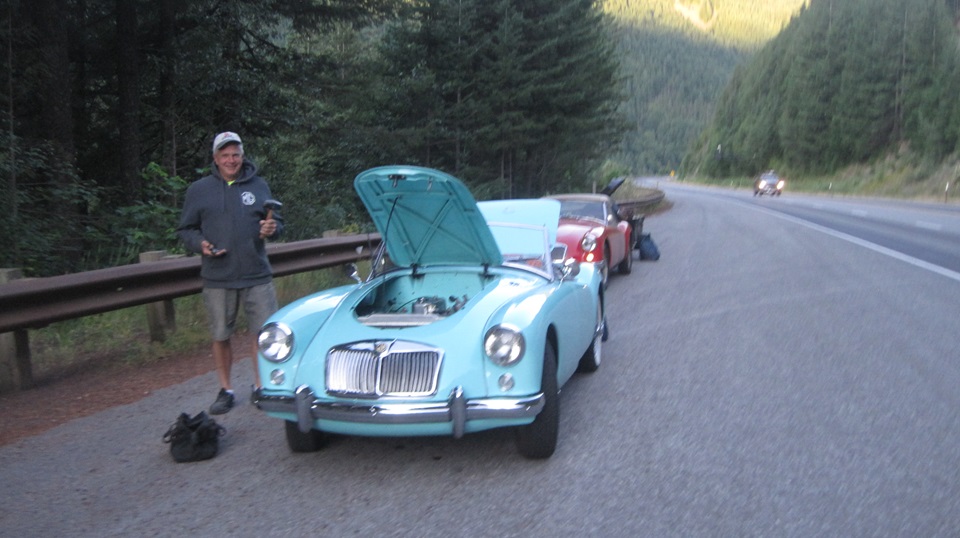
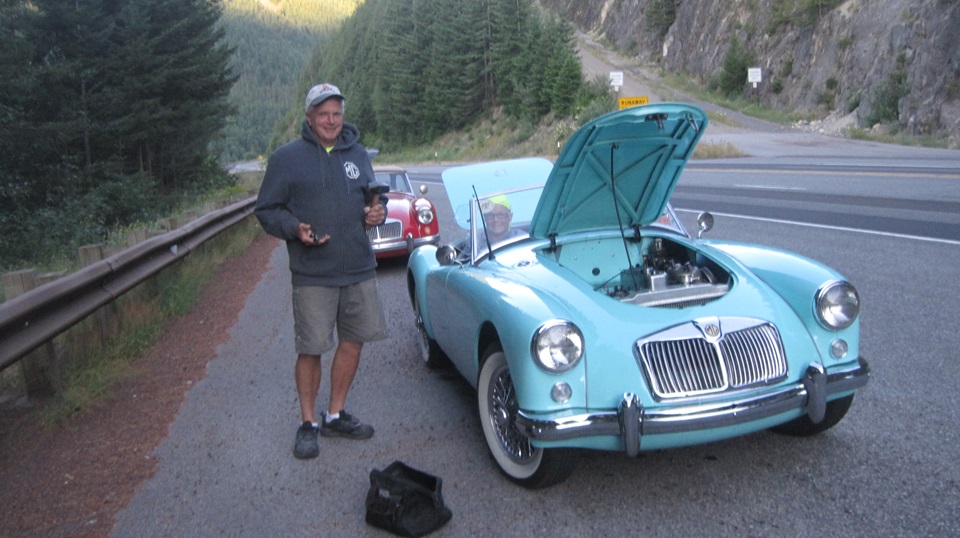
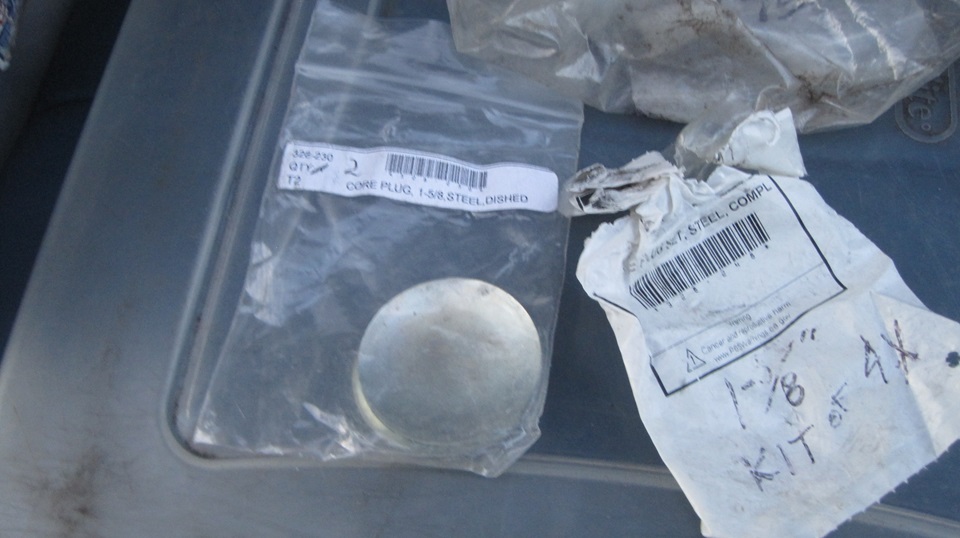
This was destined to be an odd day. If I wasn't shorting myself enough on sleep already, the phone was ringing at 5:30-am. Duh, what? It was Dean Hickenlooper reporting that his MGA had blown a core plug just eight miles up the hill from the resort, and did I have the spare part. Well yes, of course I did, but that means I have to crawl out of the sack with only a few hours of sleep. -- At 6-am I found the Hickenloopers and their MGA with the blown core plug on the side of the road.

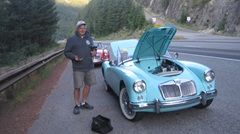
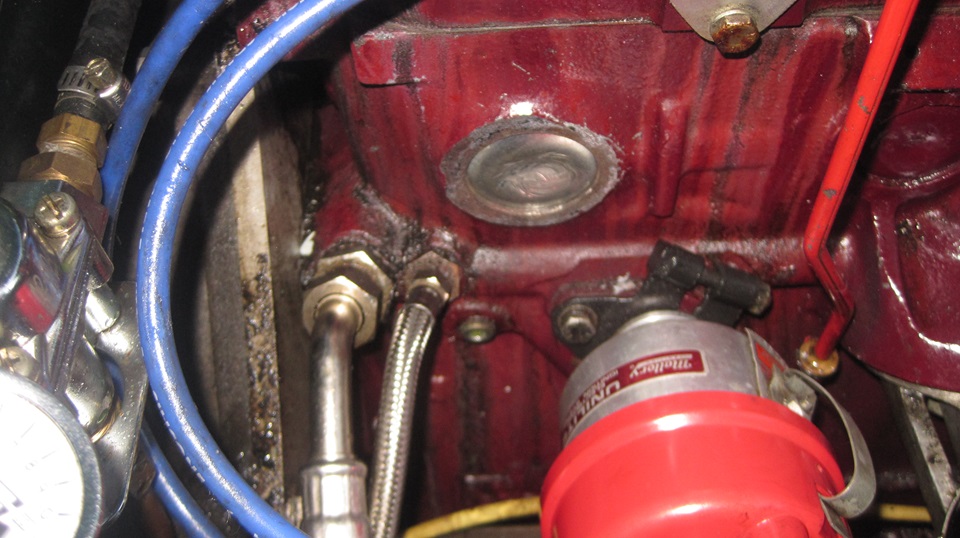
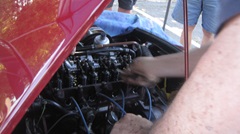
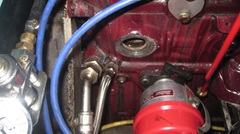 Not long to get the Magic Trailer to cough up some core plugs. Pack of four was empty? Have to review to see where and when I installed those. Pack of two still had two in it, so we installed one, and I gave the other one to Dean to keep in his pocket for the duration of their trip home. Grab a wrench socket and channel-lock pliers to hold it, and the two-pound hammer to bash the new core plug securely into place. I pulled the distributor out first to be sure I wouldn't bash the distributor cap by accident. The key to success here is not to stop with a dimple in the middle. This is a half-and-half proposition. You have to bash the core plug down to half height for half the diameter to assure it will be properly expanded to be very secure. That done, reinstall the distributor and top up with coolant and see if it will fire up. Dean had a gallon of pre-mix in his boot.


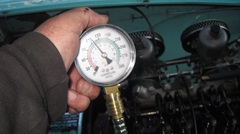
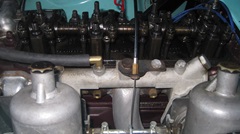
It did start, sort of, resulting in a loud pop-pop-pop noise when it ran. Not good, so kill the engine and investigate further.So pull the spark plugs to do a diagnostic compression test. Good compression on 1, 2, 3, and just a little low on #4, so not likely to be a blown head gasket. One clue to the problem, it was blowing pressure out from #3 spark plug port while testing #2. I was worried that it may have blown the head gasket, or a broken rocker armn, or worse. -- Time to pull the valve cover to see what might be amiss up top. Here we found the 2 exhaust pushrod dislocated from the ball end of the rocker arm. That explains the loud popping noise, and the chuffing from #3 port when testing. When running, #2 exhaust valve was not opening after the power stroke. On the exhaust stroke it would be super-compressing the expanded burned gas. When the #2 intake valve opened for the next stroke, the super high pressure exhaust gas from #2 would suddenly expand into the intake manifold, making the loud pop noise as it blew back through the front carburetor and air cleaner. Maybe this was not so bad (maybe).
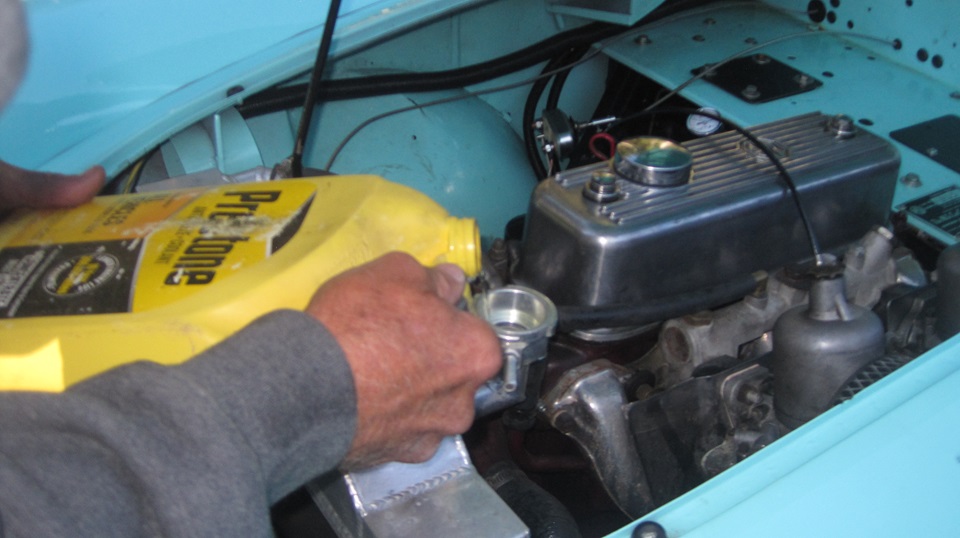
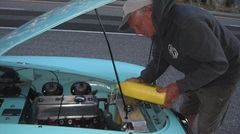
Don't want to know how the push rod got dislocated, just back off the adjuster, put the push rod back in place, and re-adjust the rocker arm. Also tighten all of the adjuster jam nuts, just to be safe. Reinstall the rocker cover,and fire it up. Sure enough, running okay on all four, with a little burble in the exhaust noise due to the slightly low compression on #4. Dean assures us that the exhaust has always sounded like that, at least recently, so he is confident to drive on. Top it up with coolant, and we'll see how it goes.. --I decided to follow along for a little way, just to be sure, y'know. Two miles further up the hill Dean pulled over an reported it was over heating again. Oops, need some more coolant. I suppose Dean only had the one jug and failed to get it completely full. This time I pulled a gallon of 50/50 mixed coolant out of the Magic Trailer to top it up, needing another 2-quarts (as anticipated). That fixed the overheating issue. Just a few more miles up the hill to a summit at Government Camp. If it would do that with no more problem, then they should be be good to continue on. It did, and they did, so I was turning around to coast it back down the hill to Welches.

Quick breakfast and email check, pack up for 11-o'clock check out time from the resort, and we were on the road again. Short on sleep, tired, no immediate appointments, so we only drove 75 miles south back to the last McD were visiting in Madras, OR just before going to Welches. The challenge here was finding something useful I could do while trying to stay awake the rest of the day. I did manage to track down a new MGA crankshaft pulley to replace the one we borrowed from Stu's spare "loaner" engine last month (just before the deer strike). When McD closed at 9-pm we moved a few miles to a Loves stop for continued WiFi, then turned in a little earlier than normal.
Saturday July 20, 2024:
Still in Madras, OR. Nothing magic today. Good that I got some sleep, so I could spend the day processing and posting photos and notes for this trip log. Completely caught up now, so enjoy the page up to here. I should have the day off tomorrow, so planning to get the inventory list in order and prepare an order for more parts to process first thing Monday for restoring inventory in the Magic Trailer.
Sunday July 21, 2024:
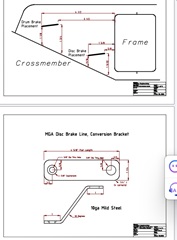
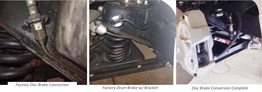
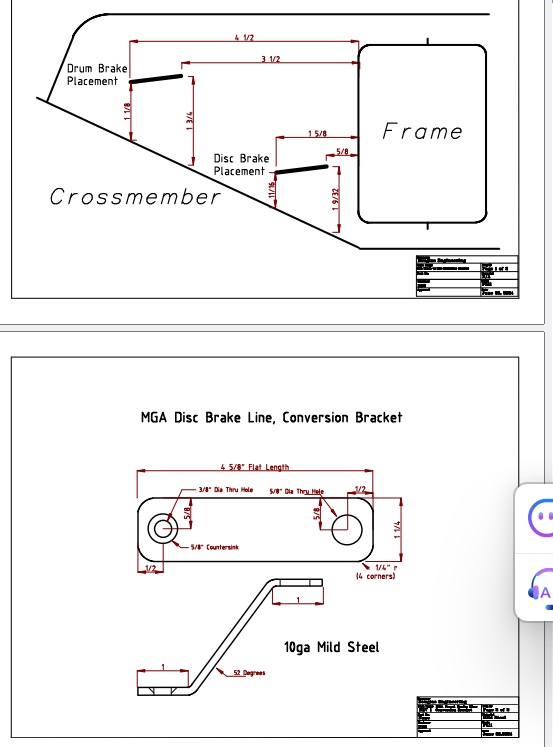
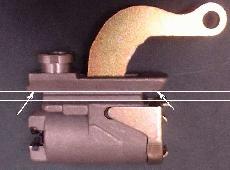
A bit farther south, sitting in Redmond OR. Thought I might have a day off, but took some time to append a Brakes tech page to show a special hose bracket useful when converting anMGA drum brake car to front disc brakes.
Monday July 22, 2024:
Still backtracking our way south, back in Klamath Falls OR today. I think I finished updating the MG parts inventory list and the wish list for next parts order. Also got the crankshaft pulley ordered, to be delivered to friend's place in a few days.Still need a few small parts, but not so urgent.
Tuesday July 23, 2024:
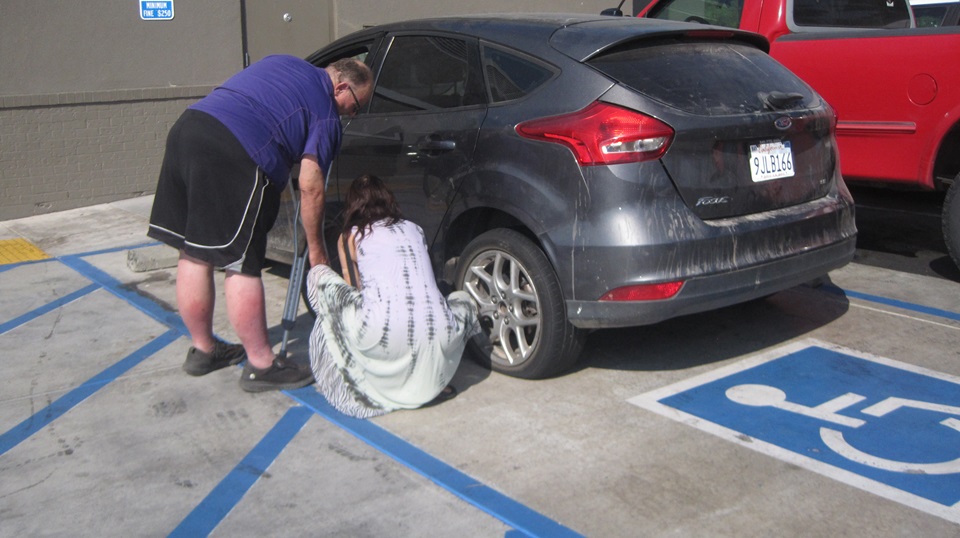
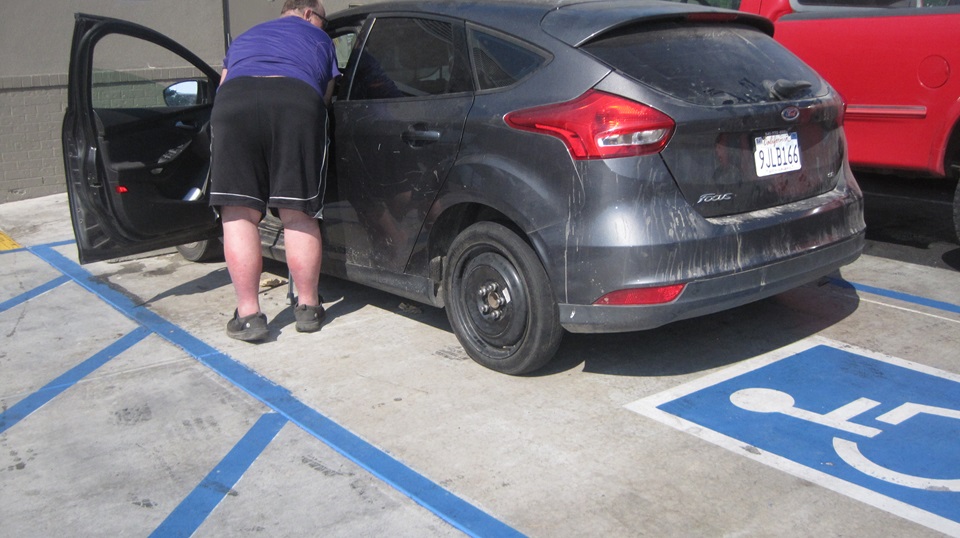
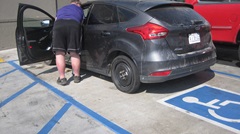
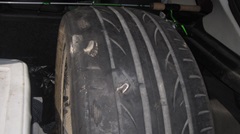
Morning maintenance, tighten fan belt, reset points +timing, adjust front tire pressure before half hour drive for breakfast. Back in Weed, CA with a bit of a distraction this morning. We found a Ford Focus in distress with a flat tire, sitting in a handicap spot. Seems like it arrived late last night. There was a spare tire (space saver spare), and a minimally functional scissors jack (maybe), but no lug wrench, (not known why it was missing). We have a better jack, so this should have been a quick fix,except, .... The lug nuts seemed to be damaged some. Typical cheap production imitations of acorn nuts made with minimal forgings, tapped through, then covered with a stamped stainless steel shell. Wrench size was supposed to be 3/4-inch (or 19-mm). Looks like someone tried to use a 13/16" wrench, resulting in rounding off the corners and distorting the hex shell so a 3/4" wrench would not go over the nuts. Some patience and persistence required here, grab a hammer. I managed to pound a 3/4" 6-point socket over the nuts to re-form the thin outer shell, then wiggle the socket to get it loose enough to remove it. In th end we win. wheel changed and lug nuts reinstalled. The flat tire had a big staple in it,which may or may not accept a hole plug or two. But it was also worn through to the structural cords on the shoulder (probably from running fat), so definitely shot. A At least the space saver spare was good, so this car was mobile again.

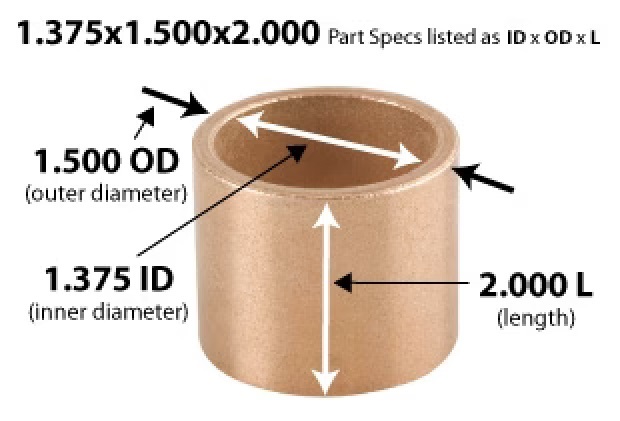
 Ordered a few bronze bushings for spares, suitable for replacing the gearbox tail bearing for early or mid MGA 1500. Last time this was replaced in my car was in May 2015, about 240,000 miles back. I don't know for sure if this is needed again yet, seems to be a small vibration and seal leak. But there may be an opportunity while changing the gearbox rear seal in a few days, so just covering the bases. Parts being shipped ahead.
Wednesday July 24, 2024:
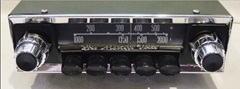
Updated an Accessories Tech page for Radiomobile period correct radios. Added a picture of a 500 series radio, plus
"His Masters Voice Car Radio SERVICE INFORMATION" (9-MB pdf document -- 5 pages) for model 502T, plus
"SMITHS Radiomobile OWNERS MANUAL for Transistor Powered Car Radio" (6-MB pdf document -- 7 pages). -- Decided to stay out of he central valley this time. Heading east from Weed on CA89 and CA44. Interesting late night run through the mountain roads. Two hours and 112 miles on we found Bogard Rest Area on CA44, half way between McArtur, CA and Susanville, CA in the Lassen National Forest. Cool and quiet, except for one truck running a cooling unit.
Thursday July 25, 2024:
Heading east on CA44, negotiating through some road construction (repaving), 30 miles on we landed in Susanville, CA for late
 breakfast. -- Got a call from Muncie Imports and Classics in Muncie, Indiana, who are currently working on a customer car MGA Twin Cam. They just wanted to know the thread size for oil pressure signal tap in side of the engine block. I had this business on my North American shops list by name and city only. Now I have the street address and phone number and web site address to update the Shops list. Will be scheduling a courtesy stop there in mid September. -- Heading more east, fuel stop in Doyle California before bouncing off the corner of Reno, Nevada, and heading south through Caron City. Late lunch and WiFi in Carson City, then a bit more south for dinner in Minden,NV.
Friday July 26, 2024:
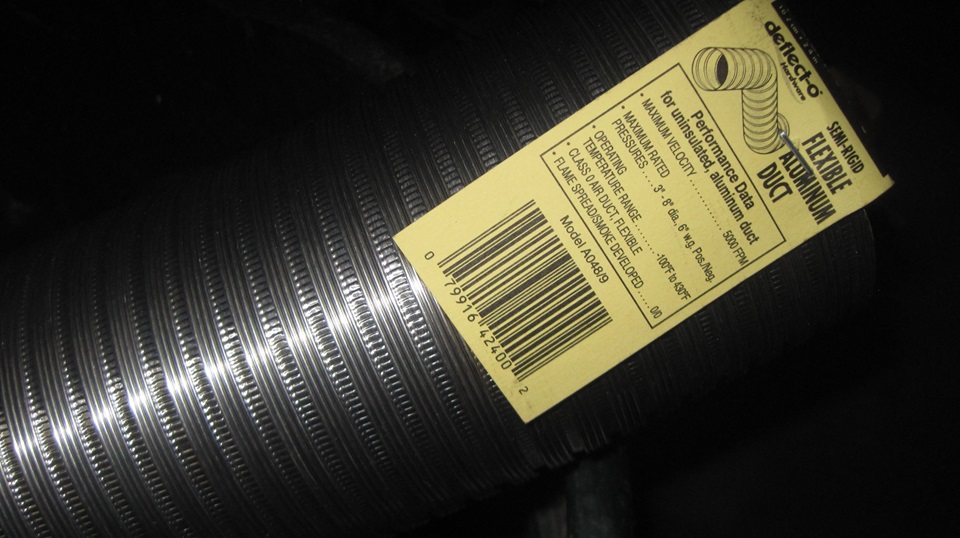
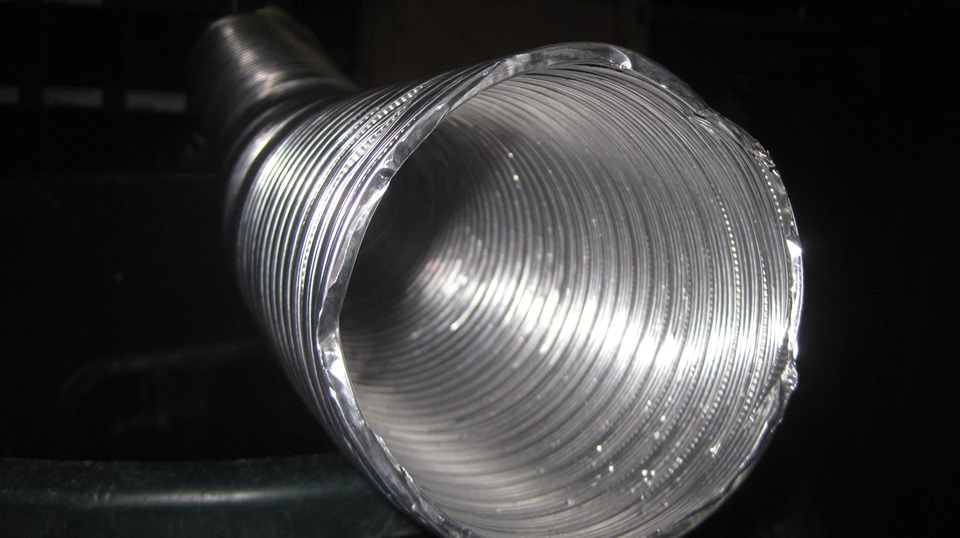
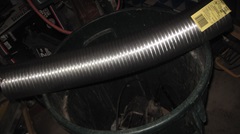
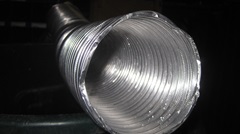
Sat in Minden, NV most of the day before a trip to Ace Hardware to look for a possible replacement for the MGA choke return spring. No luck there, but we did pick up some more fiberglass cloth for the trailer repair, and re-stocking a bunch of small screws. I also picked up a 4-inch aluminum flex hose, originally spec'd as a clothes dryer vent pipe, considering using this in pl;ace of the crappy original style black paper and aluminum foil heater vent hose. This pipe is double wall, corrugated and knurled together to be thick wall and very stout. This would be perfectly functional, except for being electrically conductive, which would not be good when located near the battery cables. Think about covering it with black Duck Tape after forming to shape and first installation.

Then a quick fuel stop before we ran the gauntlet through the mountain pass from Minden, NV to Murphys, CA. MapQuest claims
 8-miles to the California border on NV-88, 6 miles on CA-88, -followed by 11-mi on CA-89 and 66-mi on CA-4 through Ebbetts Pass (in excess of 8800-ft elevation). 90-mi total, supposed to be 45-mph average for exactly 2-hours. We almost never match the MapQuest time when towing the 600 pound Magic Trailer, especially in such steep hills and tight switch backs. But his time we did make it in 2-hours flat, not withstanding navigator's finger nail marks in the crash rail with some minor tire squealing in the tight turns, and lots of late afternoon traffic. There we are back at Brice Station Winery in Murphys, CA, slightly more dusty. No travel or vehicle problems, learning to live with the poor quality ignition points needing frequent adjustments. -- Then we did a quick run three miles down the hill into Murphys and back to pack the larder. Take the rest of the evening to rest and catch up the notes and email.
Saturday July 27, 2024:
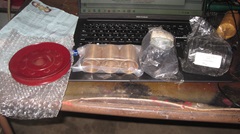
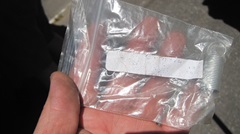
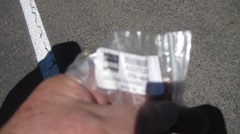
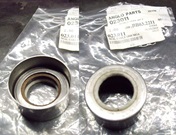
Good morning. Some packages arrived yesterday, so we have some new parts. Start with a new (used) crank pulley that appears to be in excellent condition, but I will want to check how straight it is before use. A new set of engine core plugs and two original style steering rack boots for spare parts. Also three bronze bushings, 1-3/8-ID x 1-1/2-OD x 2-inches long. We will slice 3/4-inch from both ends of one piece and toss out the remaining 1/2-inch from the middle. 3/4 plus 2-inches = 2-3/4 length to use as replacement for the tail bearing in the MGA 1500 type gearbox (and another set for spare). Not sure when we might get around to doing this, because it most likely requires R&R of the engine and gearbox to remove the tail housing. One of those big jobs to replace a small part. We will see what happens in the next day or two.
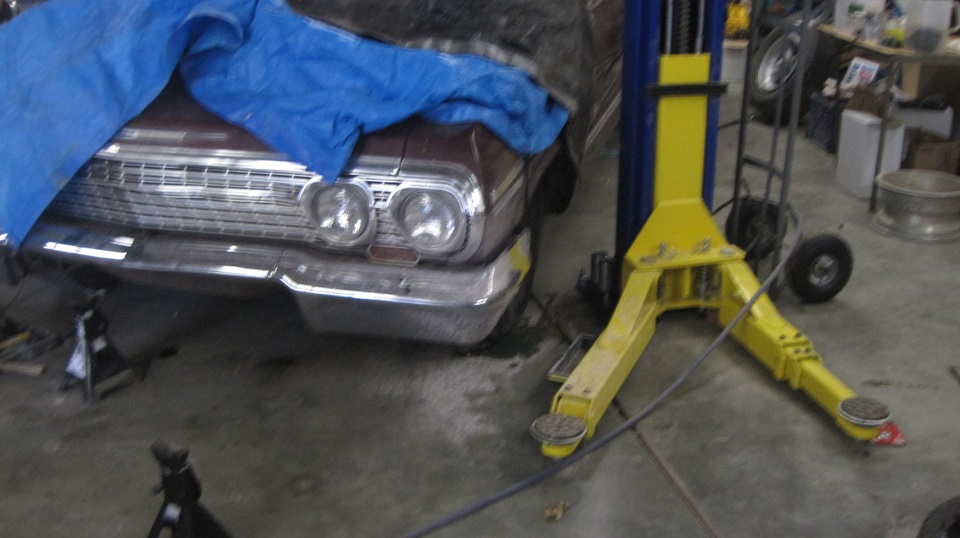
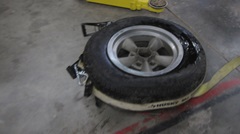
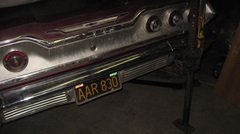
 There were supposed to be music concerts going on all weekend, Friday through Sunday, but things were pretty quiet around here. Apparently one of the key performers caught Covid, and the whole shebang had to be cancelled. Meanwhile, about 5-pm Stu and his brother were getting into moving the '63 Chevy a bit because it was overlapping floor space to interfere with using the frame hoist. Two flat tires, a spare with air, and a couple more tires on wheels to choose from, an hour of fiddling around got the Chevy to roll. The spare MGA engine was on a roller dolly, a stack of wire wheels was easy enough to move, so the hoist space was soon clear. There were supposed to be music concerts going on all weekend, Friday through Sunday, but things were pretty quiet around here. Apparently one of the key performers caught Covid, and the whole shebang had to be cancelled. Meanwhile, about 5-pm Stu and his brother were getting into moving the '63 Chevy a bit because it was overlapping floor space to interfere with using the frame hoist. Two flat tires, a spare with air, and a couple more tires on wheels to choose from, an hour of fiddling around got the Chevy to roll. The spare MGA engine was on a roller dolly, a stack of wire wheels was easy enough to move, so the hoist space was soon clear.
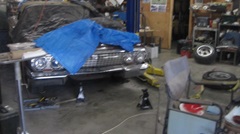

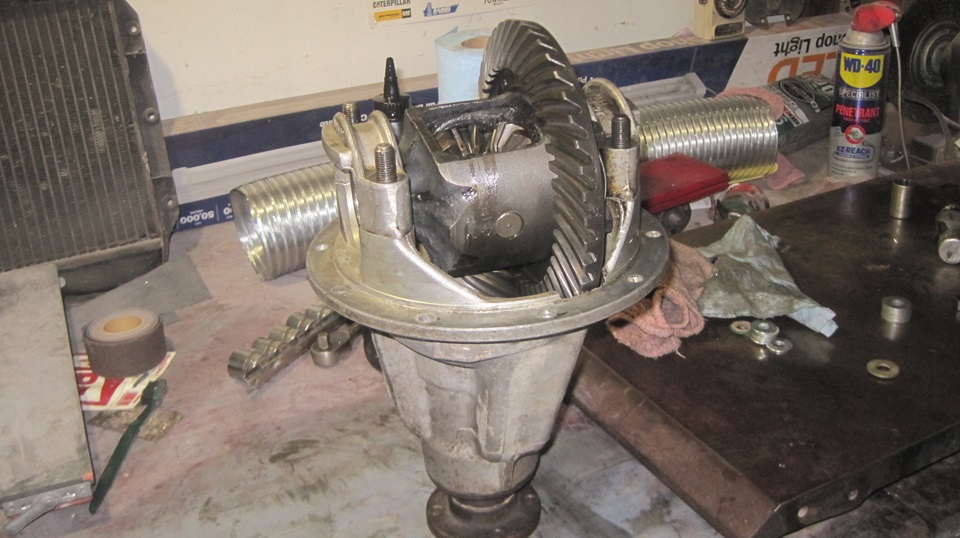
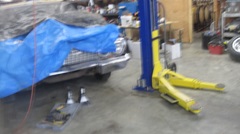
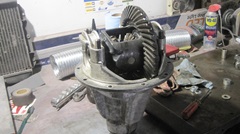
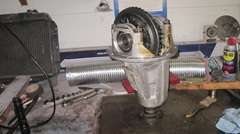
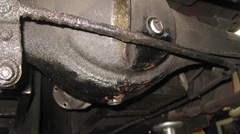
We got the MGA onto the hoist so we could walk under to work. All we wanted to do was replace the differential paper gasket, but
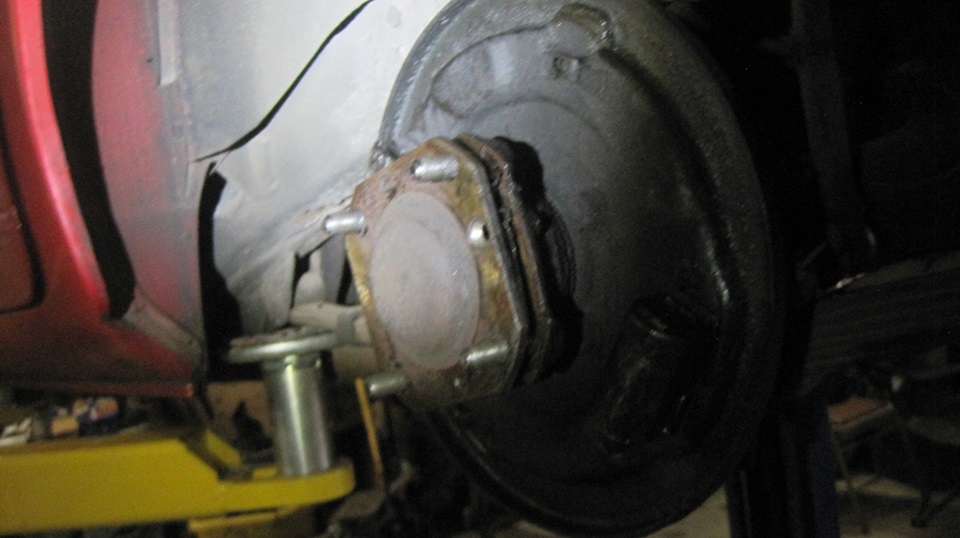
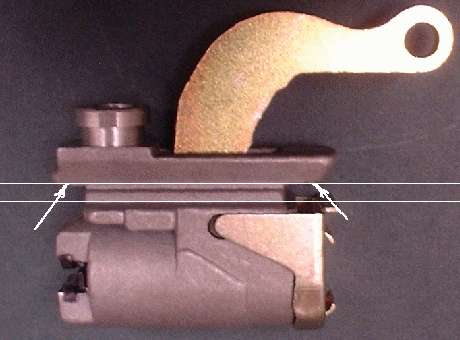
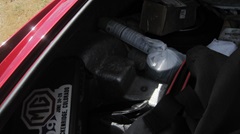
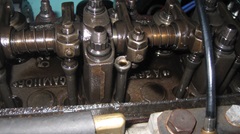
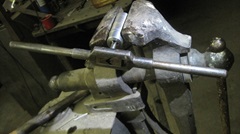
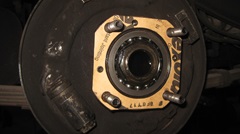
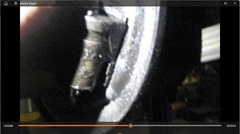 you should know how these little jobs always seem to expand. The parking brake has been dragging lately, so the car didn't want to back up. This was likely caused by the rear brake cylinders being worn to be very loose in the sliding slots of the backing plates (click picture at right for 21-MB video). We will be ordering new slave cylinders come Monday. -- We got the wheels off, removed brake drums, pulled the halfshafts, disconnected the propshaft, and pulled the differential out. Spent a couple hours (or more) trying to clean the differential on the workbench. Really filthy job, ending up with stray dirt/grit in the gears and bearings. Only way to get this clean enough inside was going to need disassembly. Chore for tomorrow.

Sunday July 28, 2024:
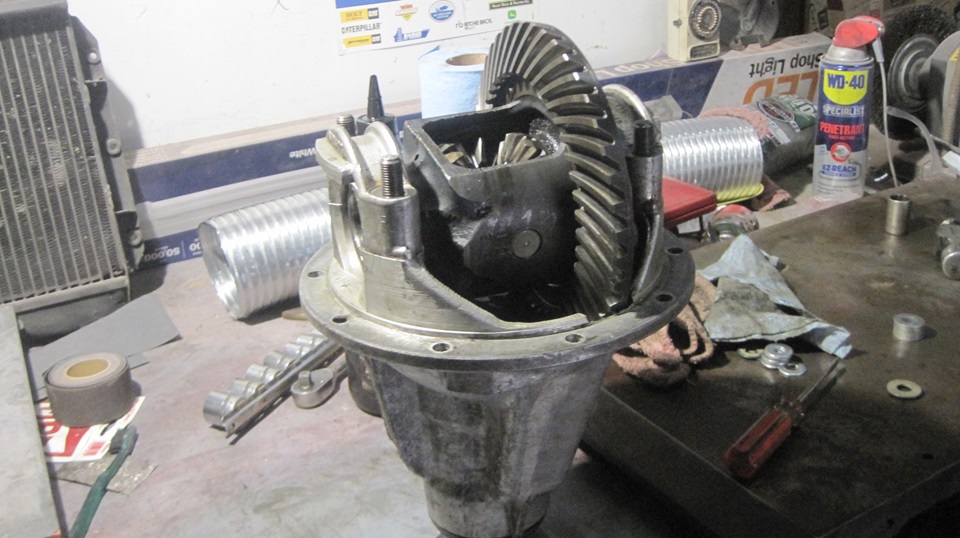
Time to clean, inspect, adjust the differential. This thing was freshly rebuilt a couple years ago, and still in excellent condition when the broken halfshaft had to be replaced two months ago. Looks like a little wear since then, likely due to dirt left inside after the hurried halfshaft replacement. But it ultimately cleaned up okay with due diligence this time. We adjusted preload on the input pinion shaft roller bearings, reassembled the carrier, oiled everything and checked ring and pinion gear backlash (still serviceable). Finally a sigh of relief, ready to go back in the car.

Monday July 29, 2024:
 The short news is, we didn't touch the differential or rear axle today, even though it could have been finished. First morning priority would be to get the new rear brake slave cylinders on order from Moss in Golita, so we can get back on the road in a few days. considering we have to pay for shipping, it seemed like a good time to add several inventory refresh items There were a few items that Moss can no longer supply, like some quality rubber parts, so we would also place an order with Scarborough Fair, with another shipping charge. Since S/F has generally lower prices, I was switching some items from the Moss order to the S/F order. In the end. the only item remaining on the Moss order was the rear brake cylinders, because we need them quicker, like 2 days instead of one week. So Moss parts (same day shipping) will likely arrive Wednesday, and S/F parts (for inventory) will likely arrive next Monday (too late in the day for same day shipping).
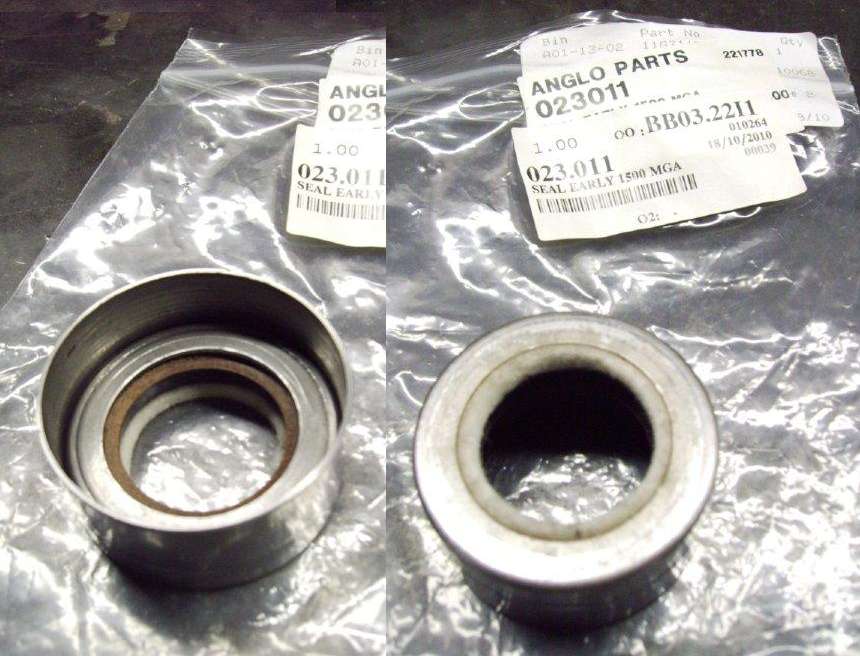
 -- One part only, the early MGA gearbox rear seal, was ordered from a different on-line seller, simply because it was way less expensive than any of the more common Brit parts suppliers. The lesson here is, you can spend a little more time price shopping for big ticket items. Sooner or later Moss will have to realize (maybe the hard way) that they will loose a lot of business selling low quality parts for premium prices.
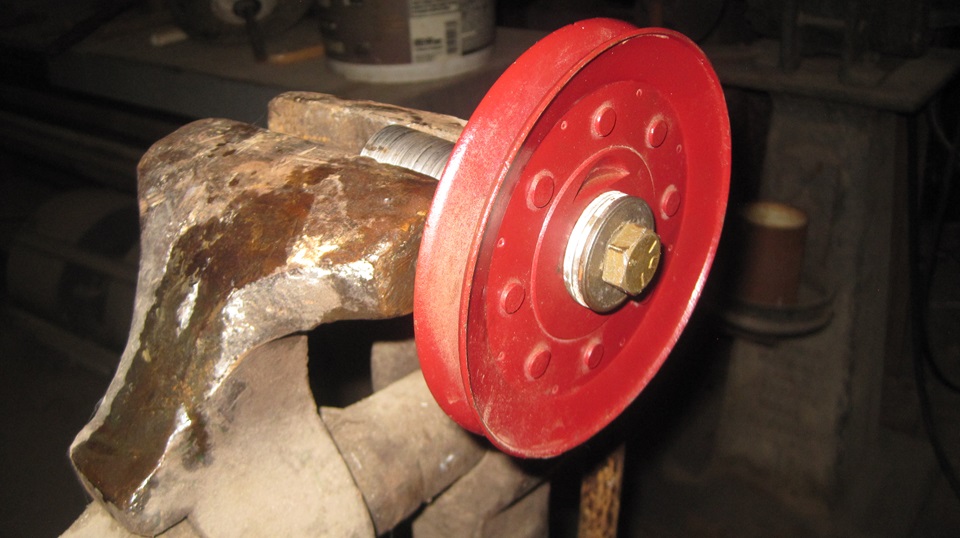
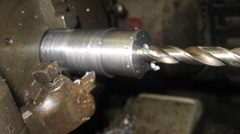
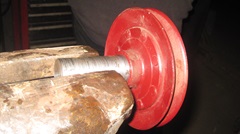
Then I had a pet project I've been wanting to try for some time. The replacement used crankshaft pulley that arrived Friday had a dent deformation about 1-1/2-inches long in the front flange of the sheet metal pulley. Looks like it may have encountered the steering rack during R& of the engine. That is not a problem with my early 1500 car when I R&R the engine separate from the gearbox. But the 1600 type with extended tail and bolted propshaft coupling can have more front interference if you try to pull the engine and gearbox together.
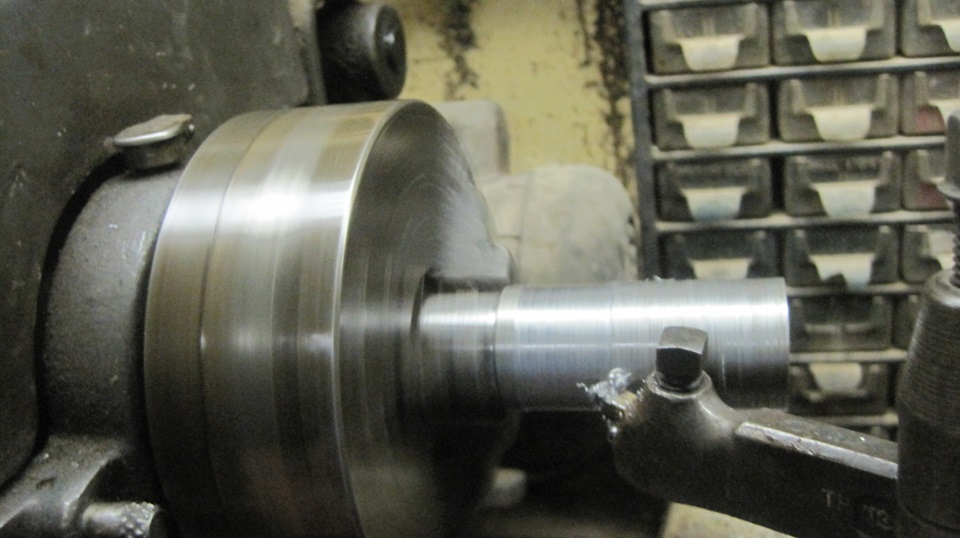
I had an urge to chuck a bent pulley on a arbor, and press it with a roller while rotating slowly in a lathe. The idea is, if you can press it slightly beyond the yield point while rotating, it should take a set with straight flanges. Since Stu has a lathe in his machine shop shop, this was a good time to give it a shot .-- We found a rusty piece of hot rolled steel bar, just a bit oversize. Chuck it in a lathe, face off the end, and turn down the OD to be clean. Flip it around, back in the chuck, and turn the other end to be clean and concentric. Turn down a pilot diameter to be1.123" to be slip fit for the 1/8" bore pulley hub. Drill and tap a center hole for a bolt to hold the pulley on the arbor.

Been a long day, getting late, so I will get back to this in he morning.
Tuesday July 30, 2024:
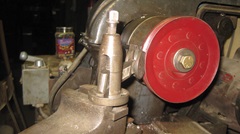

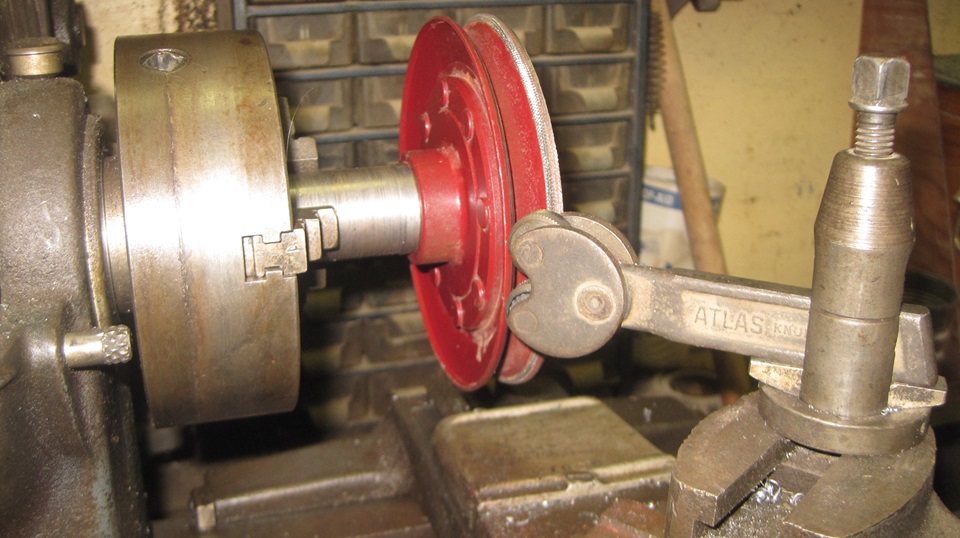
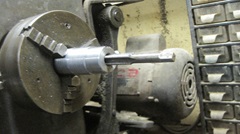
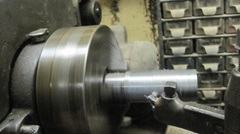
Back at the pesky pulley again. Assemble it into the lathe chuck, and give it a spin to see how much the pulley flanges are bent and wobbling. That was a lot, especially on one side that had the traditional steering rack dent. .Then give the bent flange a push with a roller as it is turning. I didn't have a smooth roller handy, so I gave it a shot with a knurling tool (since I had a feeling I wasn't going to save this pulley anyway).. That would leave a knurl on the inside edge of the pulley flange on one side, which I might machine off later (if this weird effort should actually work). -- When it was still wobbling I pushed it harder and farther, again, and again (what's to lose?). Finally getting beyond the yield point of the metal, the flange moved over a bit and mostly stopped wobbling. It was better then, close but no cigar, so I took another
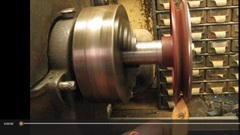 wild shot at it. -- Knowing the recommended "V" angle for a pulley this size is 36 degrees, I set the lathe compound cross slide at 18 degrees, holding a cut-off parting tool, and took a light cut on one side of the "V". Then turned the pulley flip side around on the arbor to take another light cut from the other side of the "V". After taking the paint off most of the way around,this looked pretty good, except that it was an intermittent cut, and some of the paint was still in there. A lot better than it was before, so I gave it quick check with a paint brush handle while it was turning. -- Click on the picture at right to see a 9.2-MB video of the pulley run-out when running. -- Close, but no cigar. wild shot at it. -- Knowing the recommended "V" angle for a pulley this size is 36 degrees, I set the lathe compound cross slide at 18 degrees, holding a cut-off parting tool, and took a light cut on one side of the "V". Then turned the pulley flip side around on the arbor to take another light cut from the other side of the "V". After taking the paint off most of the way around,this looked pretty good, except that it was an intermittent cut, and some of the paint was still in there. A lot better than it was before, so I gave it quick check with a paint brush handle while it was turning. -- Click on the picture at right to see a 9.2-MB video of the pulley run-out when running. -- Close, but no cigar.
-- Notice the handle does not move left/right,but it does move in /out a bit. That means part of the way around the V-slot is wider or narrower, which is what chews on the belt in operation. Best guess was that I would have to machine half way through the metal to get past the intermittent cut. If so, that would surely destroy the integrity of the pulley. -- This was about the time when probability of success was low, and we had more pressing things to do, so I had to call it off, and think more about it later.
Wednesday July 31, 2024:
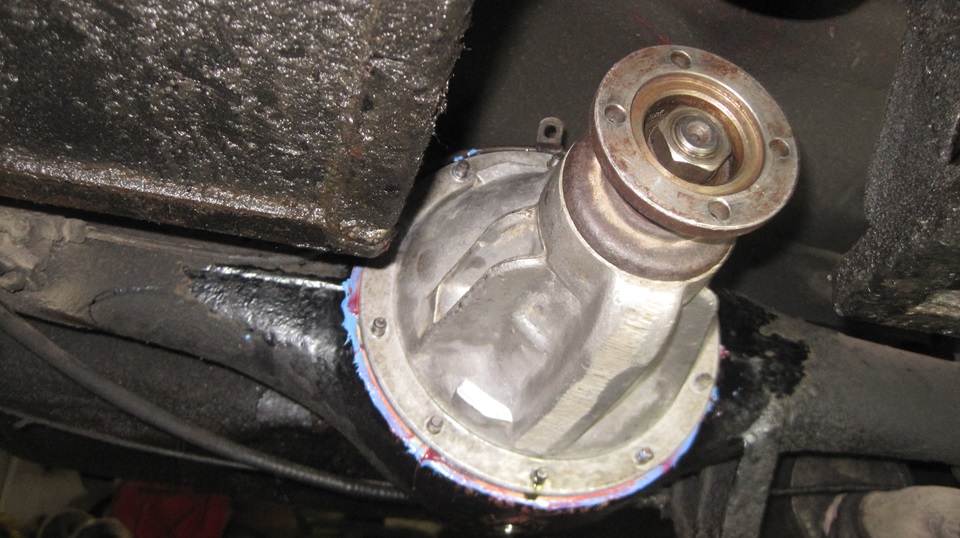
Today we need to get the rear axle reassembled, because the rear wheel slave cylinders are supposed to arrive, and we don't want to delay things more than necessary. We cleaned the gasket flanges, but not sure they are perfectly flat with no scratches. So I put a thin smear of blue stuff on the housing flange, and stuck the paper gasket in place. Then put a thin smear of red grease on the paper gasket before installing the differential. That should remain leak free, but will make it come apart easily next time. And maybe the gasket will remain in tact and not need replacing next time (maybe). Then install the the thin rubber O-rings and paper gaskets in the rotating wheel bearing hubs, followed by the halfshaft to be secured with one flat head screw each side. To get the O-rings properly compressed, we temporarily install two more screws in the positions normally used to secure the brake drums, which will come later, and torqued all three screws up tight, both sides.


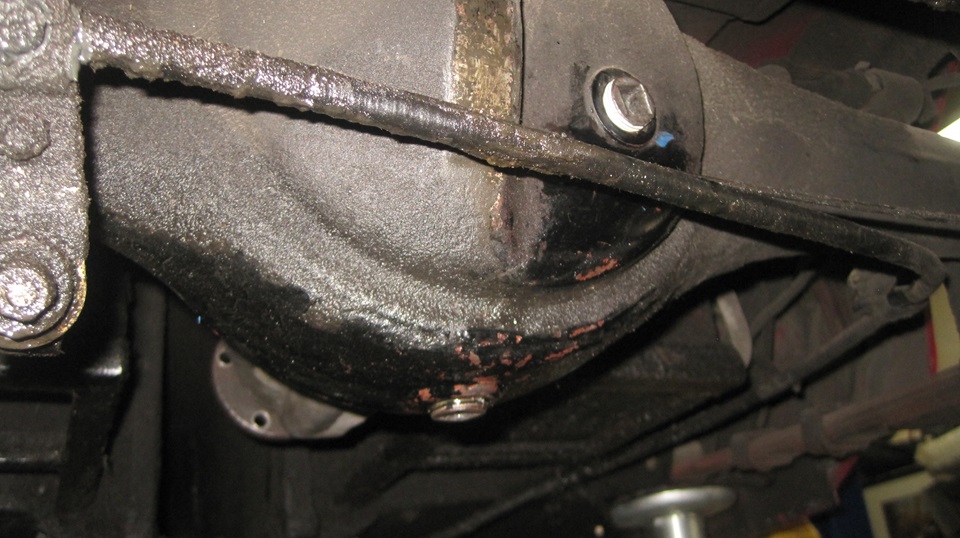
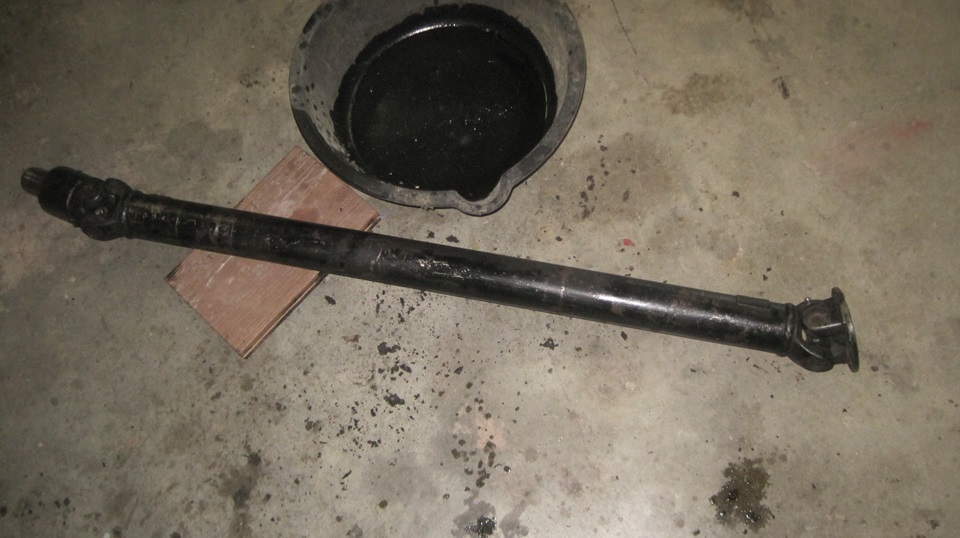
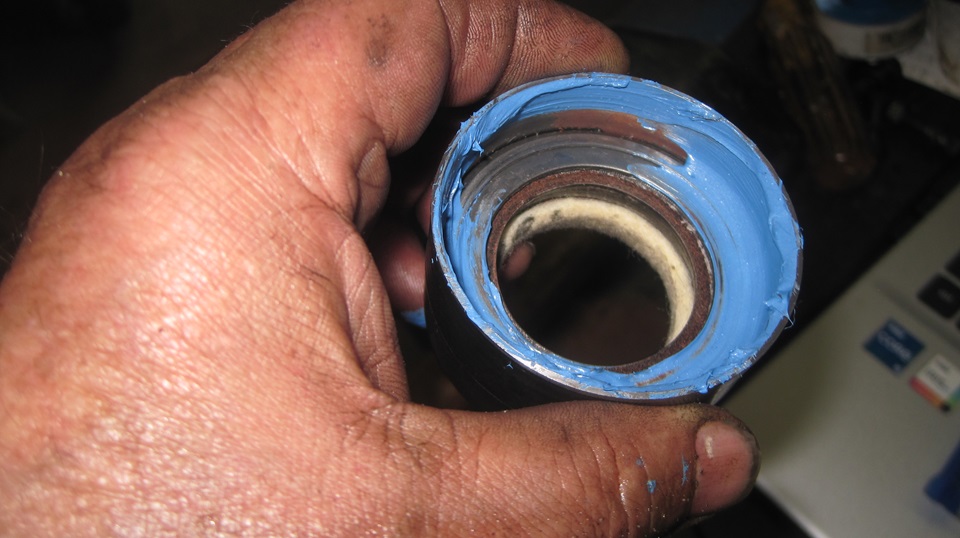
With the axle sealed up we could reinstall the drain plug, remove the fill plug, pump in 3-pints of EP80W90 gear lube, and reinstall the fill plug. The propshaft has been patiently sitting on a board, propped up out of he way on the frame for the duration of the gasket replacement chores. Now pull the propshaft out of the tail of the gearbox and let it sit out of the way on the floor for a bit. you might remember oil leaking past the old rear seal while we were doing front end body repair with the front of the car jacked up at a steep angle. With the car level, no oil leaks out, even after the propshaft coupling was removed. This is because the output is part of the mainshaft, which is well above the high mark oil level in the gearbox. -- That gearbox external rear seal was removed with a long sharp edge drift (big screwdriver) and hammer by tapping rearward on the front edge of the seal shell. An astute observer may notice there are no crimping dimples in the sides of the seal cup, because long experience tells us that is unnecessary and a waste of time and effort (especially trying to get the thing off after it was dimpled). I did trial fit the new seal onto the spigot nose of the propshaft coupling to be sure there was no odd interference (or defective seal assembly). It required a good hard push and twist by hand, but it did go together, so we were sure the propshaft could be reinstalled after the seal was in place, on the gearbox.

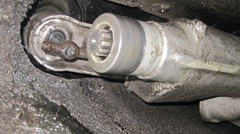
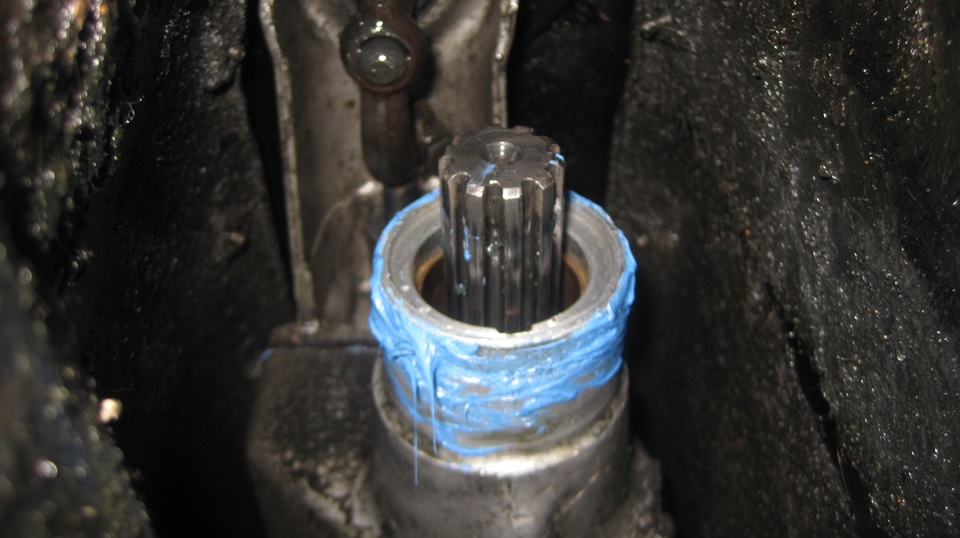
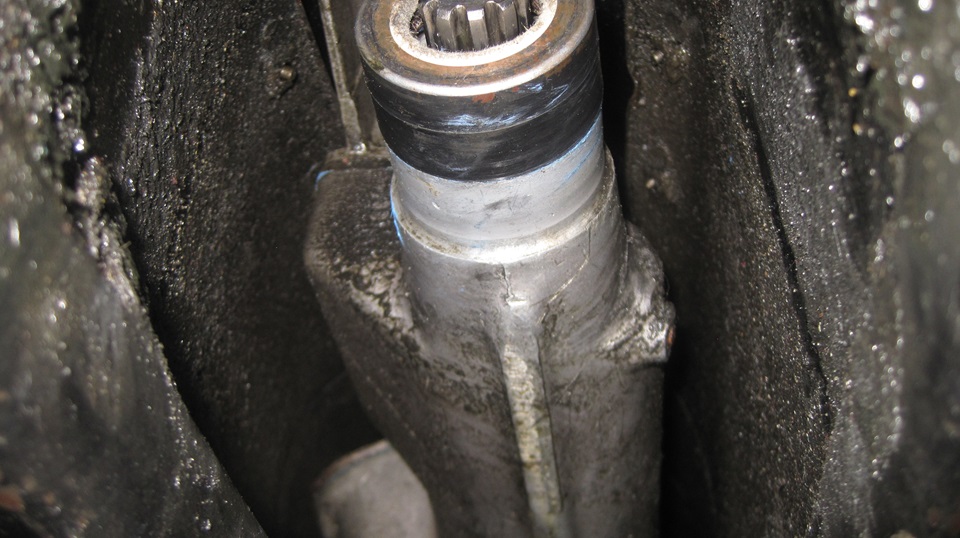
The new rear seal cup has a metal to metal press fit on the tail of the gearbox housing, but no guarantee it will not leak at this joint, especially if the housing was scratched or the seal was a bit crooked during installation. So we put a little blue stuff on the inside of the seal cup. and little more on the outside of the housing before installation. Line up the seal and give it a few light taps with a hammer to get it started. Once the face of the seal cup comes flush with rear end of the splined shaft, lay the edge of a board on the shell just to the side of the shaft, and tap it in, alternating left and right of the shaft to drive the cup home where the edge of the cup abuts a small step on the housing. Wipe off any blue stuff left on the outside of the cup and housing,and the rear seal is installed and ready for service (without removing the gearbox.


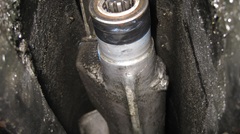
Seems like it should have been just a minute or two to push the propshaft coupling spigot nose through the seal and internal sleeve bearing, but things are not always that easy. We were ramping up intensity of the finesse until we finally had three guys, the engine starting handle, two crow bars a and a big hammer working. The propshaft finally gave in and moved forward to the desired final position,where we could reconnect the rear U-joint to the differential with four bolts,and it would all turn okay by hand, so all is well that ends well. But it did take a lot of time. By the time I was well into posting the photos and notes it was well into the small hours of the morning, and I was about to be well short on sleep again.
|