The MGA With An Attitude
Sunday, February 1, 2026:
Also new pages for Studs, short 51K881 and long 51K893,for rocker brackets on the cylinder head. Monday, February 2, 2026:  Added a new Part Numbers tech page for the 4-inch bore P-clip AHH5714 that holds 4-inch air hoses for heater air intake and carburetor vent hoses in MGA. 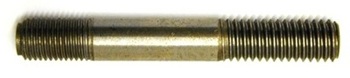 -- Added a new Part Numbers tech page for the51K886 threaded stud (4) securing the main bearing cap in the differential carrier in MGA, early MGB, and the Z‑Magnette cars.
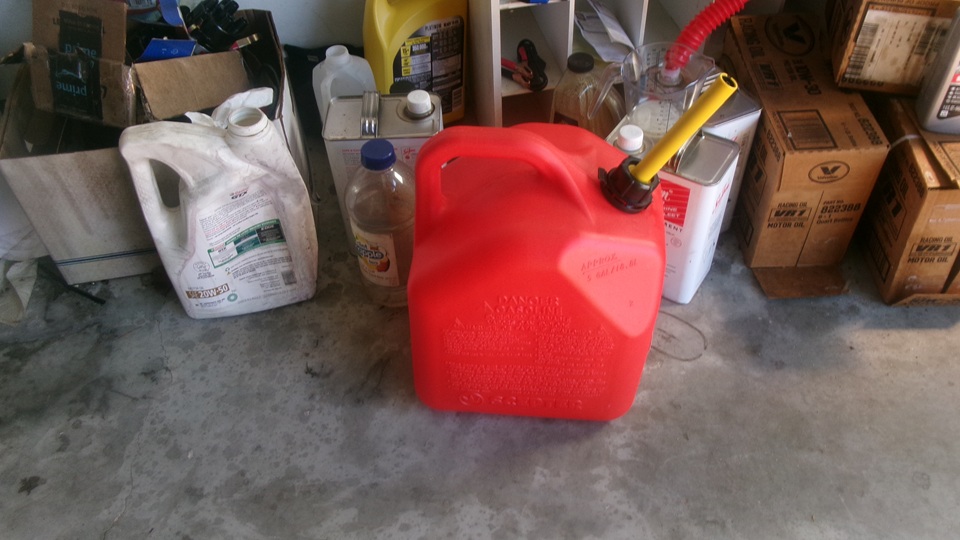
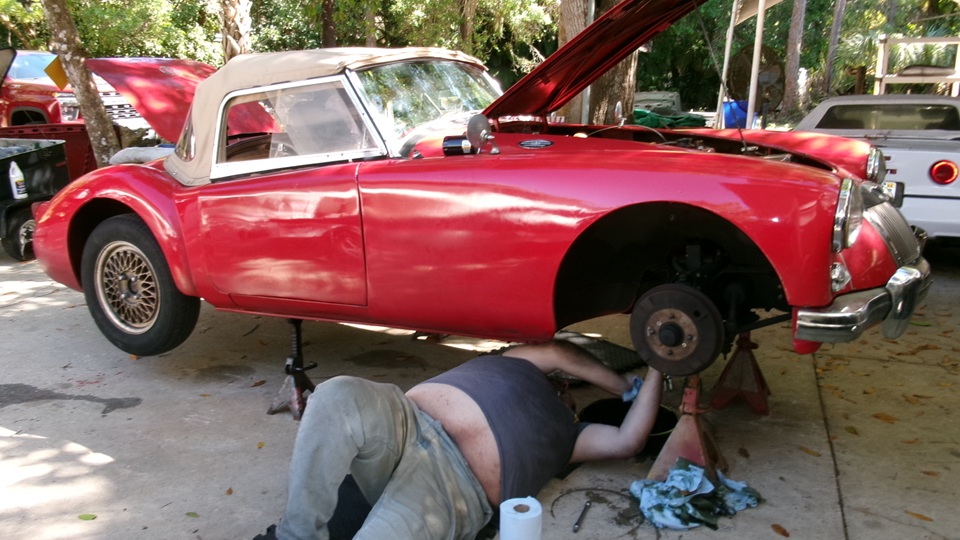
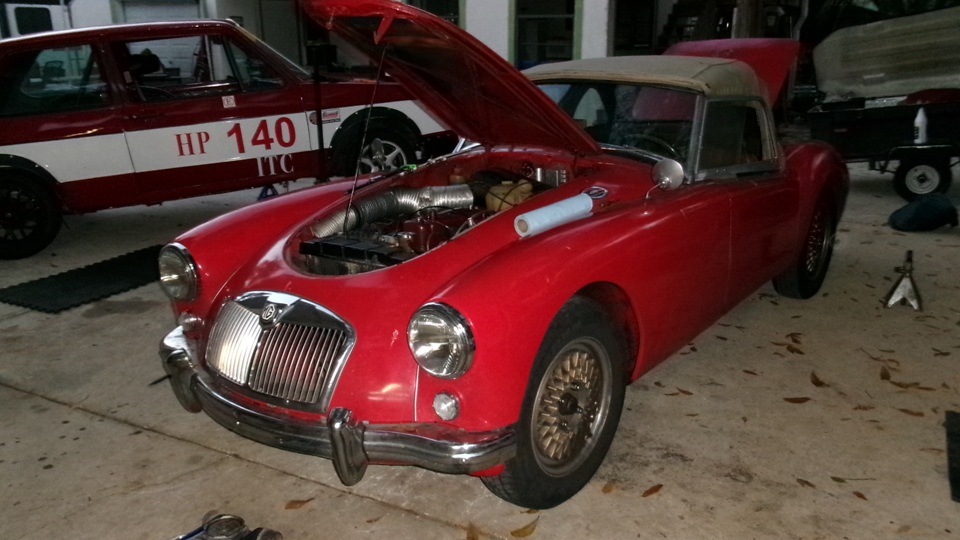
 Tuesday, February 3, 2026: on Fri Jan 3 we were working on right rear brakes of an MGA 1600-MK-II Coupe at Tech Central. On Jan 30 we were checking out the stuck bonnet latch while the car was in for paint touch up in Bonita springs, FL. Today we were off to Fort Myers, FL to visit the red Coupe at its home base where we had a drive-on lift to help with access to the stuck bonnet latch. The Coupe drove home from the paint shop, but died at the door before entering the shop. Turns out it ran out of fuel, so a few gallons of gas got it running again, so it could be driven onto the lift. 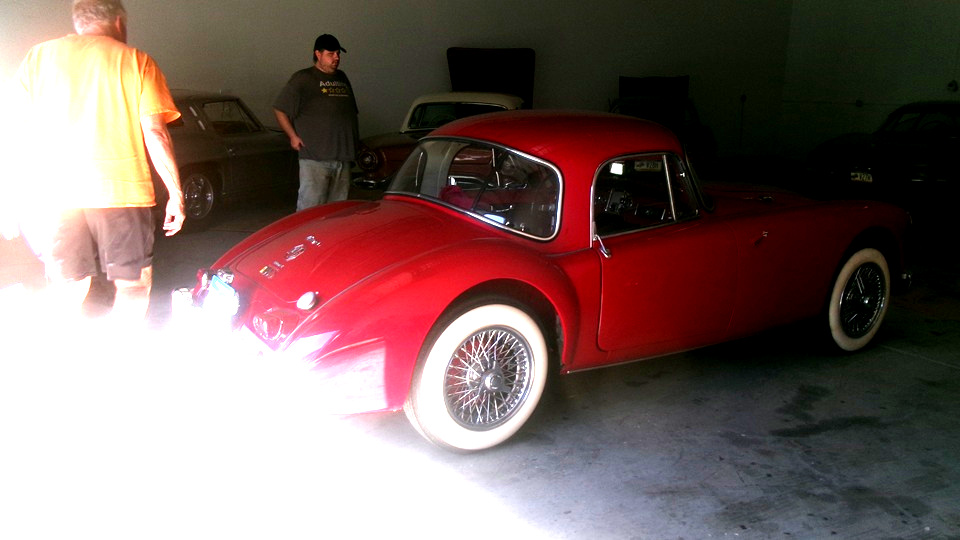
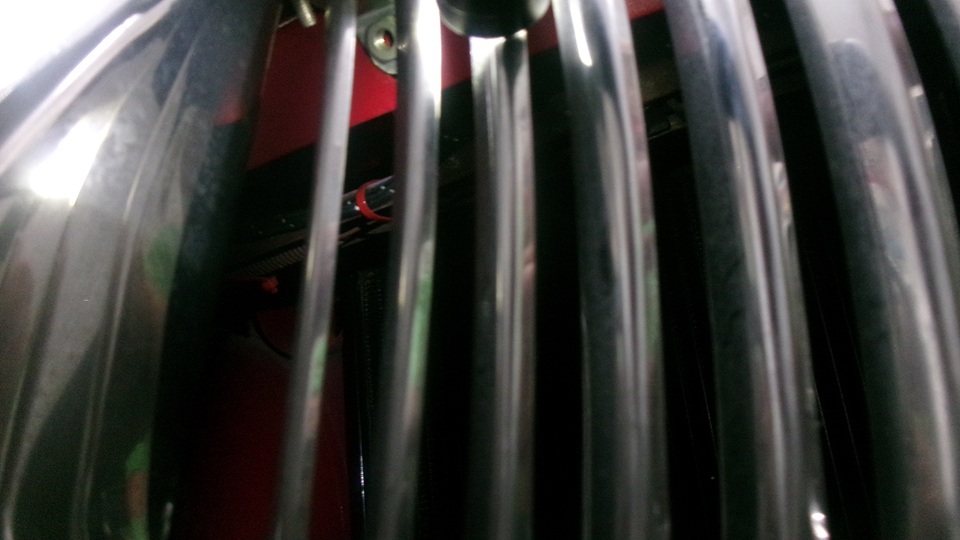
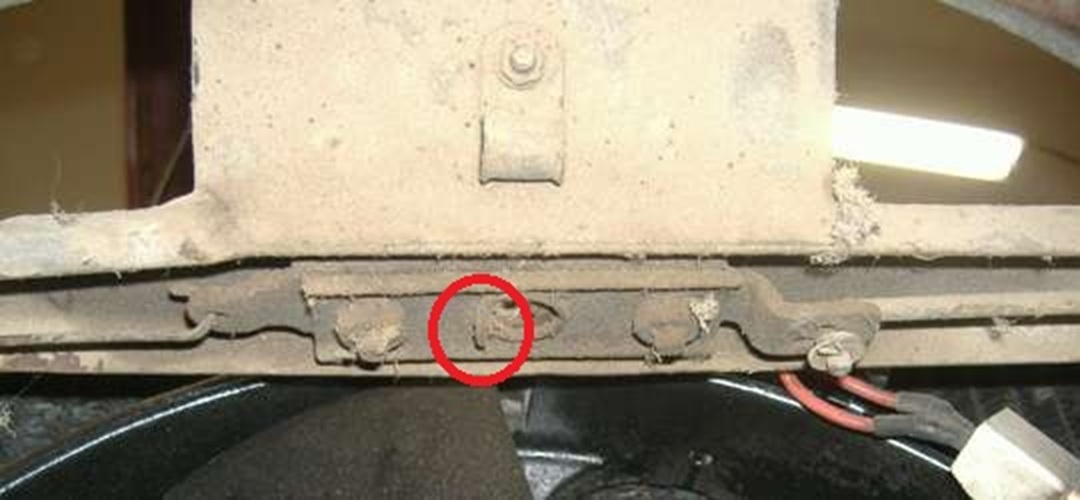
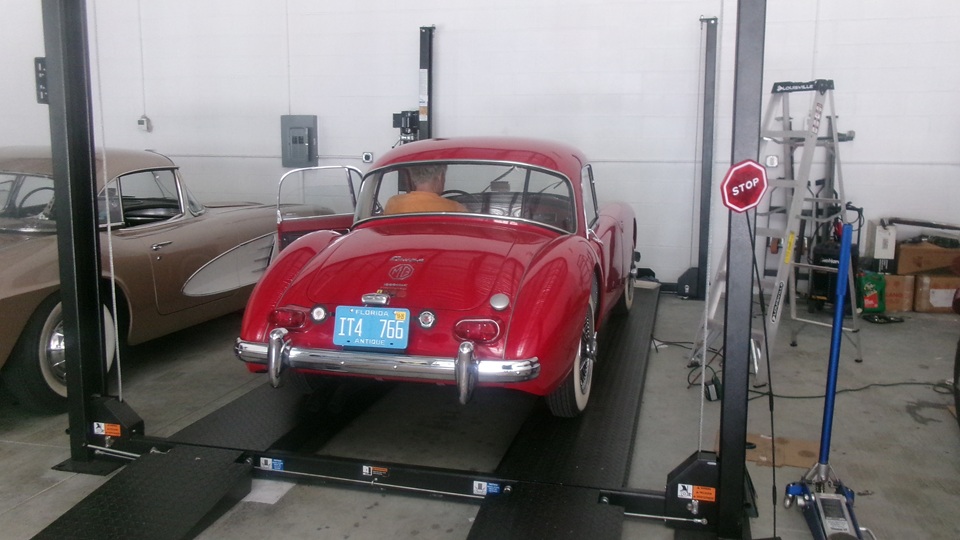 We had the latch pin pusher tool from last week, and the car on a lift for much easier access in front, much more workable. We tied back the bonnet release pull rod, spread the grill fins slightly, and spent an hour or more poking the bottom tip of the latch pin around with some vigor, but still no luck. then we pulled out the parts list diagrams to study the assembly, and checked some pictures of the latch from my web site. We finally figured out that the bottom plate of the bonnet latch was installed wrong, swapped end for end, so the blocking tab underneath was on the wrong side of the latch pin passage port. The picture below right is correct (see tab in red circle). The red coupe has this tab on the opposite side. That allows the latch pin to be pushed off center by the spring drawn latch slider so if the bonnet is pressed down a bit too far, the tapered latch pin head can be caught below the edge of the bottom plate. 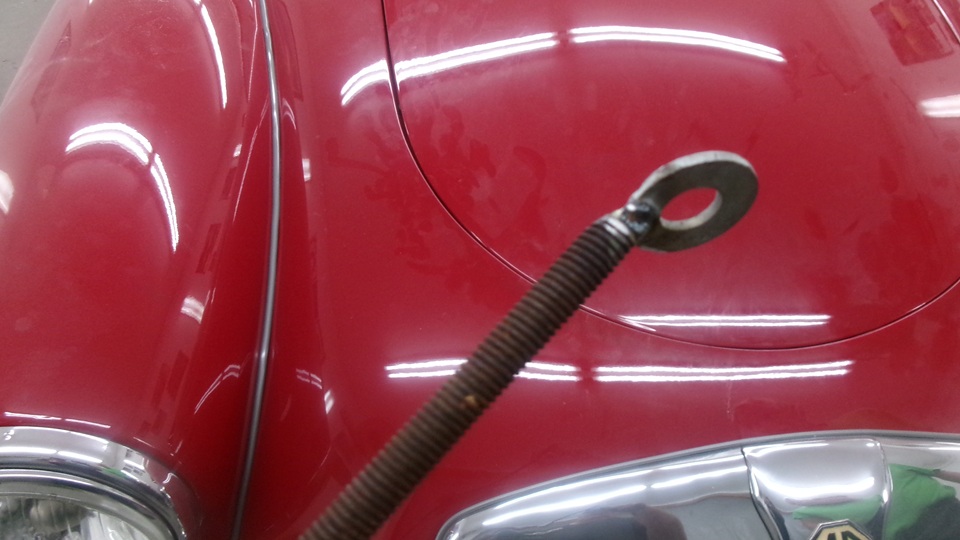
 That solved the mystery of how and why the latch was stuck. but we did not get it unstuck, yet. The pusher tool with the washer welded on the end was not quite strong enough to pull the pin forward and in the direction toward the stop finger, so we needed a different tool. Think giant flat blade screwdriver with 15 to 18-inch reach. That may be able to get behind the pin to push it forward and back toward center. Unfortunately we don't have that tool handy, so this project will wait for another time. 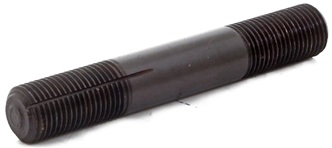 Wednesday, February 4, 2026: -- Added a new Part Numbers tech page for the51K894 threaded stud (6) securing the main bearing cap in the Austin B-series engines, used in MGA, MGB, and the Z‑Magnette cars. 
-- Added new Part Numbers tech pages for three different part numbers, essentially all for the same identical part. This is a short 5/16" threaded stud, 52K2171 for the tachometer drive housing on MGA 1500, 53K2171 for the tachometer drive housing on MGA 1600 and 1600-MK-II, CLS2511 for the tachometer drive housing and distributor drive base on Twin Cam. I have no idea why there are different "52K" and "53K" numbers assigned. -- I think the "CLS" number is a standardized stud configuration .number. Thursday, February 5, 2026: Chasing multiple problems. Good quality vintage radiator that leaks, and no radiator shop in the area. I wouldn't mind paying the bill to have the original cell core radiator rebuilt as new, but it takes time (weeks) to ship it out of state to be done. Meanwhile I need some functional temporary radiator, MGA or early MGB, to keep the car running. No spare radiator available locally, so we bought a new modern issue tube-type radiator, but that one is incorrect configuration and will not fit in the car. Bummer. Been chasing that problem for a week, no resolution yet, just a stalled project with the vendors. But I know where there is a serviceable radiator. A few years back we procured the existing cell core radiator from a friend in California, and I'm sure our old re-cored radiator is still sitting there, so we now have a phone call pending. 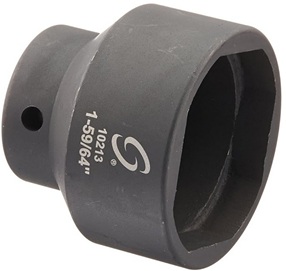

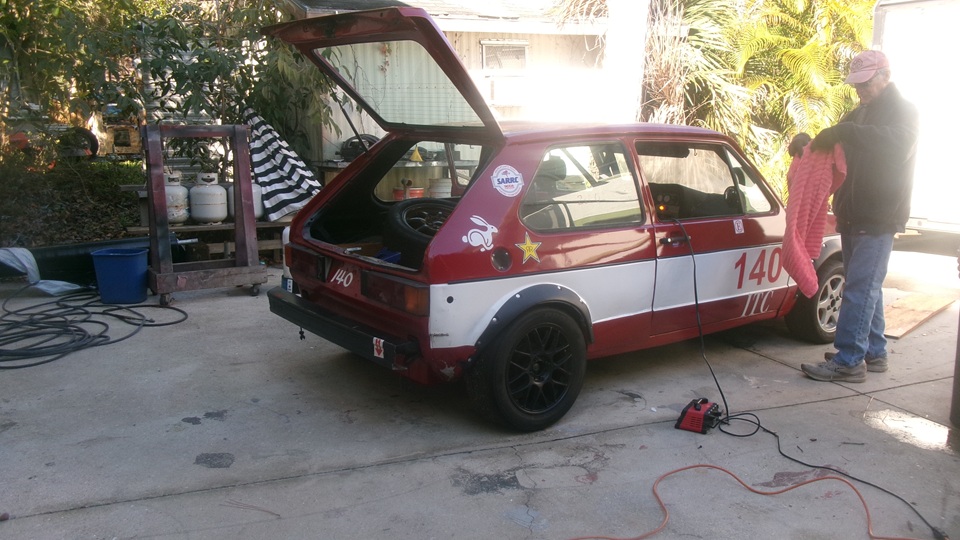
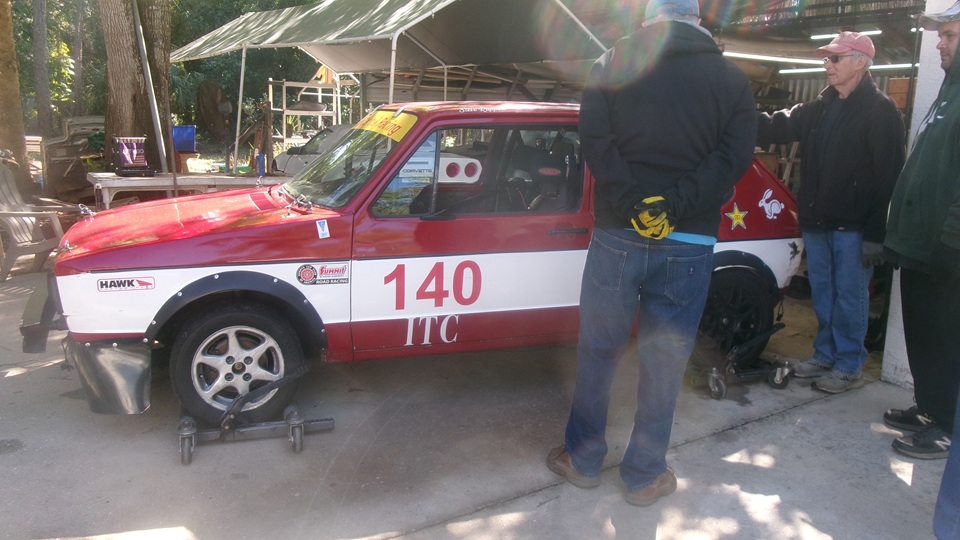
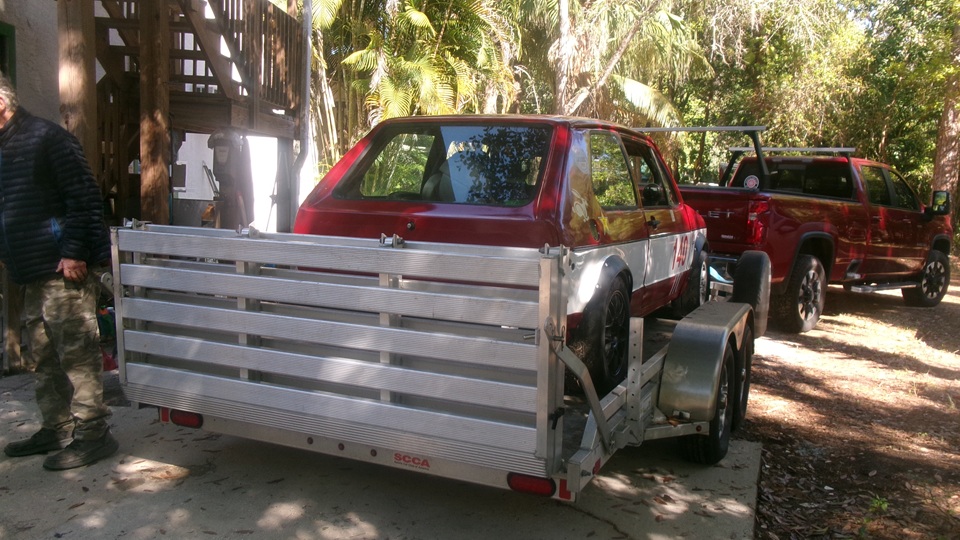
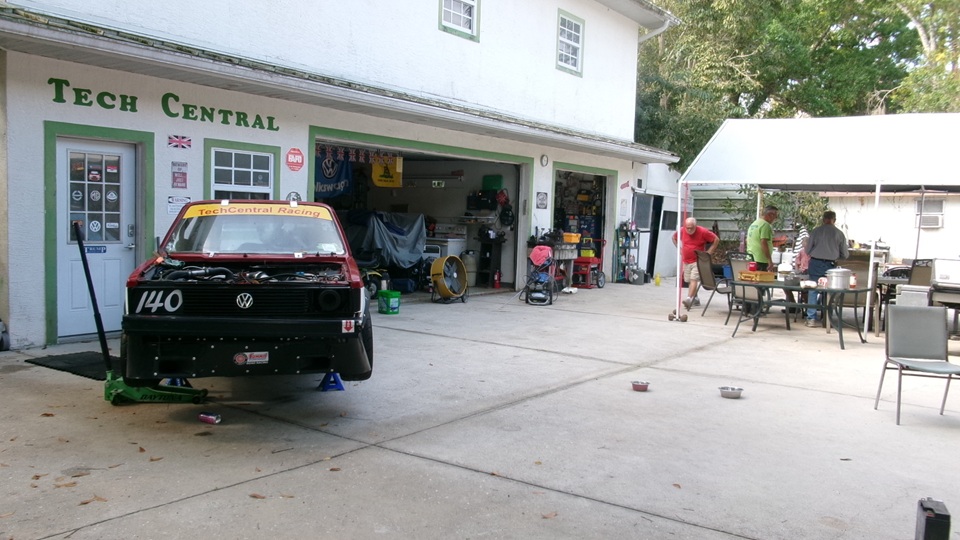
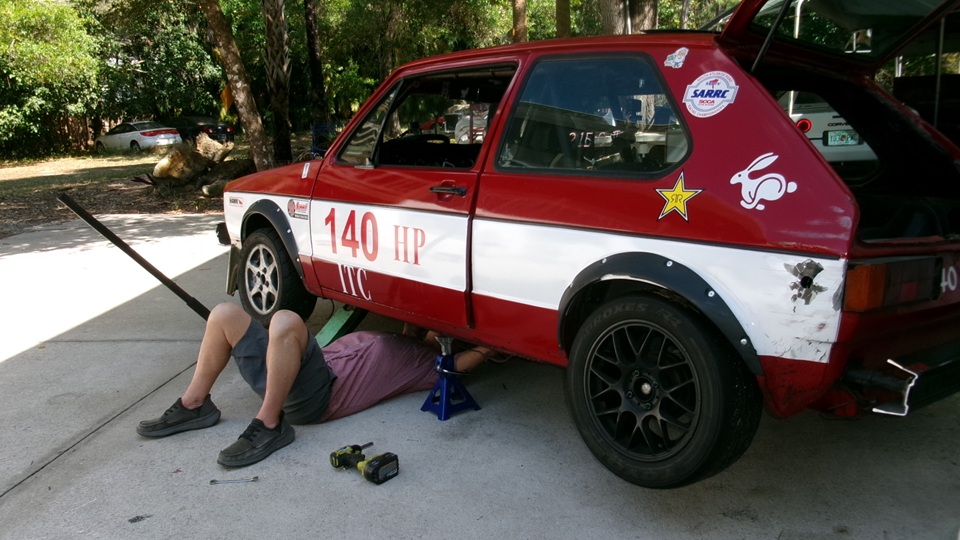
Friday, February 6, 2026: The new compact digital camera was waiting for us at Tech Central, unpack, assemble, and plug it in to charge the battery. While it was charging, still taking pictures with the old camera with no flash and failing display screen.-- The flat bed trailer was ready to load a car, heading off to race at Sebring this week end. The VW Rabbit in final prep and packing. It was running okay, but we put it up on roller dollies to move it across the forecourt, because it is easier to hand push it rather than maneuvering a high tempered race car in tight quarters. 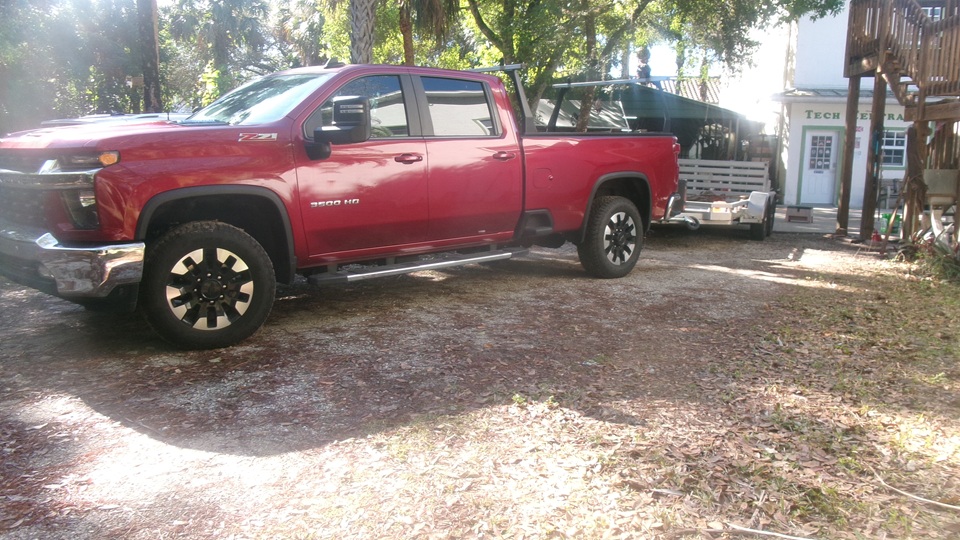
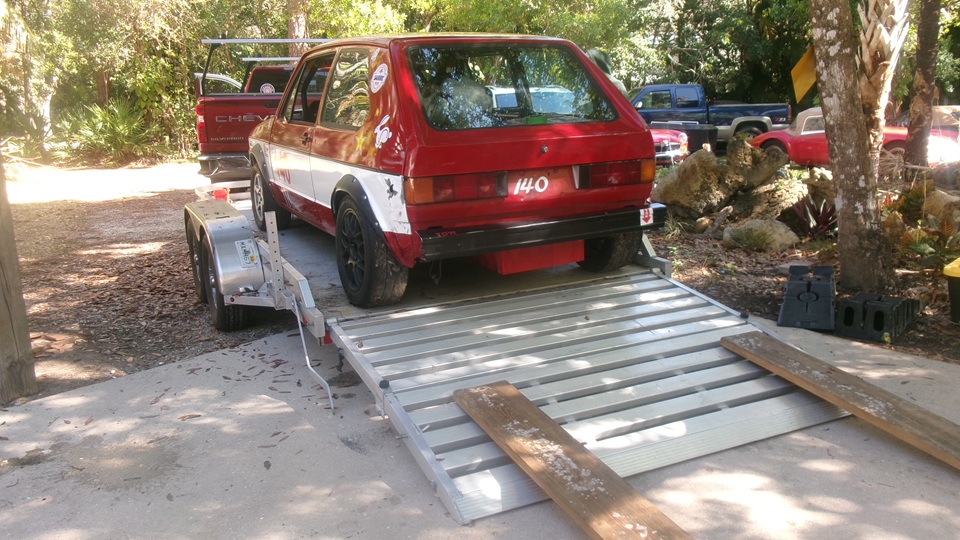
 There was a marginally funny (but serious) issue while driving the Rabbit onto the trailer. The truck was last used to tow a different trailer, and it had the wrong (too small) hitch ball on top, so the trailer hitch was not securely coupled. As the car was driven onto the tail of the trailer, the trailer tilted, and someone who was standing on the front of the trailer was casually launched over the side, not significantly injured, other than his pride. When the car was backed away, the trailer hitch landed back on the hitch ball. Not long to crank up the trailer hitch jack to change the tow ball on the truck, and get it securely couple up. Then drive the Rabbit properly onto the trailer and get it tied down ready to travel. 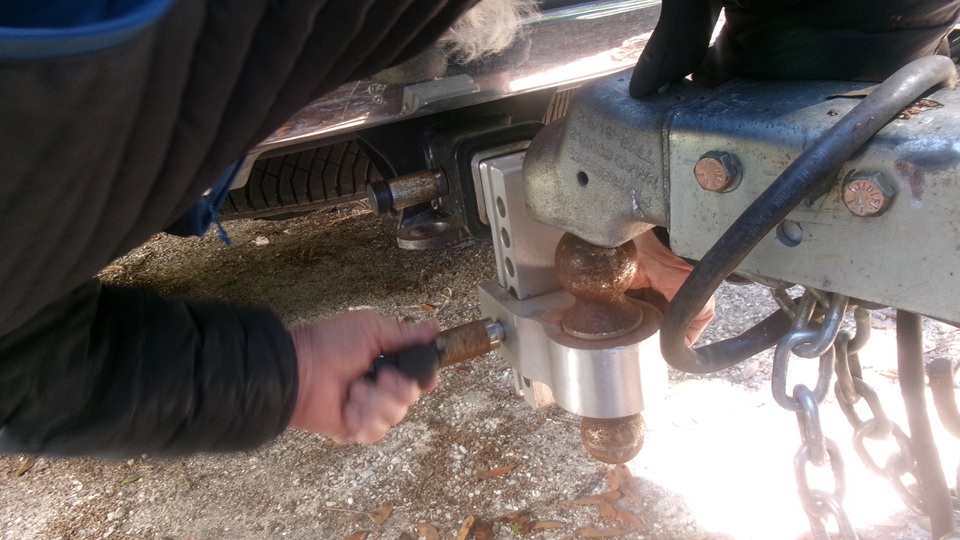
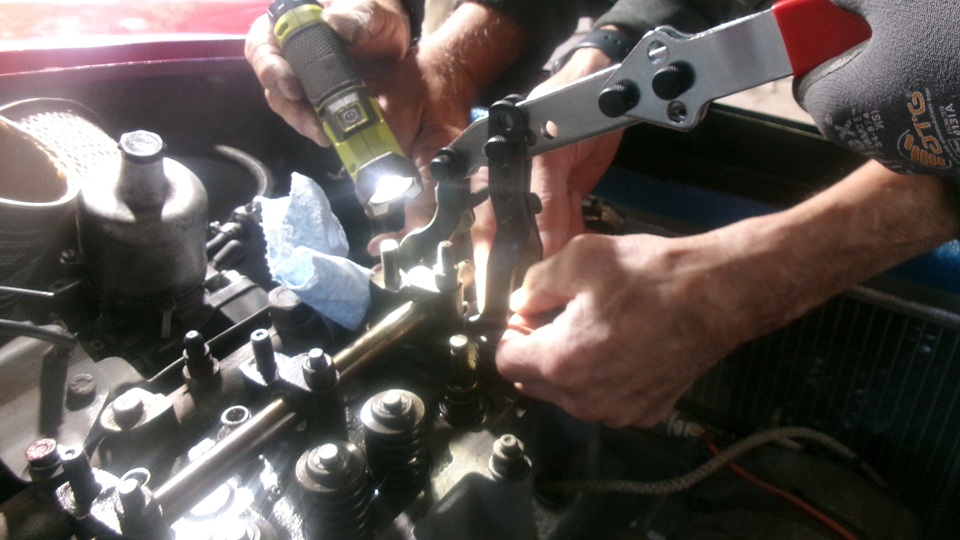
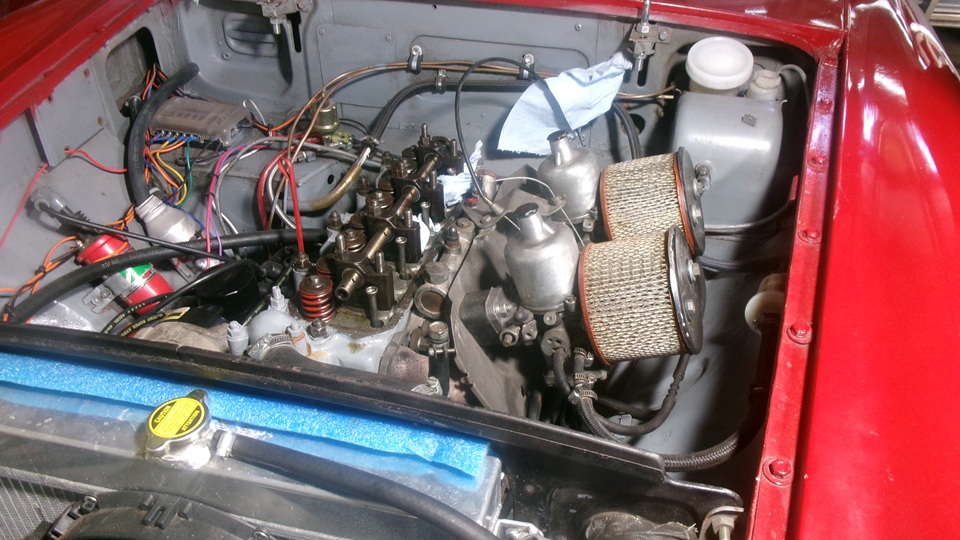
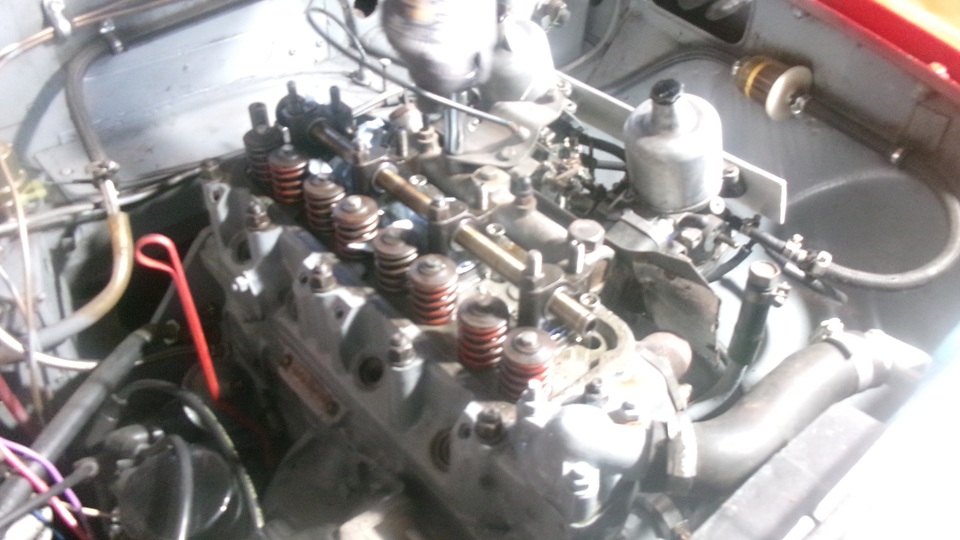
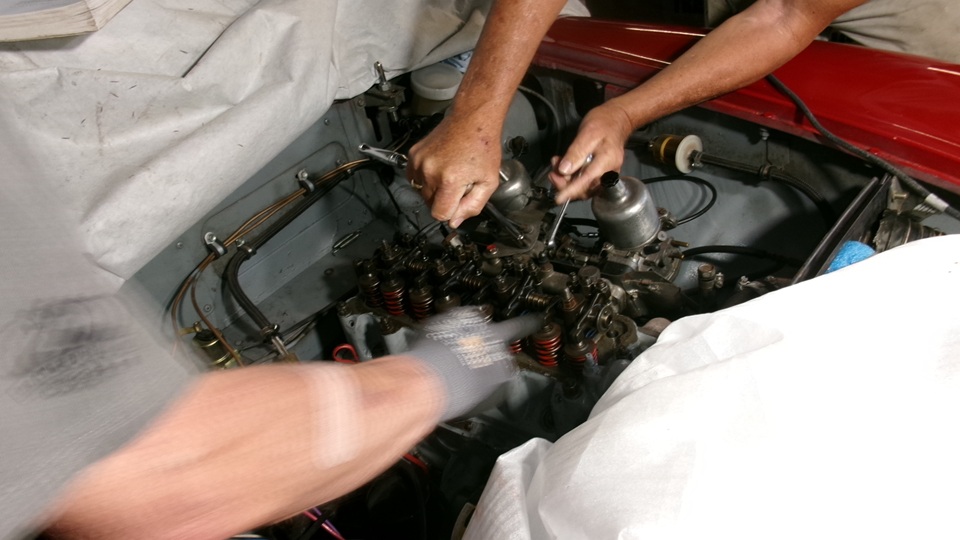
 My new radiator that doesn't fit has been moved farther back on top of something else, because the guys wanted to use the engine box as a work bench. Tina, the MGB race car was getting some attention. This is the second Friday they have been trying to change valve springs from single to double springs. They do have all of the correct parts required, but they are still going to the School Of Hard Knocks, trying to change the valve springs without removing the head. Just a hobby, maybe, as they want to spend more time than money, to save the cost of a new head gasket. Today they removed the rocker shaft assembly (loosening four head bolts) to remove the rocker arms, then reassemble the shaft and pedestals. 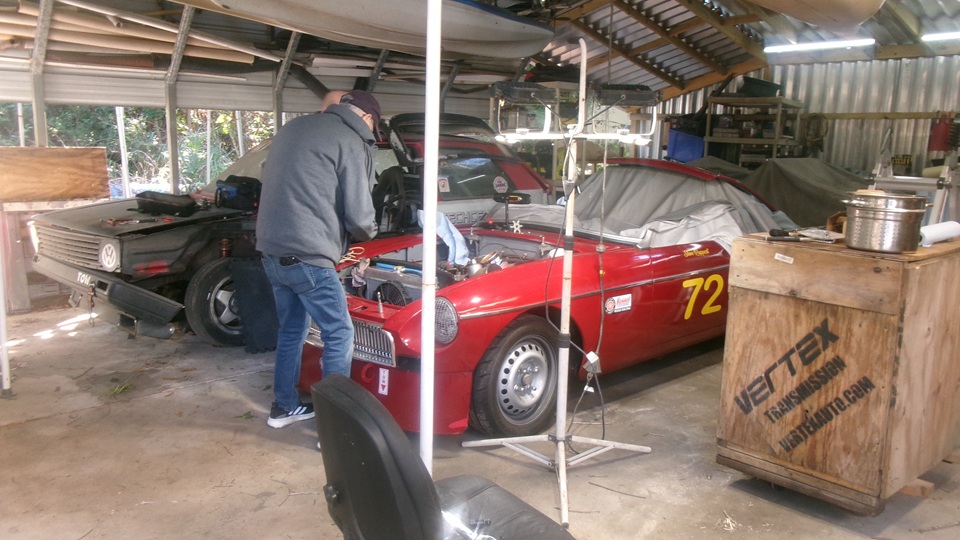
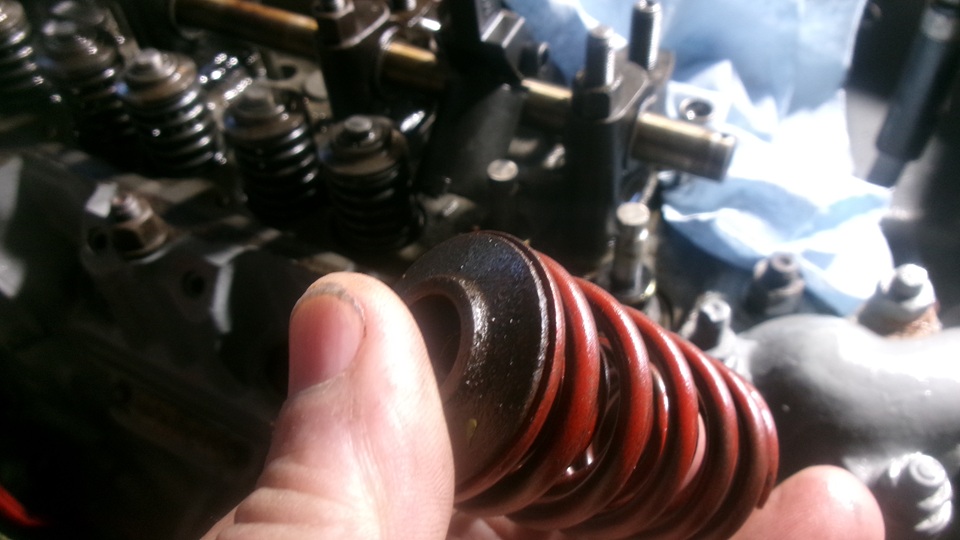
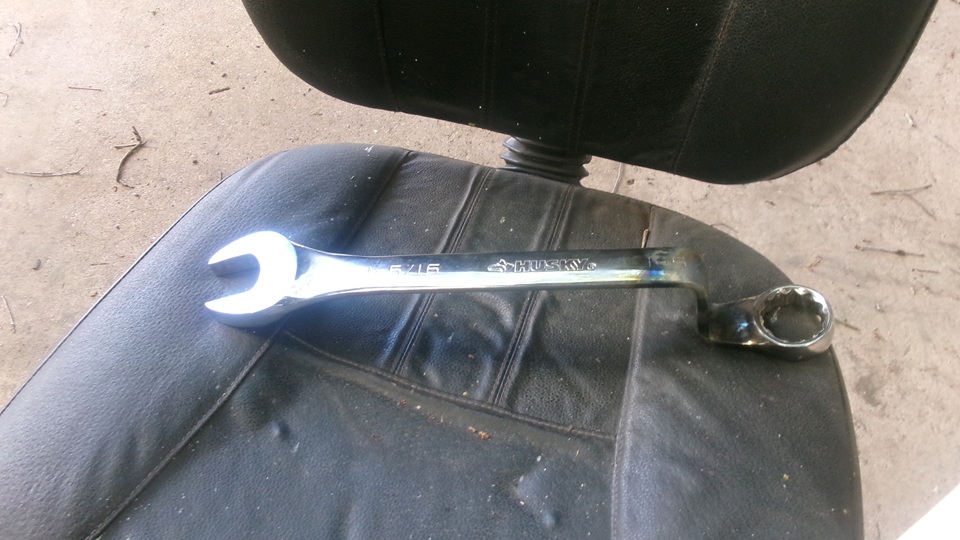
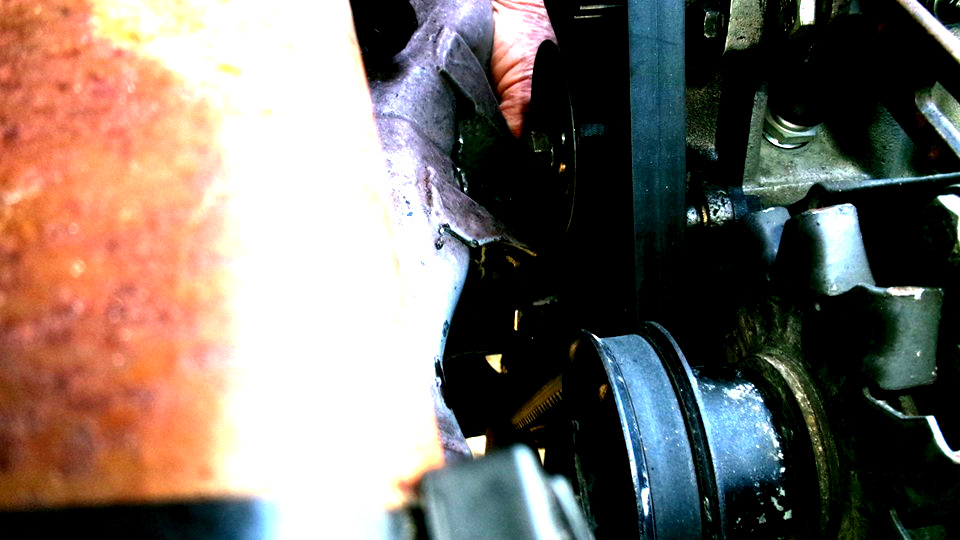
 This allows use of a special tool to hook under the rocker shaft and push down on the spring caps. Seems to generate more frustration than progress. There is a picture of a nice 1-5/16" wrench heated and bent to suit for easier access to the crankshaft front bolt. 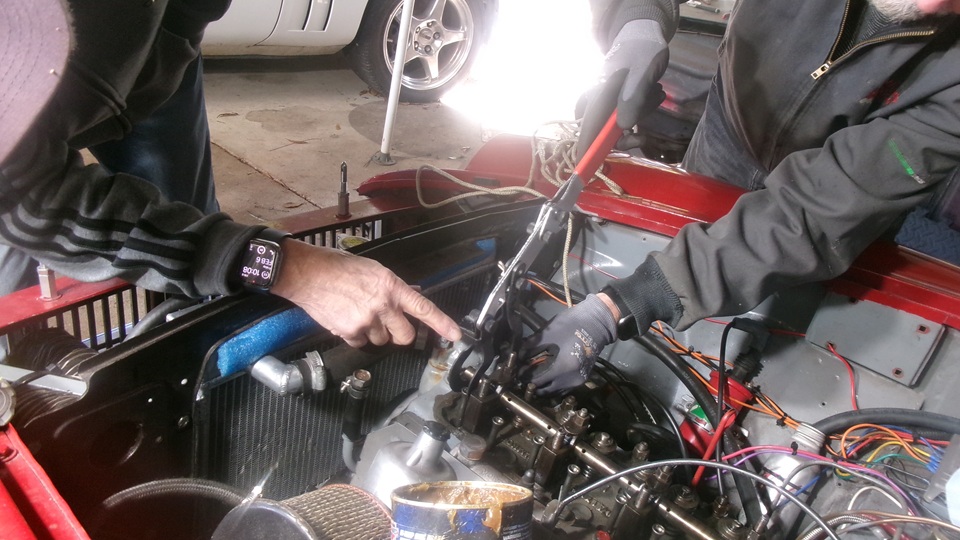
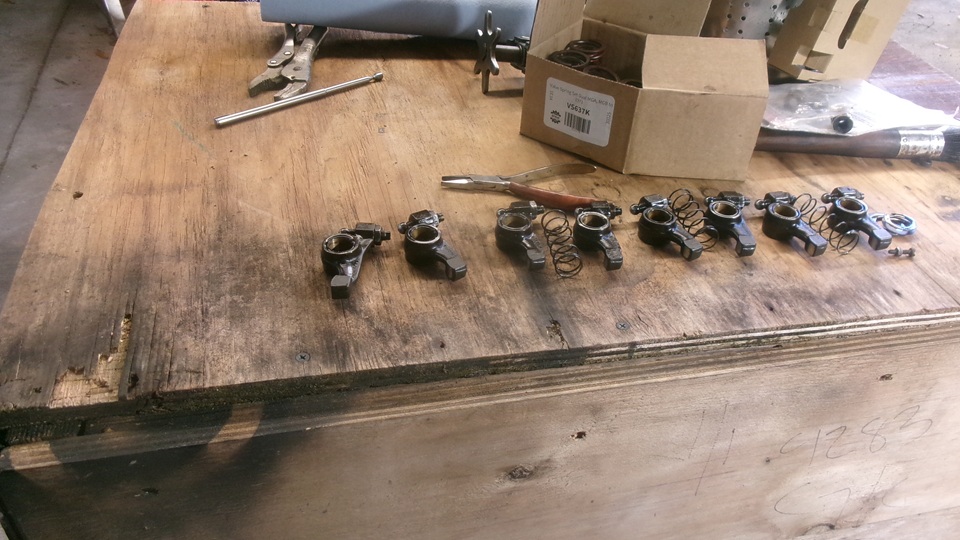
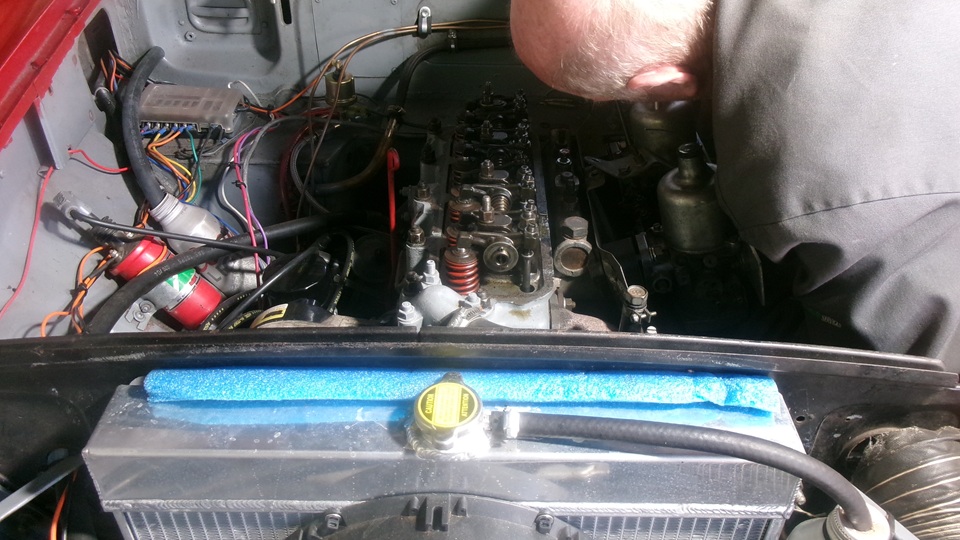
 Then someone thought that someone else may have dropped half of a valve lock split cotter down the hole around one of the pushrods. When they pulled out the pushrod to look down the hole, the tappet came up with the pushrod, ending up on it side in the tappet galley space. Another lesson from the School Of Hard Knocks. Always jiggle the pushrod to assure it will break the oil vacuum seal to release the tappet before lifting. This then requires removing the carburetors and intake manifold for access to remove the front tappet cover to put the errant tappet back into its bore. 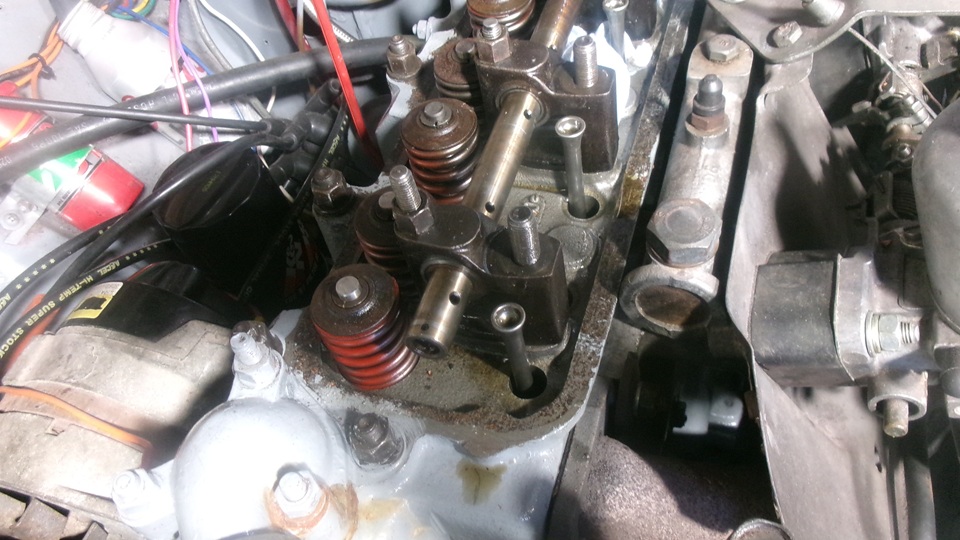
 They have this neat 4-bolt plate tool to attach to the carburetors to R&R them as an assembly, keeping the choke and throttle linkages together. During the process they did not find the half piece of the split cotter, so either it never fell in, or it may have found its way down though an oil drain hole to the sump, where it will do no harm anyway. Once the tappet cover was reinstalled, and the manifold and carbs were back in place, it was enough for one day. When almost everyone had left, two more friends of the friends showed up with a Porsche GTS and a Jag E-Type. Hello and goodbye, lock up and we're out of here. 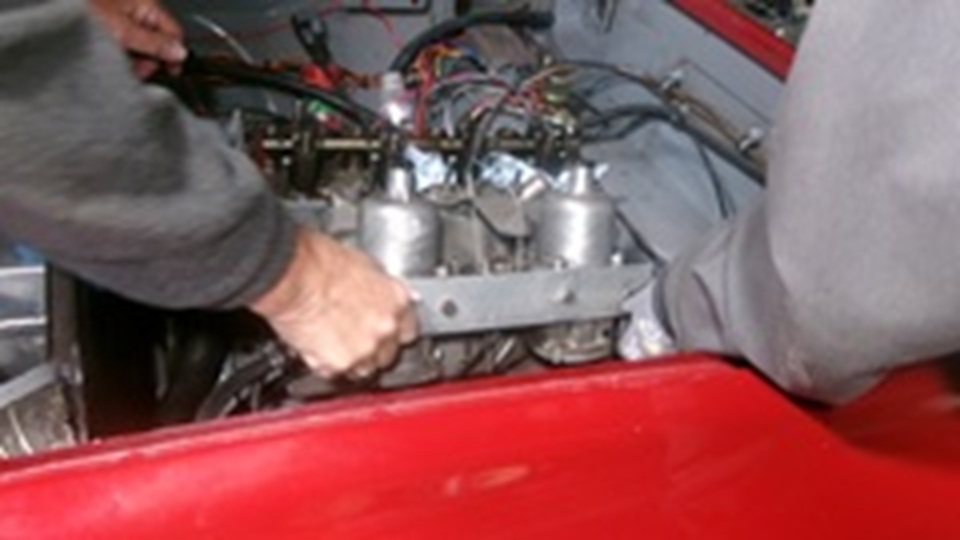
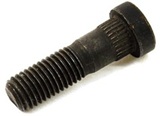
 Saturday, February 7, 2026: 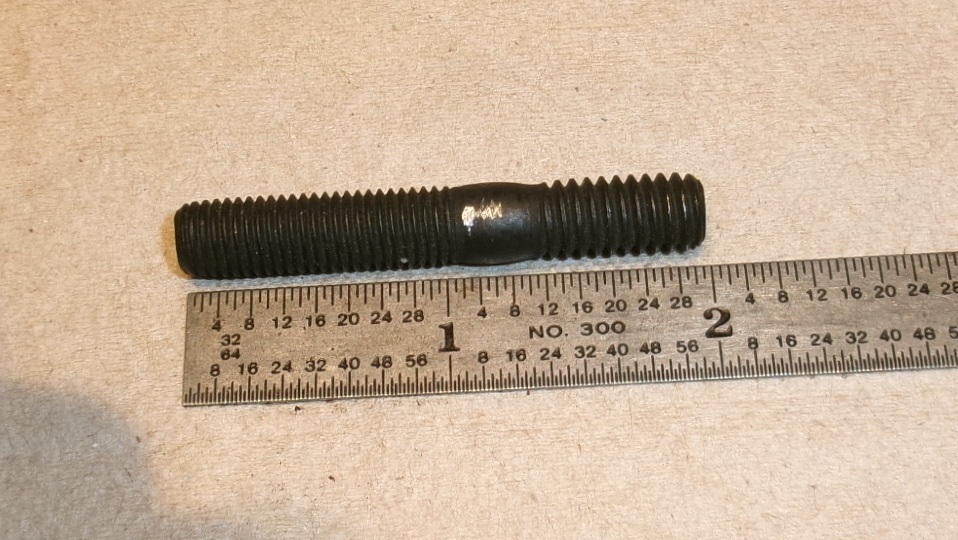 Updating the Part Numbers tech page for 52K531 thermostat cover studs. I got to measure and test one yesterday with a few surprises. Prior information said there is/was 5/16-16-BSW thread on bottom end of this stud. A current issue replacement part will accept a 5/16-18-UNF nut on the bottom end (surprise). A decent looking cylinder head will also accept the UNF coarse threaded stud (surprise again). So maybe the original stud was not BSW thread on the bottom end, but I will still need to check and verify before changing historical information. Additionally the current issue stud has too much thread length on both ends, which may or may not be a problem in assembly. Sunday, February 8, 2026: Oops. My radiator was dropped off at a UPS local drop location in California on Saturday, but will not ship until Monday.  -- Getting a start on new Part Numbers tech pages for MGA wheel studs, beginning with 1G4359 Stud for MGA 1500 front wheel hub,with drum brakes and disc wheels. Monday, February 9, 2026: 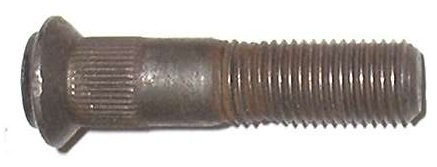 -- And the next Part Numbers tech page for 1G7435 Stud for MGA rear wheel hub, with drum brakes and disc wheels, MGA 1500, 1600, 1600-MK-II.
 Tuesday, February 10, 2026: More work on Part Numbers tech paces (seems like a never ending job). Found a typo or numbering error, requiring revision of several pages to set the thermostat 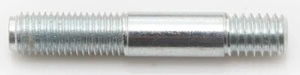 cover studs. Doesn't help that there re at least three different part numbers for the same studs.
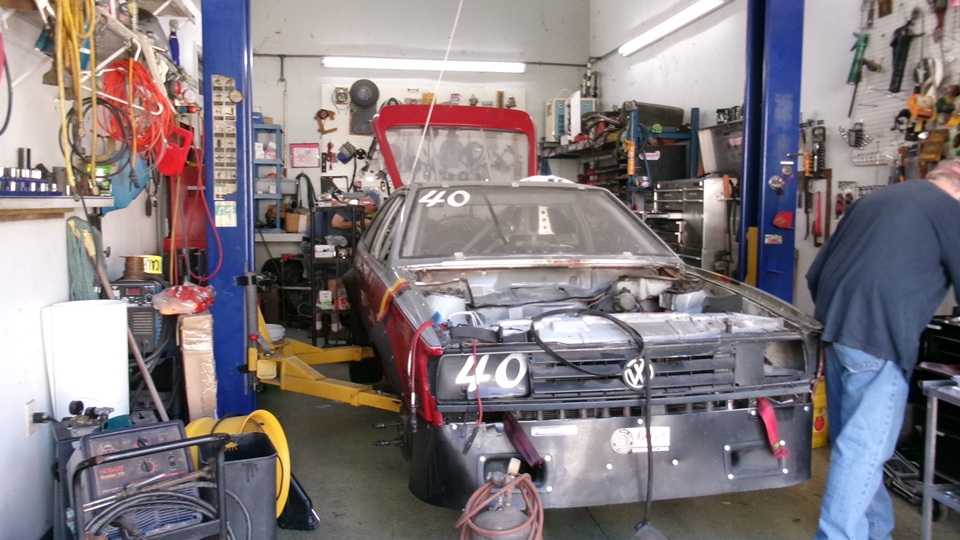
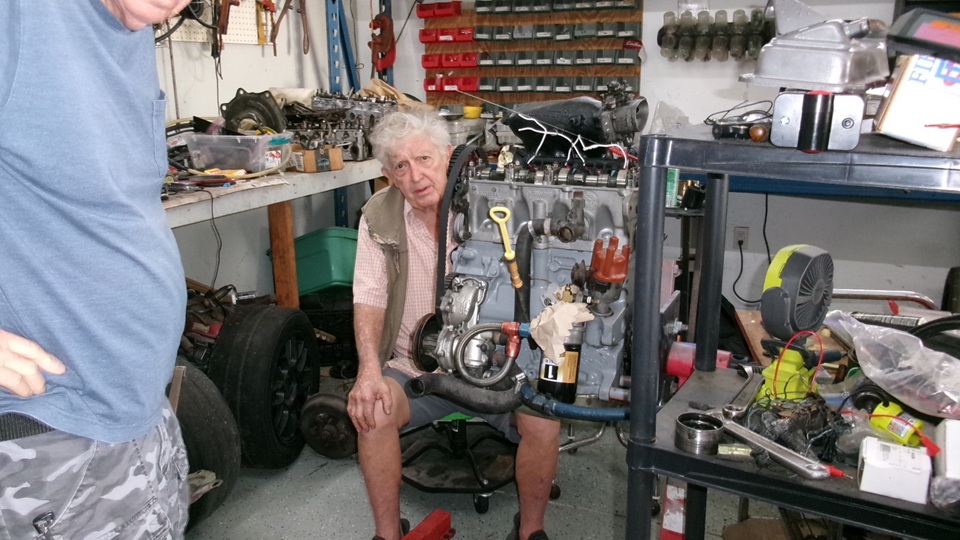
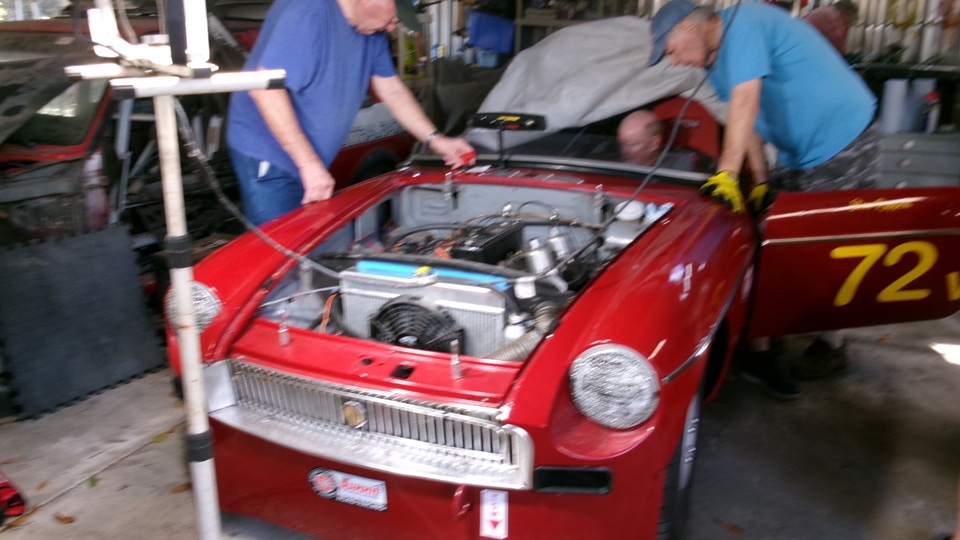
 -- Bad news about the new radiator that doesn't fit in the car. Sounds like it will be summer before correct ones can be manufactured. Good news is, my old tube-type radiator that was stored in California a few years ago has been shipped and should arrive Friday. -- Amazon order arrived today with the BIG rear hub nut octagonal socket. Can hardly wait to get my hands on that one. -- Also my new con-rod bearings should arrive tomorrow, so we may be installing those Thursday. Wednesday, February 11, 2026: 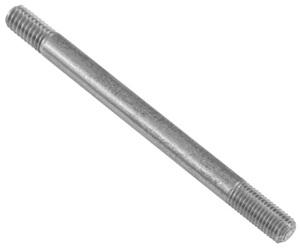 Four new Part Numbers Tech pages for Threaded Studs for attaching the oil pump to engine block in the Austin B-Series engines. The oil pump changed design in October 1957. Early 1500 engines used one long and two short studs. All later engines, later 1500 through 1800 (including Twin Cam), used three short studs. Oddly, the short studs had three different part numbers. 51K267 short - 51K889 long - 51K890 short - AEH601 short It is likely that you cannot buy the longer stud today, since it has been out of production and out of demand for decades. But you should not want to buy it anyway, as the early oil pump has a design defect and should always be replaced with the later style pump and pick-up screen. Thursday, February 12, 2026: Good morning Tech Central Racing. Don't be fooled by two VW with the same racing number. They never get out on the same race dates.The one on the forecourt is the Rabbit that returned from Daytona with a broken shifter last week end. On the lift in the shop is the Scirocco with engine out for a while, and Jerry in the back tinkering with the engine. 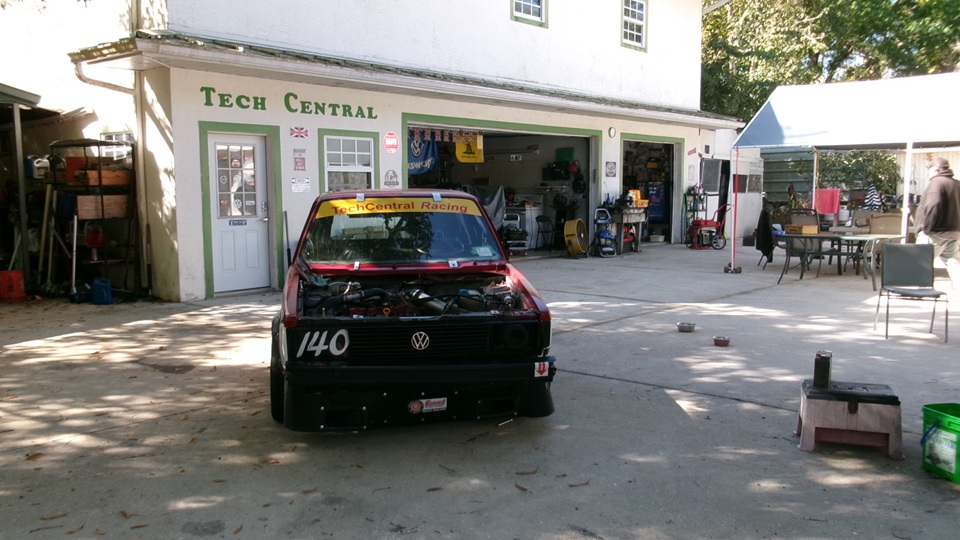
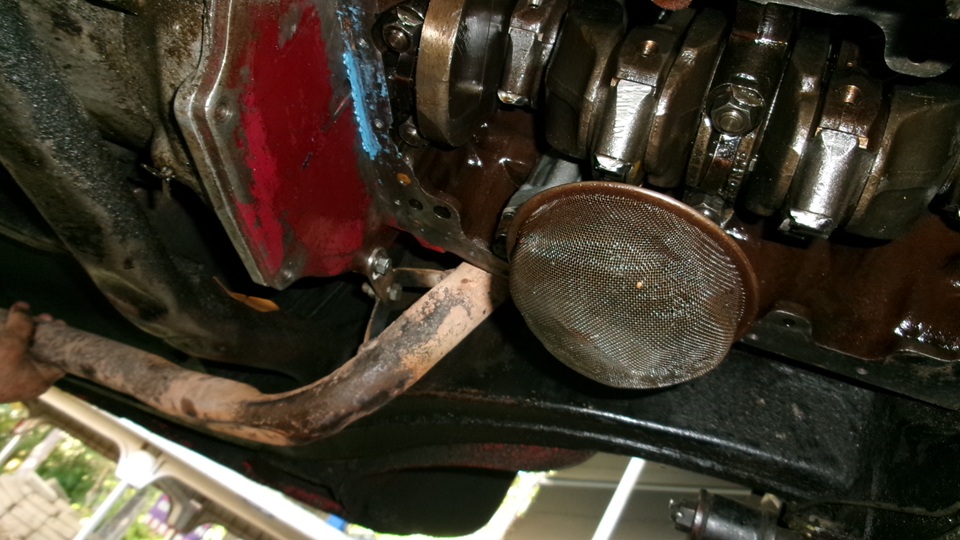
 Our one serious goal today was to change the worn connecting rod bearings in the MGA. Feeling confident we can get this cone in one day, we arrived late morning, about 11-ish.Give the Rabbit a little nudge so we can pull the MGA up in front, jack it up to set on four stands, a little higher in front this time, and front wheels off. Not long to drain the oil and remove the filter. Also remove two bolts at bottom of the bellhousing, as the oil pan has to drop down that far in back. 19 quarter inch hex head screws would be a breeze with a small power wrench, except that five of them in front are very close quarters above the front suspension cross member. Three in the middle can be removed with socket tools with a quarter drive U-join. The two front corner screws can only be reached with a 7/16" offset box end wrench, and maybe thin double jointed fingers. But been there and done that before, so just knowing it can be done is good encouragement. Given an hour of persistence, the sump was removed, along with the oil pump and pick-up screen. Swapping the connecting rod big end bearings was straight forward, knock back locktabs, remove two bolts,and the bring cap with half shell is in the hand. No spun bearings, but the shells were through the white metal, touching the copper, not yet through to the steel.The crankshaft journals seem to be okay, very lucky at this stage. of wear. 
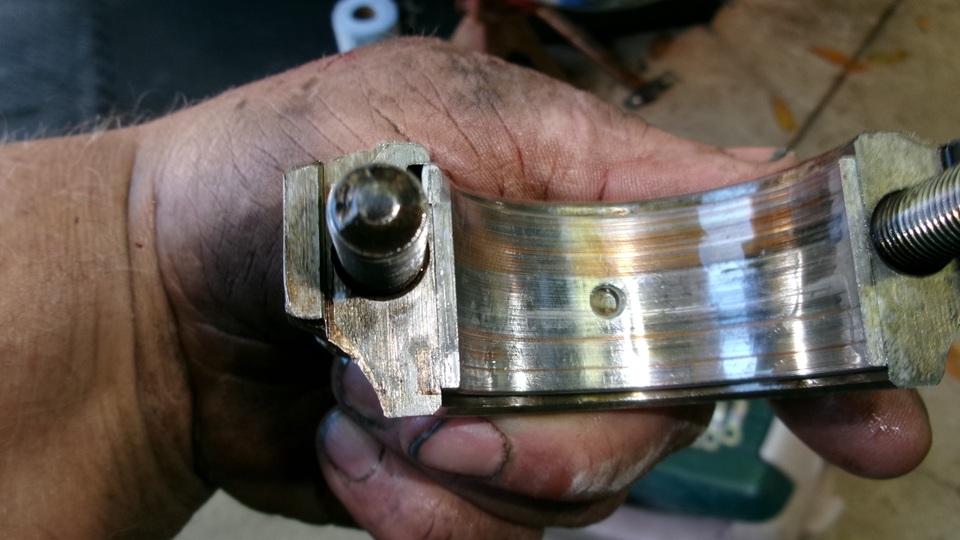 One rod at a time, not to mix up any parts, not long to swap out the half shells in four rods and get the bolts torqued up and locktabs reset. While the oil pump was out, it was the opportunity to R&R the pump mounting studs for measurements to verify overall length and length of threads on both ends. One stud was long enough, but with too much thread on the bottom end it screwed in to bottom out in the tapped hole, a bit too far, ending up with just enough length to install the hex nut. The other two studs were a tad short, as well as having too much thread at the bottom end. Those had to be backed out two turns to be long enough to install the nuts. Since we put a new oil pump in this one few weeks ago, we had the information and foresight to order new studs, so now it has the correct parts, and I have the correct dimensions for my new Part Numbers web pages documenting all of the threaded studs used in the MGA cars (to be finished soon). 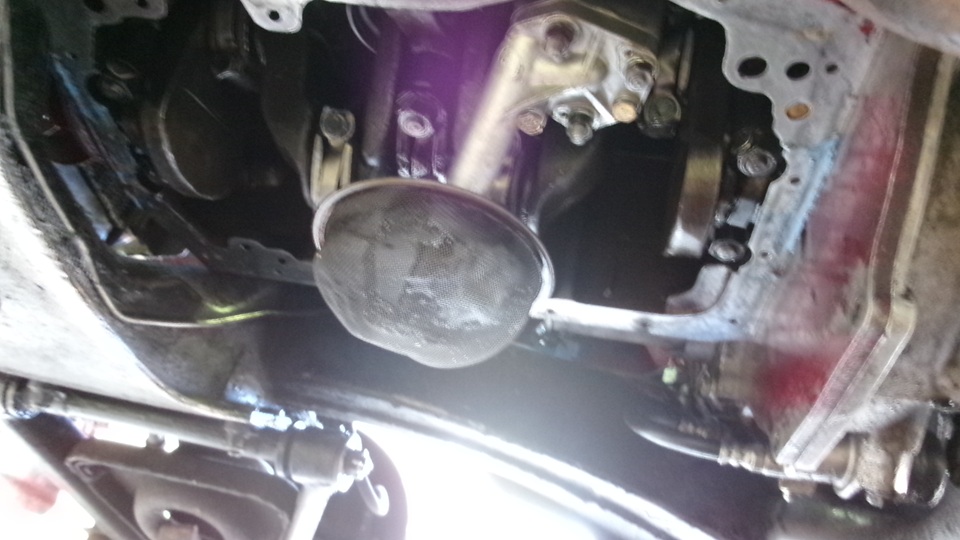
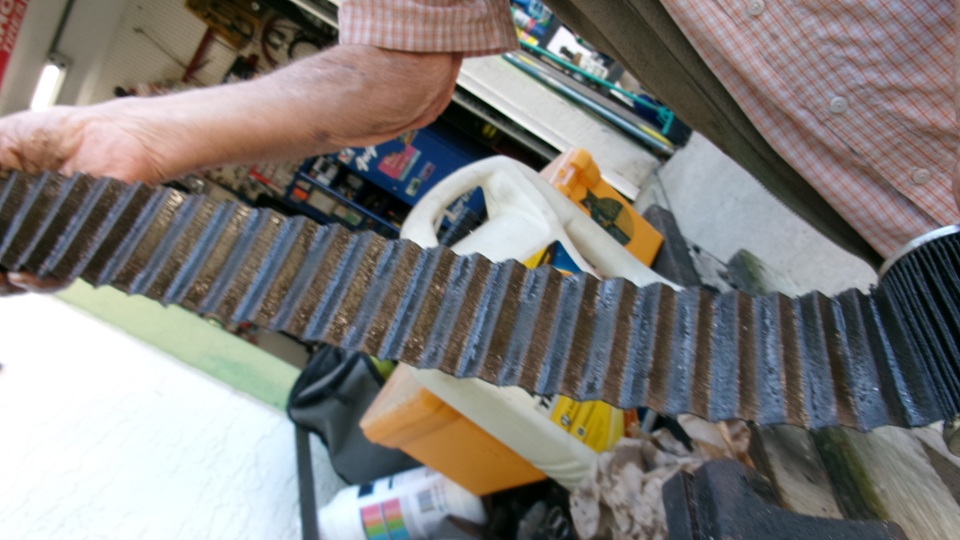
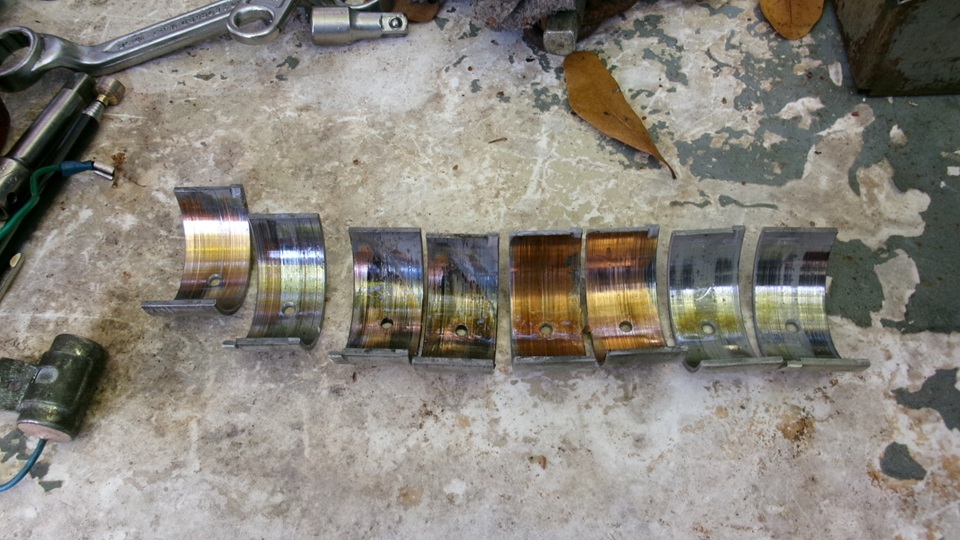 There is the picture of all of the old half shells. #4 looked pretty good, #3 had the most copper showing, but the crank pin journals still looked okay, glad we caught this when we did.We cut the oil filter open to see what we could find inside. the oil didn't look too bad, but there is a little spring in that picture that was part of the filter assembly, likely for the bypass pressure relief valve in the filter. Cutting the filter material loose to fan out revealed lots of debris like fine sand, particles small enough to slip through the mesh of the oil pick-up screen. The sump had more debris in larger particles that wouldn't fit through the pick-up screen. Again, glad we caught this issue when we did. We may chat later about why the rod beings may have failed. Just enough time to clean the oil pan and get it reinstalled before dark (with the two bottom bellhousing bolts. Spin on a new oi l filter, Fill with oil, and crank it 40 seconds with spark plugs out until it was showing oil pressure. We also did a compression test before installing the plugs and firing it up. All is well that ends well. Adjust the front brake shoes before reinstalling the wheels, kick it off the stands, pack up and on out way by 7-pm. 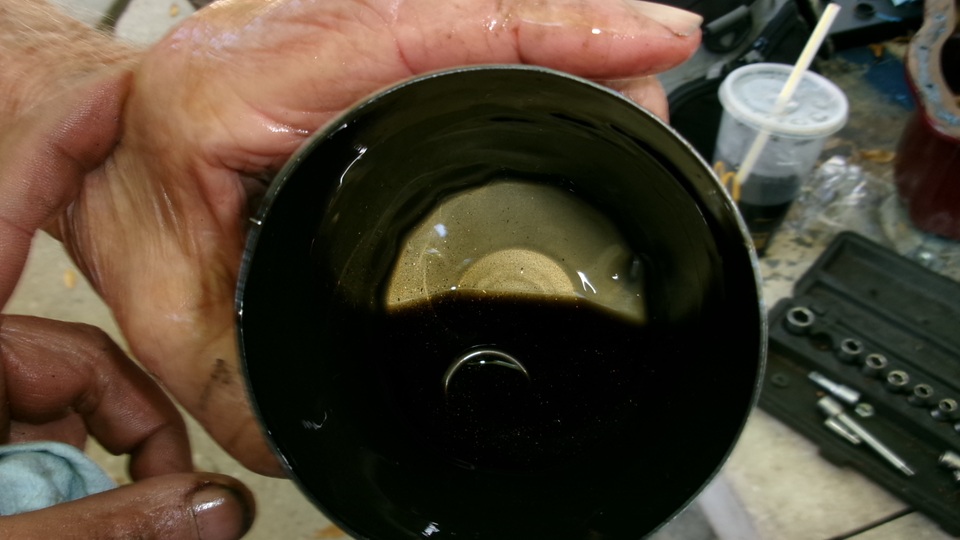
 Friday, February 13, 2026: Bit of a crowd and tight parking at Tech Central on slightly late arrival. We have driven the MGA all of 12 miles with the new rod bearings and clean oil, and the oil pressure is perfectly good like 70-psi at idle with cold oil, 50-psi at idle when warmed up just a bit. But as my skeptical navigator is fond of musing, we will have to wait to see if it holds up, or which shoe might fall next. The racing Rabbit has received some new engine mounts, currently needing some alignment for one more bolt to be installed. 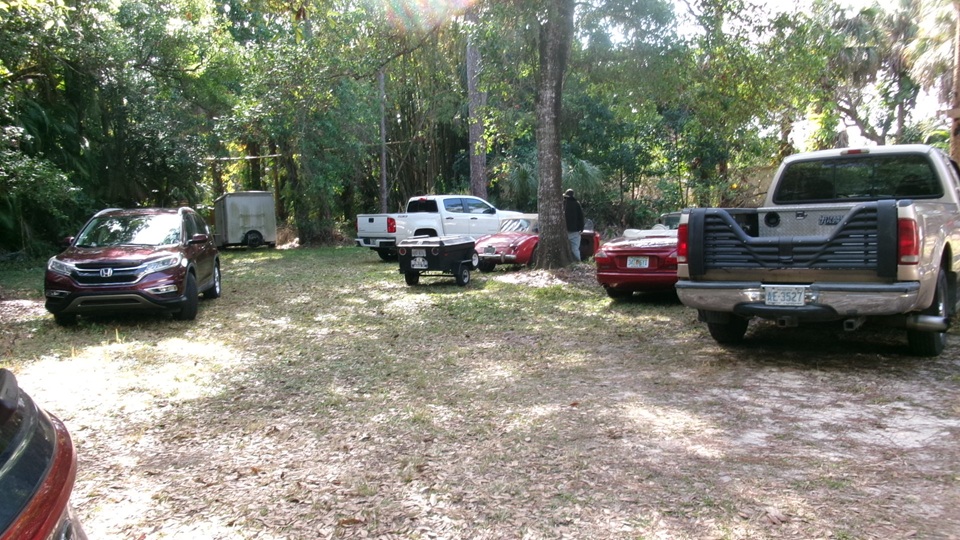
 As navigator was pouring yesterday's dirty engine oil from drain pan into a jug for recycling, he found this mysterious spring in 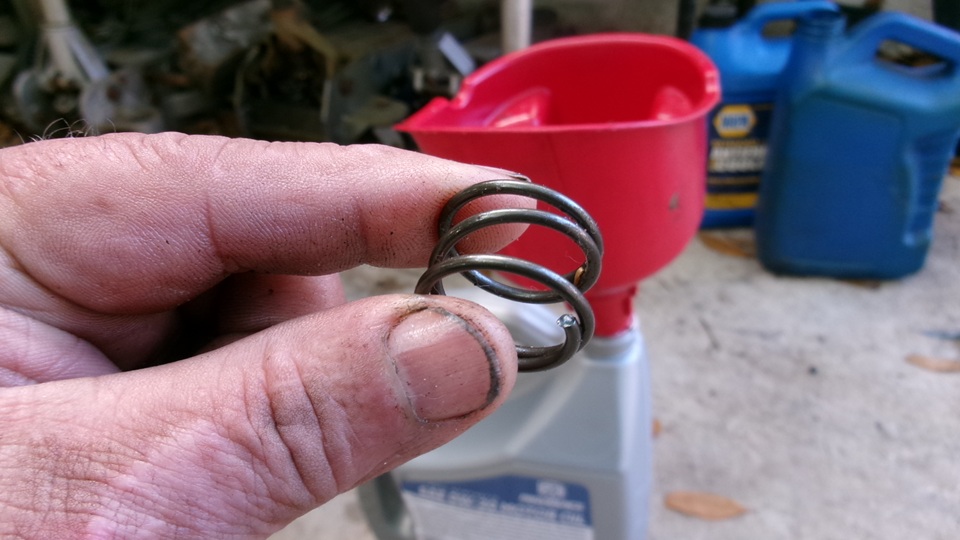 the pan. A fat short compression spring with closed end coils to have flat ends, may be some sort of force or pressure control spring. At the time no one could identify it, not like any car part ever seen, not an MG or VW part, and why was it in the oil drain pan? The answer was revealed "later tonight "as I was posting Thursday's photos and notes. Looking back to the last row of pictures from Thursday at the open oil filter can, this spring is just peaking out of the oil puddle in the can. It is apparently the filter element end load and bypass pressure relief spring from inside the oil filter. We had a second drain pan to catch the dribble when the oil filter was unscrewed, dropping the filter into the second pan with the dribble. That pan went to the work bench while the filter was being cut open. Then the filter can was dropped back into the pan, and a bit later the can was tossed into the trash while the remaining oil from the filter was poured into the first drain pan, so the second pan could be cleaned. Mystery solved, what is the spring and how it got into the primary oil drain pan.
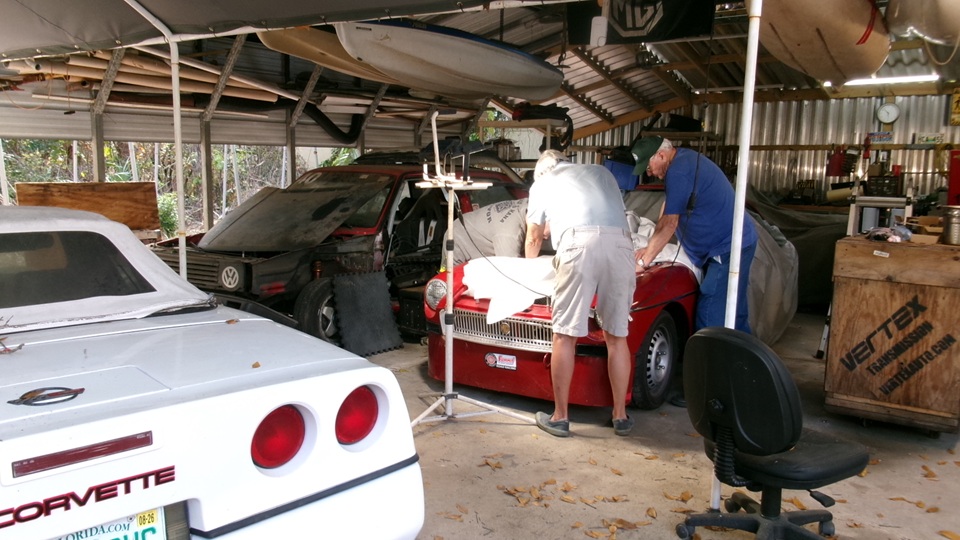
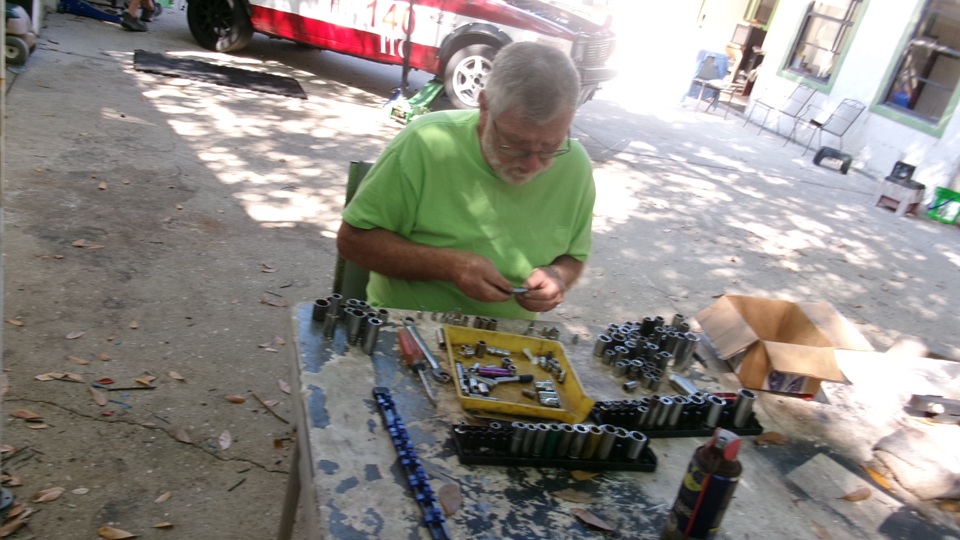
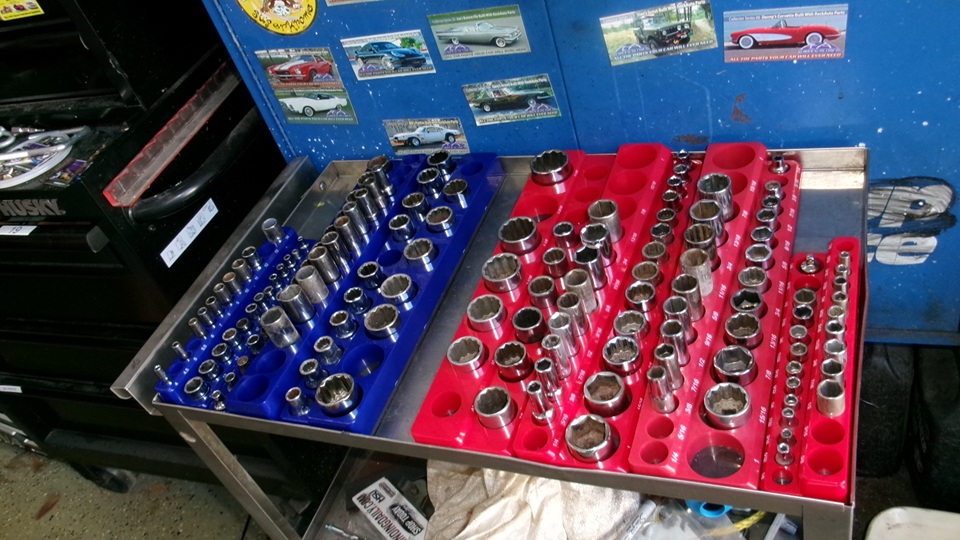
 Some of the guys, not too busy, having a committee meeting, scratching heads, no doubt chatting about the TR6 again (the never ending issue). Another repetitive issue, sorting sockets, because people never put them back where they belong. Seems like they have now procured some better socket clip strips, easier to use. An hour later things were looking much more organized. 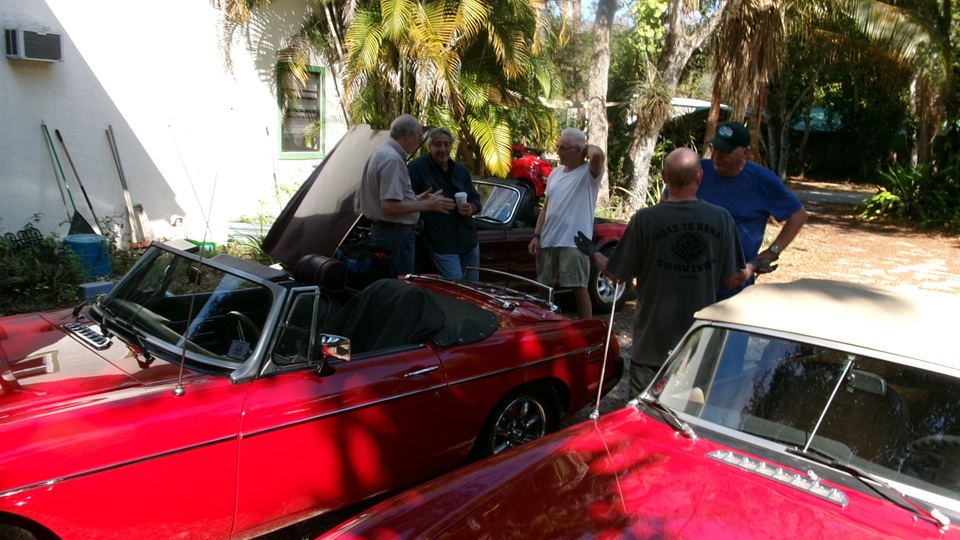
 With more hands and concerted effort, working in tight dark spaces, the last bolt for the Rabbit engine mount was finally coaxed into place and screwed tight., and then it was time for lunch. 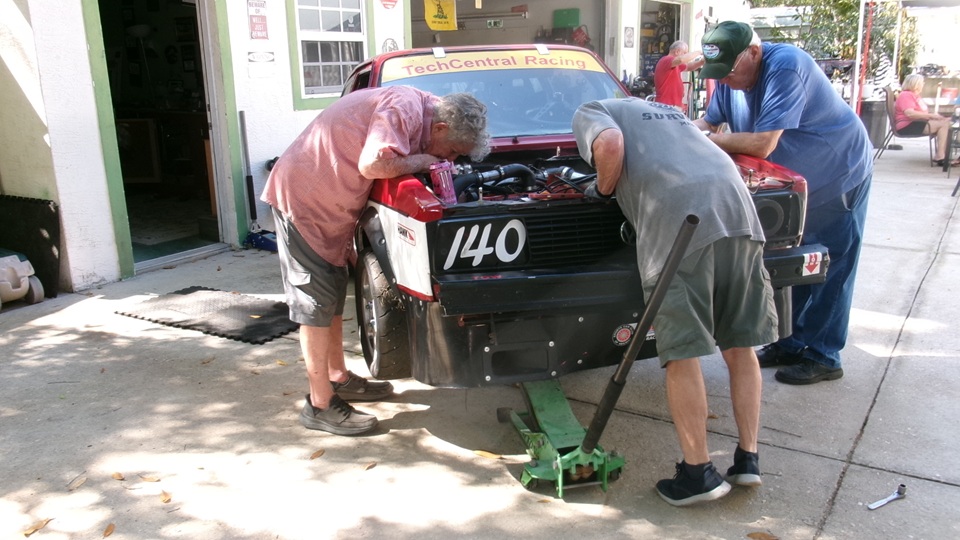
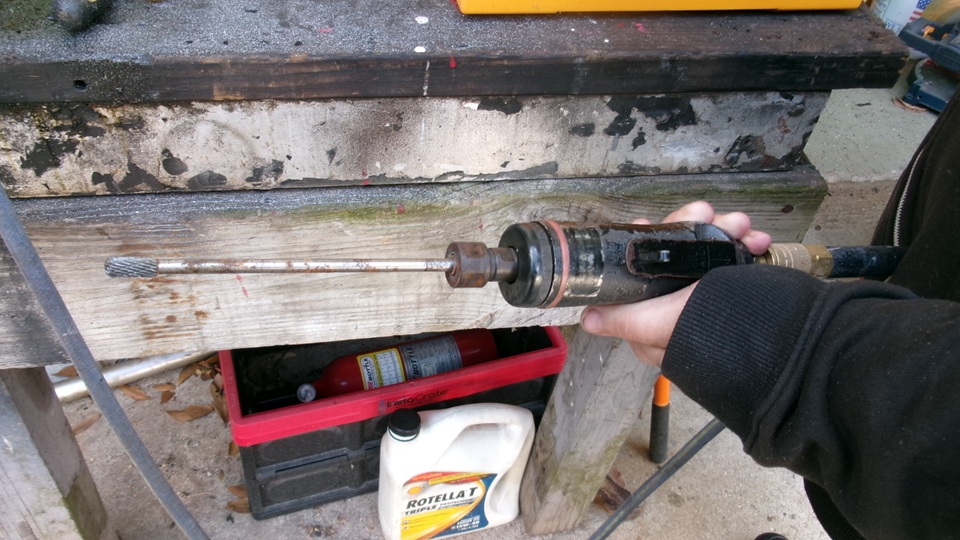
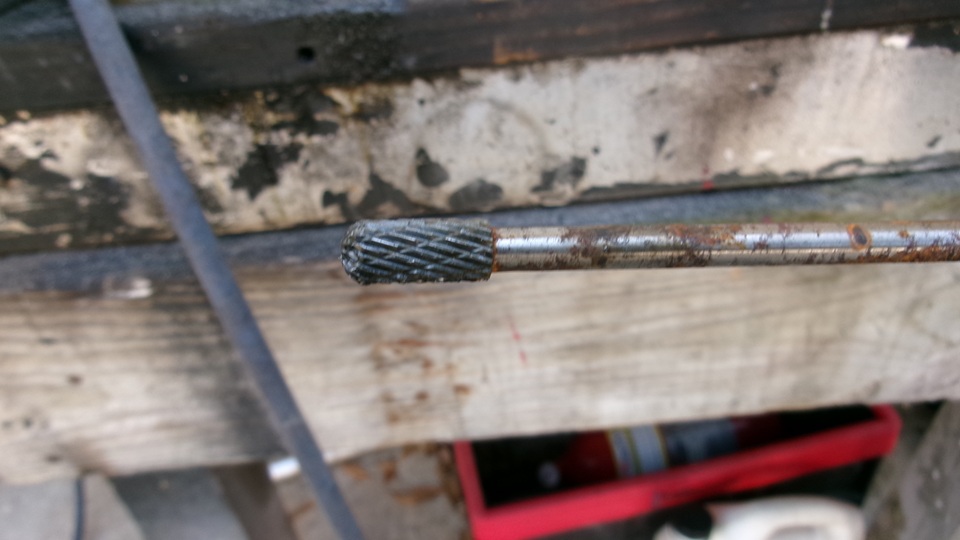
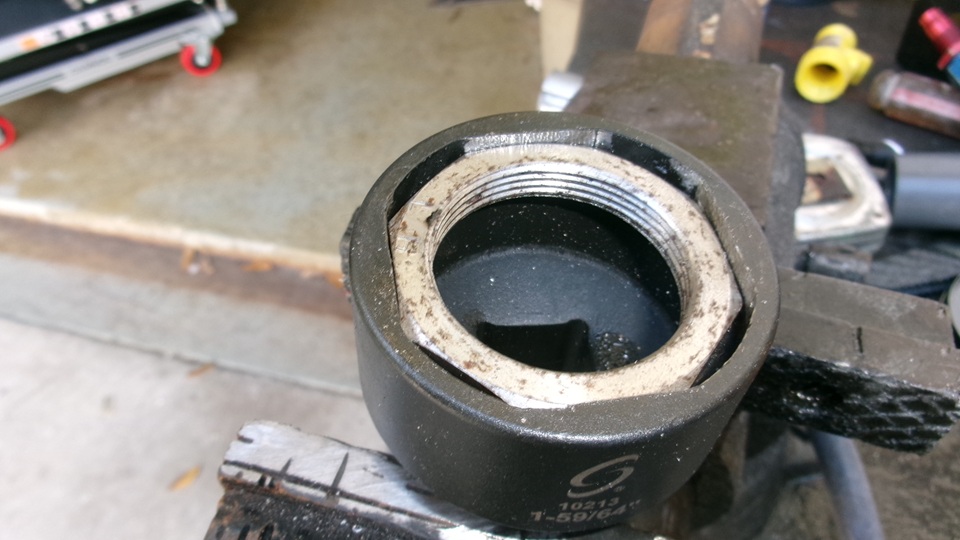
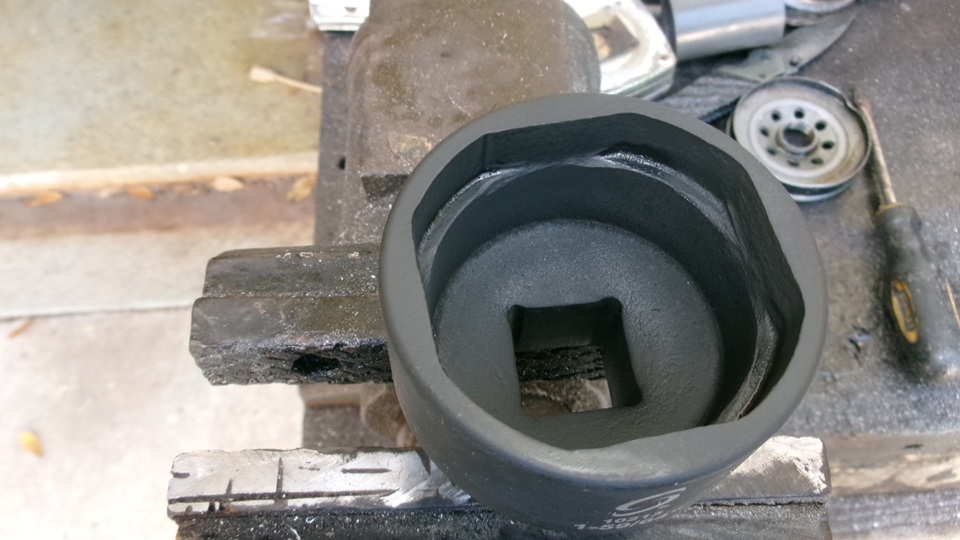
 On to my more interesting task for the day, "porting out" the new 1-59-64" 4-flat wrench socket to fit the 1-15/16" octagonal nut for the rear wheel bearing hub. I have never ported a cylinder head, but at least I get to use the tools. Enter the air powered die grinder, which might be overkill, but sure makes this job easy. 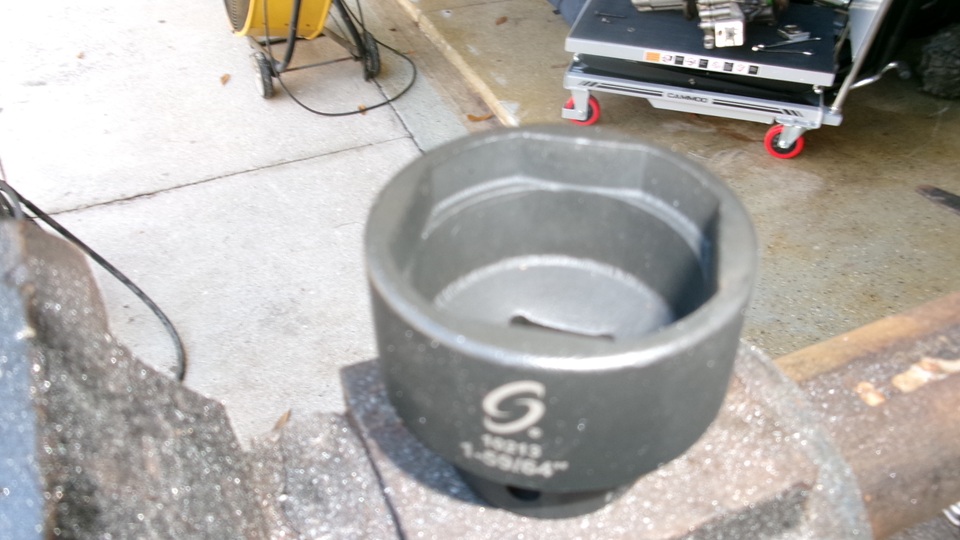
 Easy going with light touch, only needing to remove nominally 0.008-inch from each of four flats to open the socket up enough to fit the nut. A little here, a little there, checking fit often, until the big nut drops in easily. Piece of cake. Finish with a touch of paint inside to prevent rust during long term storage in the often damp Magic Trailer. We can call this the "big black socket", but I actually had it in my pocket for a while. We dropped it into the 1/2' drive tool box with other moderately large sockets, while the really big (and expensive) blue tube socket (poor quality) is being relegated to the metal recycling bin to free up some space in a large tote box in the trailer. Jerry still has another big blue socket hanging on the wall in his shop, still clean like it was never used (and maybe never will be used). 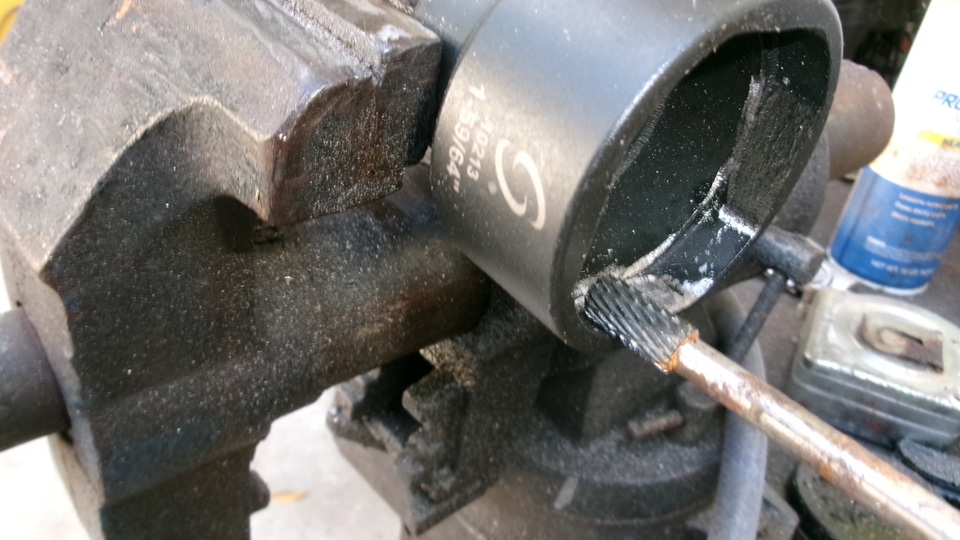
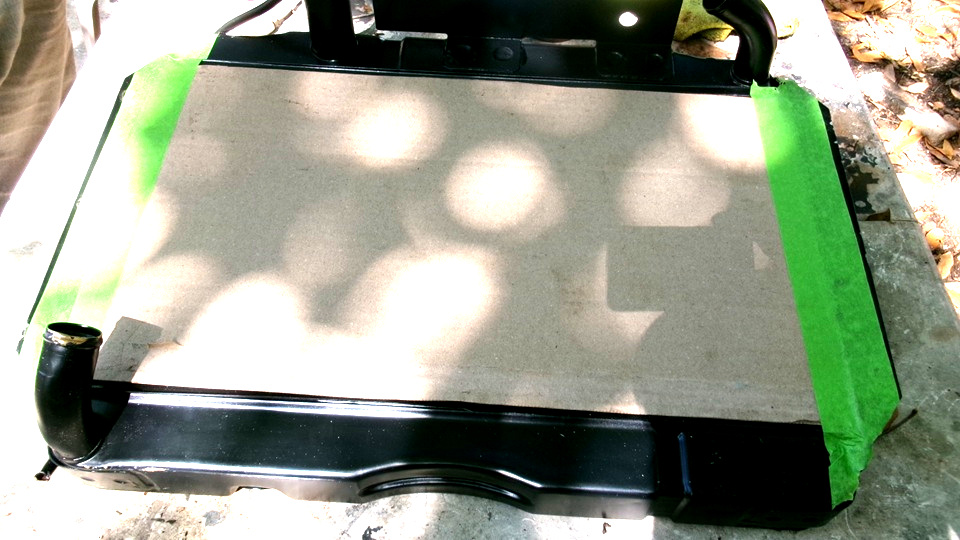
 We still have possession of the new radiator that does not physically fit in the MGA. This came from Moss Motors by way of Scarborough Faire. I think Moss finally accepted the fact that it is essentially junk, and they will have to scrap or return a bunch of them to the manufacturer. New ones, possibly from a different maker, have some lead time, and will not be available until Summer. I think I got "house credit" for it, but we may have to hold onto the misfit part until it is determined if it will need to be returned, or possibly scrapped. So we were cutting cardboard to cover and protect the core fins, both sides, while it sits here being moved around and possibly abused for no one knows how long. Not wanting to put this piece of junk in the attic that should only have good used parts, it is for now an under-foot obstacle. -- Then another hour helping Jerry change out some new shifter parts on the Rabbit,and that was enough fiddling for a good Tech Friday. Someone said NASCAR Fast Trucks were running this evening. Not for us, so off to find a good WiFi spot . 
 Later in the evening, tracking info says delivery of my old radiator coming from California is delayed from today Friday until Monday. Sit on it, Fonzie? Such is life. Saturday, February 14, 2026: Finished posting photos and notes from Thursday/Friday activities. Updated Part Numbers tech pages for the oil pump mounting studs with correct information from hands-on measurements. Made more Part Numbers tech pages foinfo on threaded studs for 52K485 and 53K2172 Studs for gearbox front cover, 52K487 Stud for gearbox housing extension, 52K531 Stud for water outlet elbow (thermostat cover), 52K2171 Stud for tach drive, 52K2236 and 53K2236 tuds for carburetor mounting. And more to be named later. Sunday, February 15, 2026: Maybe I won't name them all later, too many to call out. Another half day adding a few more Part Numbers tech pages for threaded studs, mostly engine and gearbox parts, and one stud for the tail light plinth on the MGA 1600-MK-II cars. Lots of cross linking for identical parts with different part numbers, fairly often different part numbers for the same application. As I search the web for pictures of the studs, I am more and more finding very few references for the part numbers, and the only references to these parts are links to my own web site. If this information is found nowhere else, then maybe I'm doing something useful. If you want to see the progress, check out the hot links in the left column of these "Care and Feeding" pages: CF-153A for descriptions and applications, and CF-153B for dimensions. And then the rest of the day until late night working on new pages for wheel studs and brake rotor bolts. |