The MGA With An Attitude
TURN SIGNAL VACUUM SWITCH, Repair #2 - TS-101B
This article is compliments of Ed Hollingsworth in Omaha, NE, USA
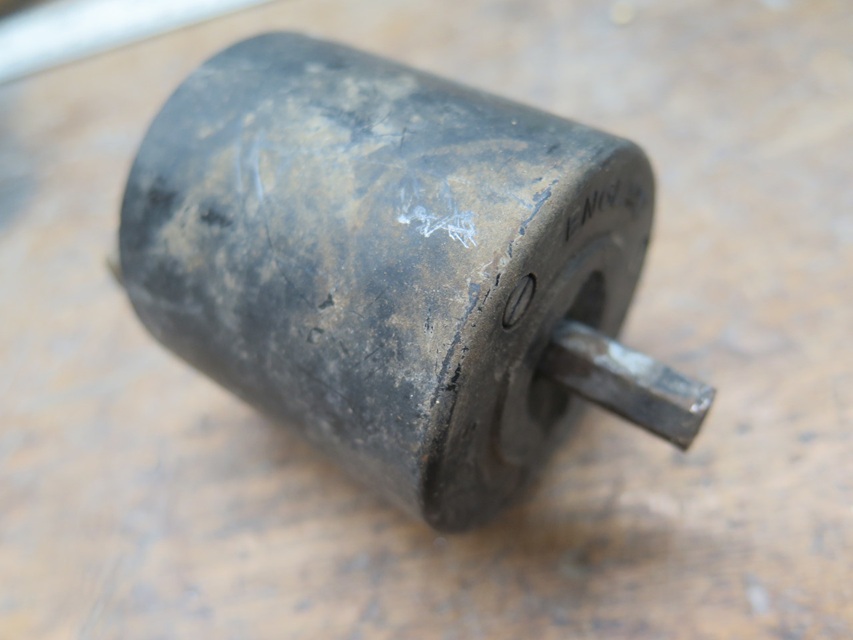
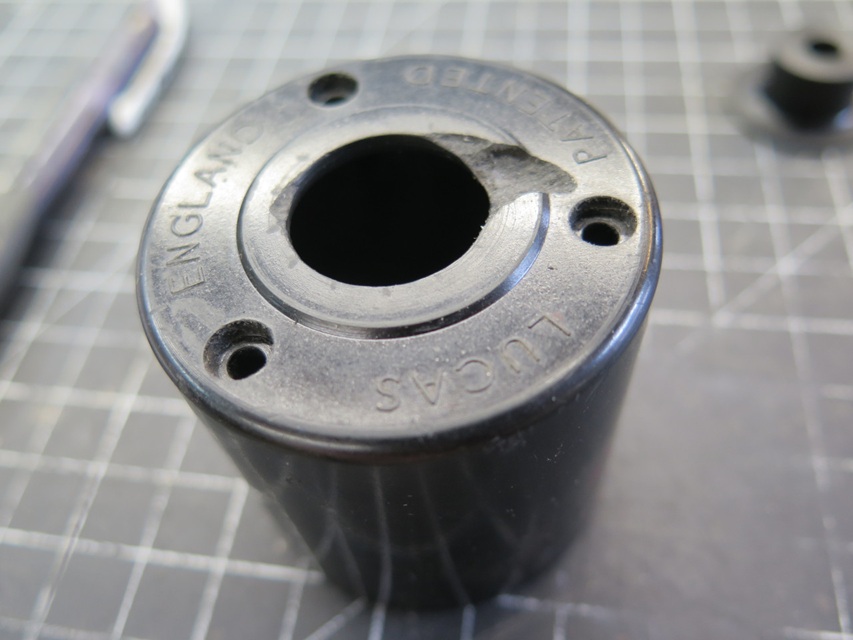
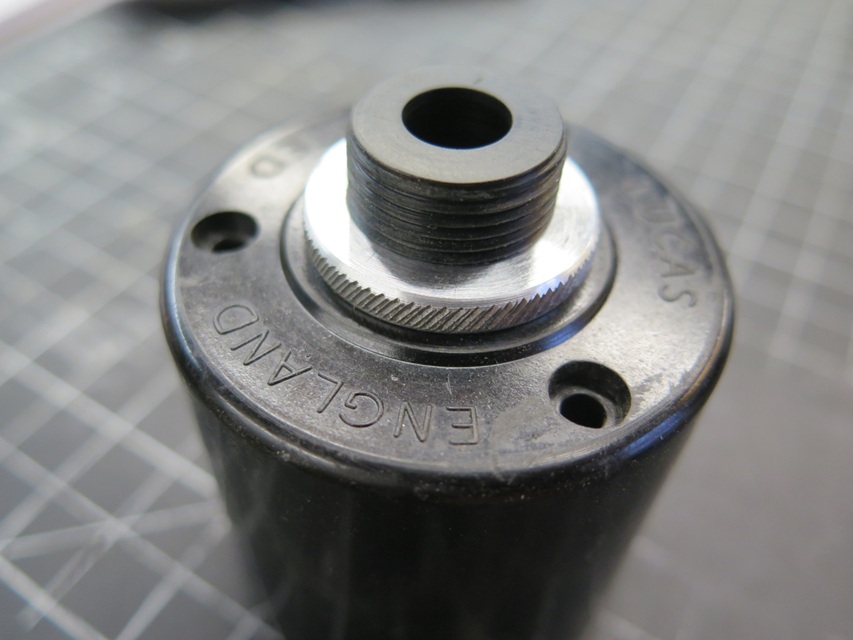
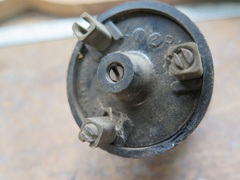
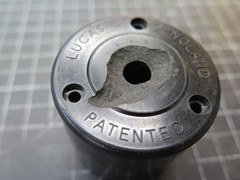
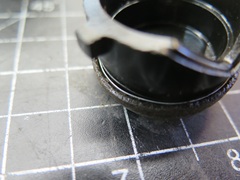
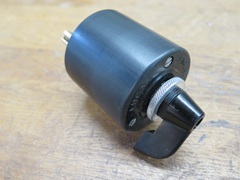
I'm starting to think about what to do with the dashboard in the car. I started with the turn signal switch. ... As I looked at the switch more closely, I was not encouraged. It was crusty, it appeared to be seized, and its threaded mounting nose was broken off.

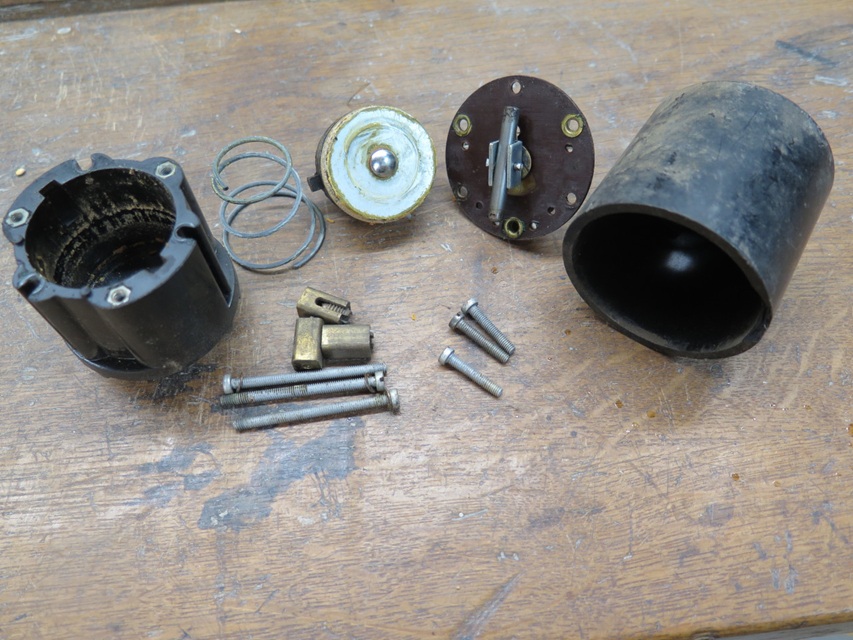
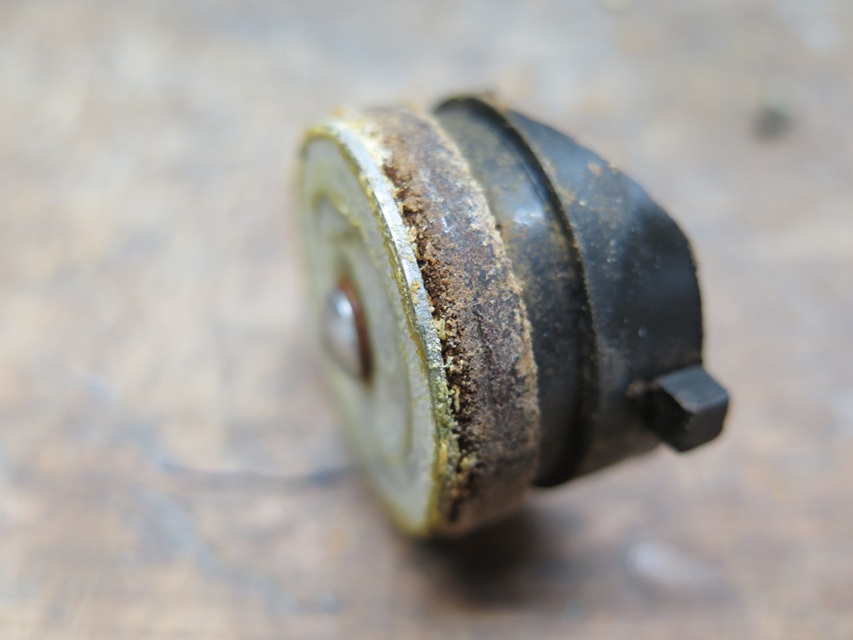
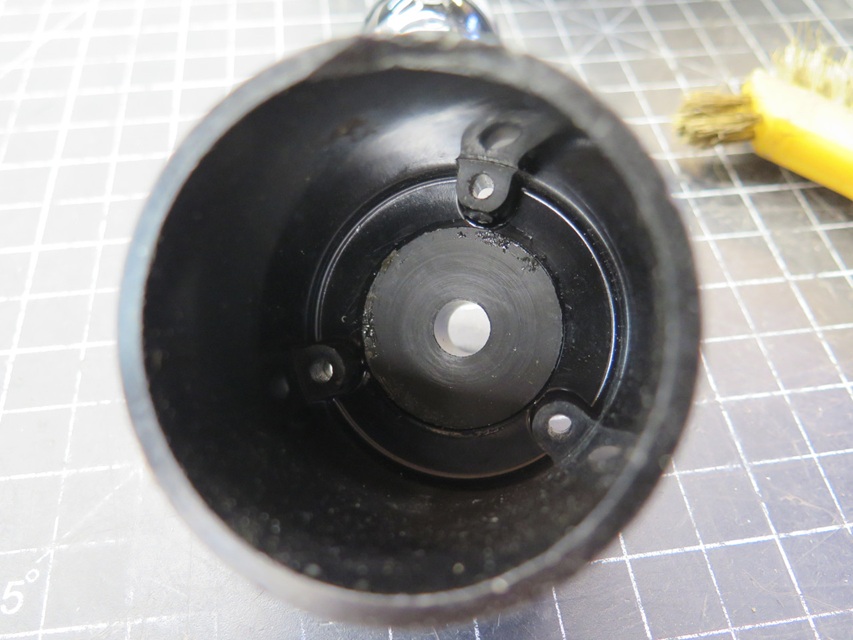
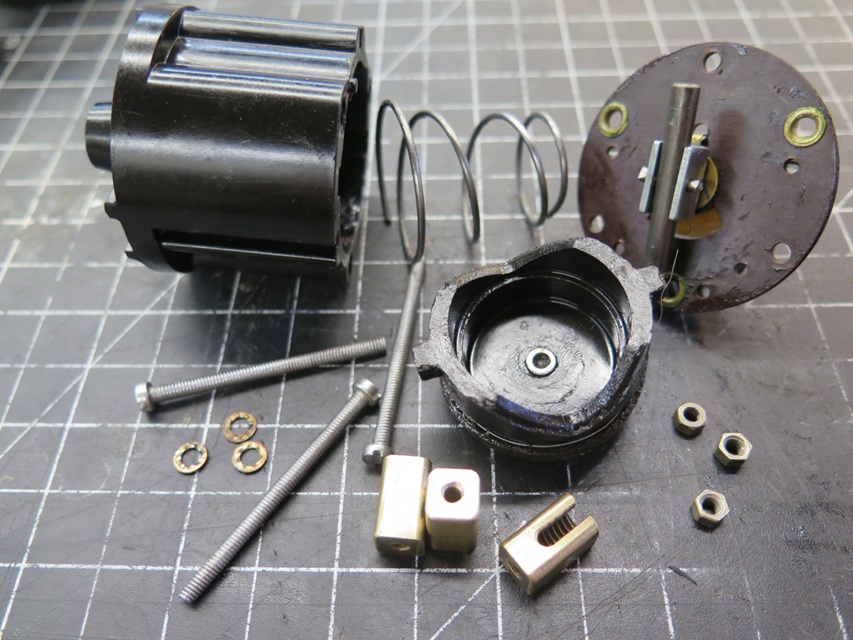
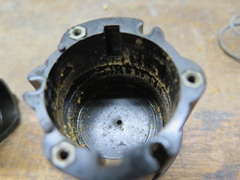
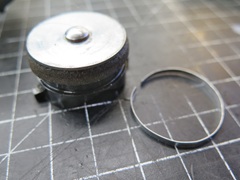
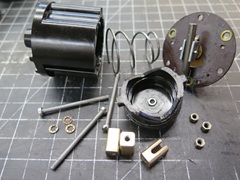
I couldn't see what I had to lose by taking it apart, so out came the screwdriver. -- Inside the outer shell was a cylinder with a leather-faced piston inside. Turning the control shaft closes some electrical contacts and cams the piston further down into the cylinder. A spring tries to return the piston back to its rest position, but the vacuum formed by the moving piston retards it. A controlled air bleed determines how long it takes the piston to return home, where it opens the contacts again. -- It became clear why the switch was locked up. There was a lot of dried up oil or grease on the piston seal and the bore of the cylinder.


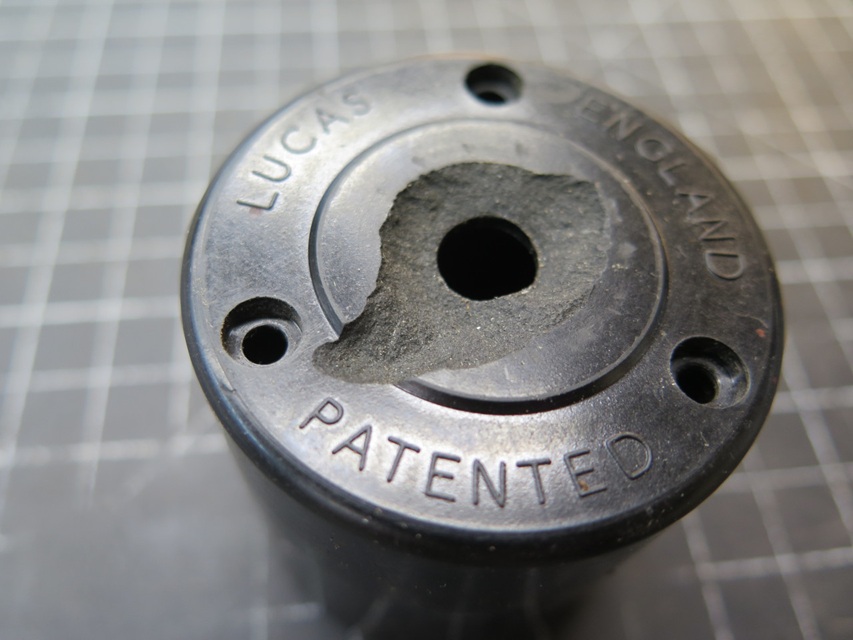
Before I spent any time on the piston or bore, the broken mounting nose seemed like a more pressing problem. --
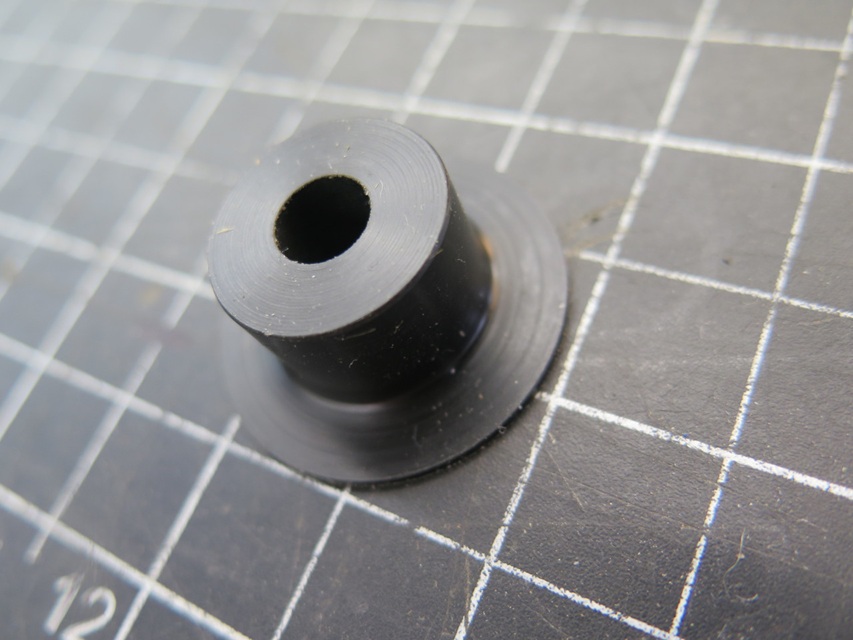
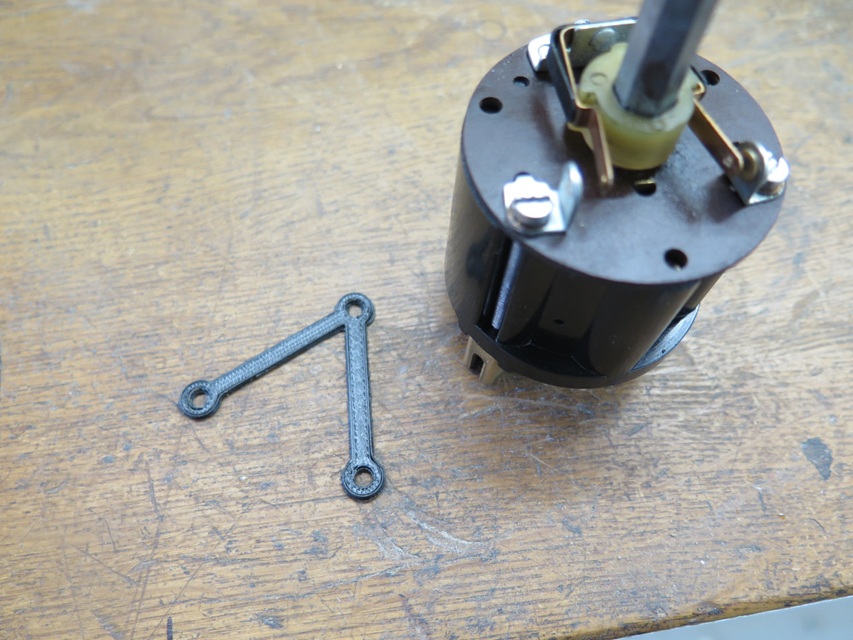
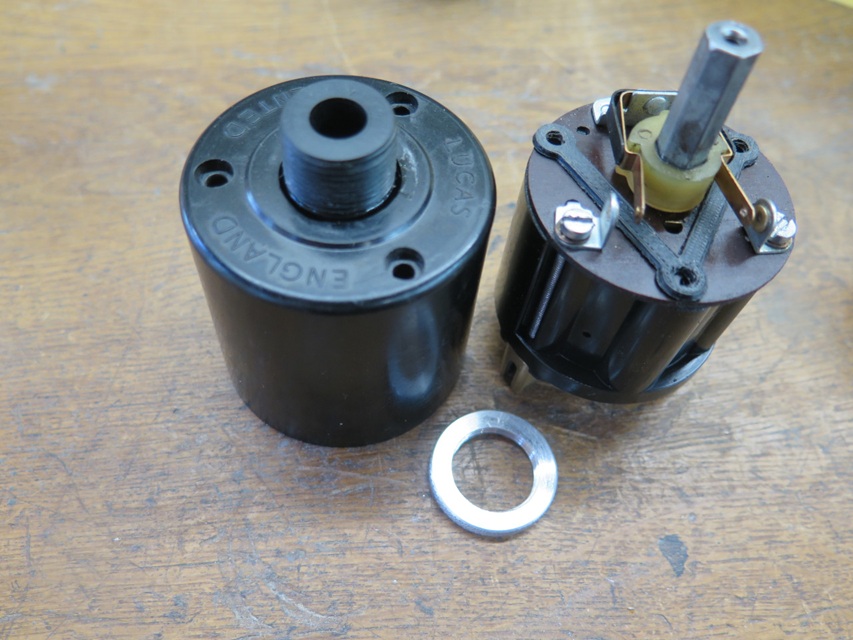
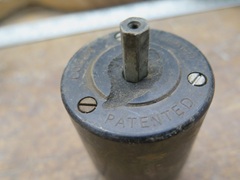
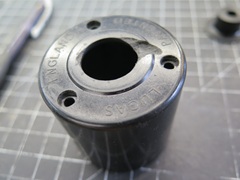
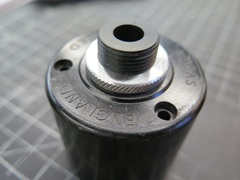
I made a new nose with a thin flange. The idea was to glue the flange to the inside of the housing, with the nose protruding. I wasn't sure if this would work, but I had no better plan. I could determine the diameter of the nose from the hole in the dash (3/4"), but the length was sort of a guess from pictures found online. -- The body had to be bored out for the new nose to pass through.
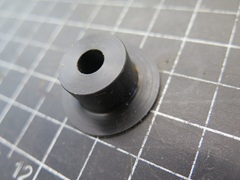
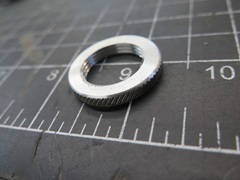
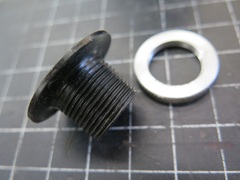
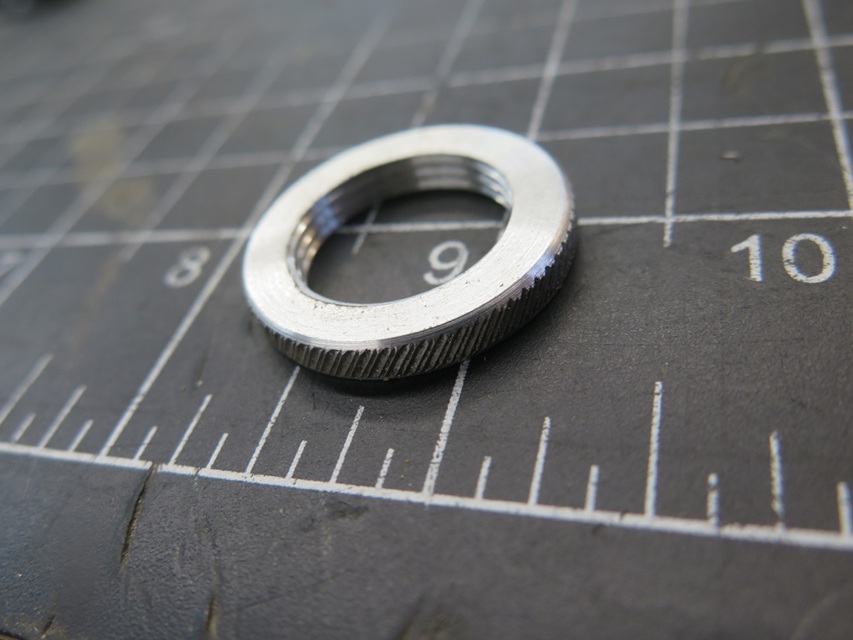
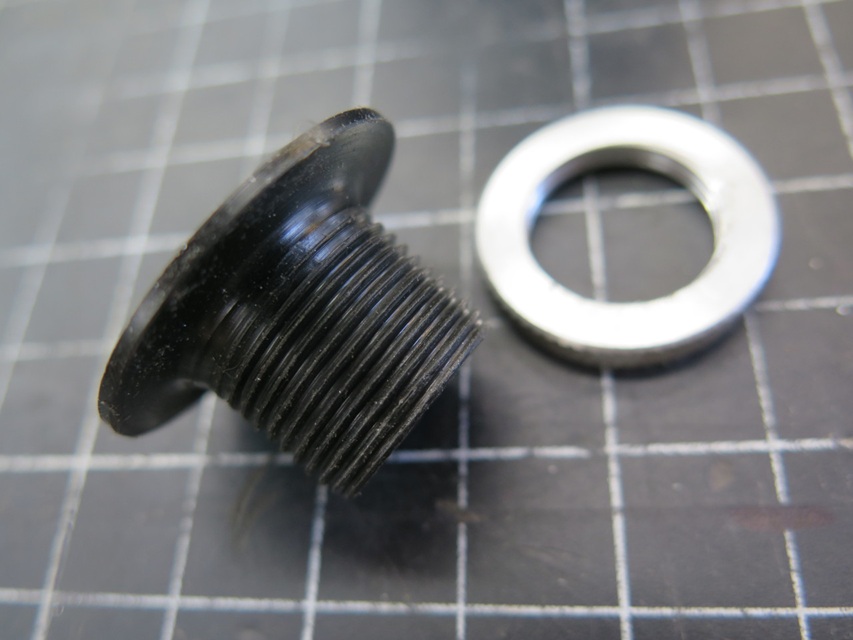
This looked promising, so I threaded the nose. Based on pictures, the thread pitch looked to be finer than 16 TPI, which is the UNF thread for 3/4" diameter. I think it should be 3/4-24, but a 3/4-20 die was way easier to find, so that's what I used. It seemed quicker to also make the fixing nut rather than trying to find someone selling it.

The nose piece was made from Delrin plastic. It's a great material--it's strong, stable, and machines well. Unfortunately, it normally doesn't glue well. The surface has to be treated with a special primer to activate it enough to accept a glue bond. After priming, I used a thick bodied CA glue.
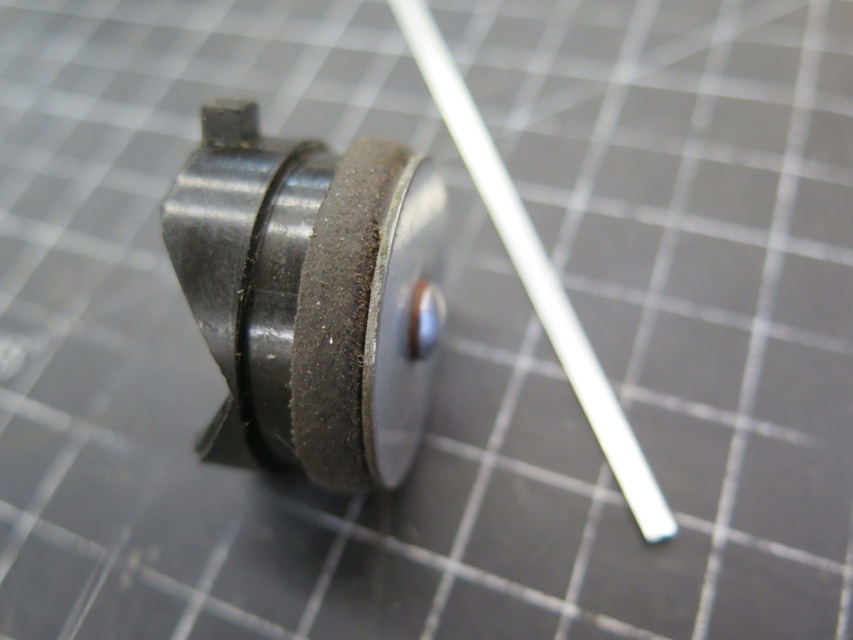
This seemed to work, so I turned to the piston and bore. They both cleaned up well, but when playing with the piston in the bore, I wasn't really able to pull much of a vacuum. I assumed that the leather lip was either worn or compacted too much to get a good seal. Some folks have apparently had some success by inserting some backing material under the piston lip. I tried a thin strip of sheet aluminum. This seemed to help. I tried two strips and it was too much.

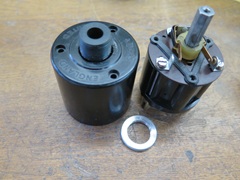
I treated the piston lip and the bore with some fairly heavy silicone grease, and assembled the cylinder and piston. I was glad to see that by totally sealing the bleed port, I could get enough vacuum to hold the piston for nearly a minute. -- Before putting the cylinder assembly back into the outer housing, I had one concern: The 0.050" flange of the new nose might contact that white plastic switch cam, and could keep the cylinder form seating in the housing properly. My solution was to add three little 3D printed 0.050" spacers over the screw holes in the cylinder. This would lift the outer housing slightly to maintain clearance to the cam.

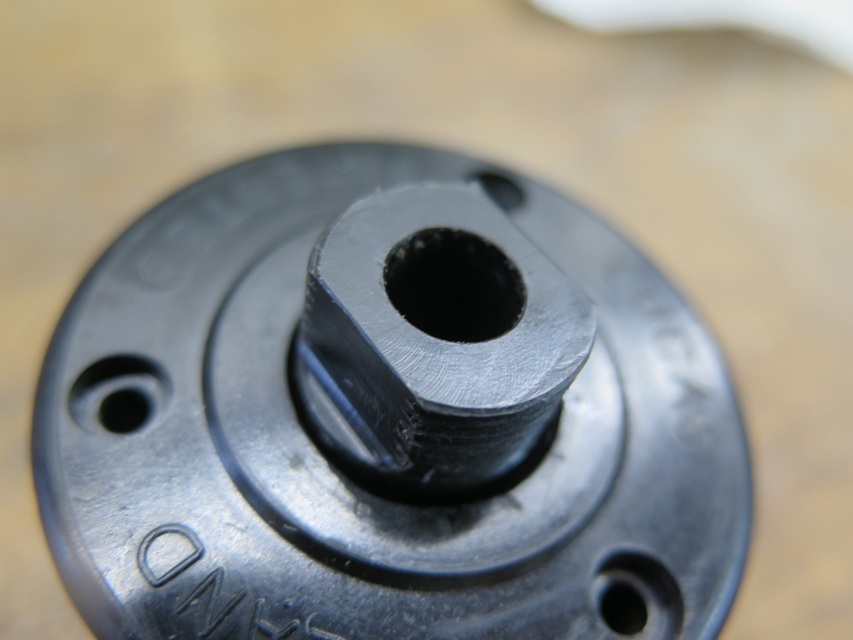
One thing missing during all of this was the actual knob, or handle that fits on the shaft to actuate the switch. Since I wasn't sure exactly how long to make the nose, I left it long. Add the fact that the shaft is now recessed by about 0.050", I really needed the handle to do the final trim on the nose. It finally came in, and I was able to get the nose right on dimension. -- I also needed the handle to get the clocking of the two flats right, so the handle would be vertical.

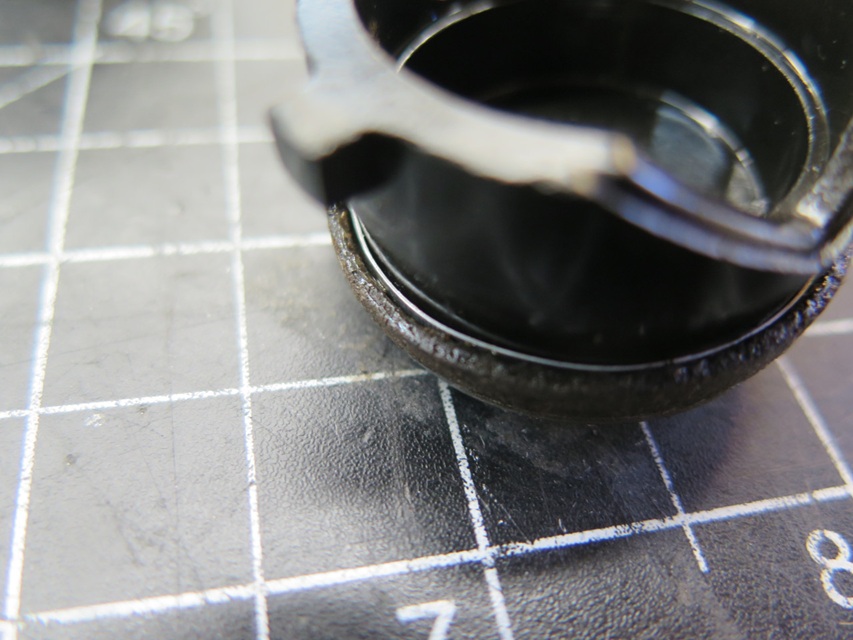
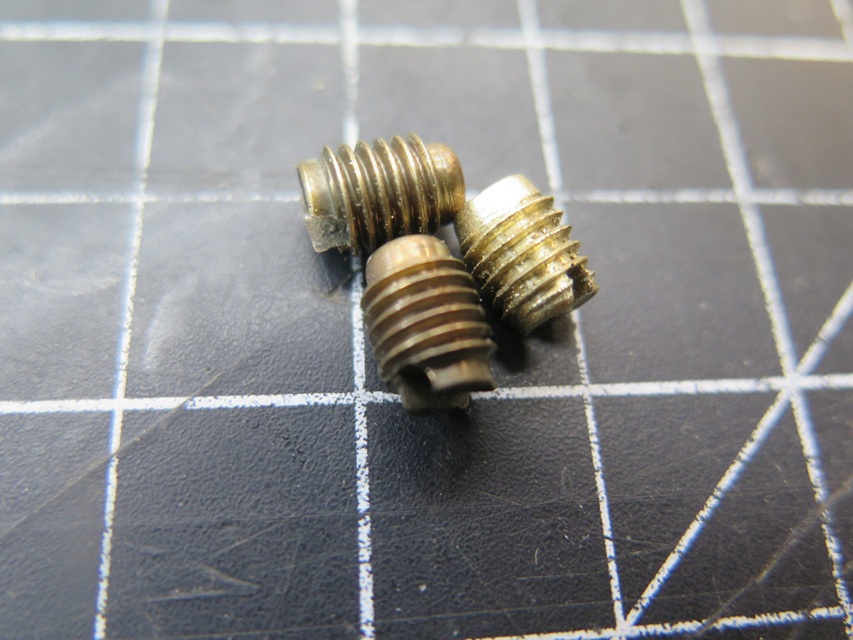
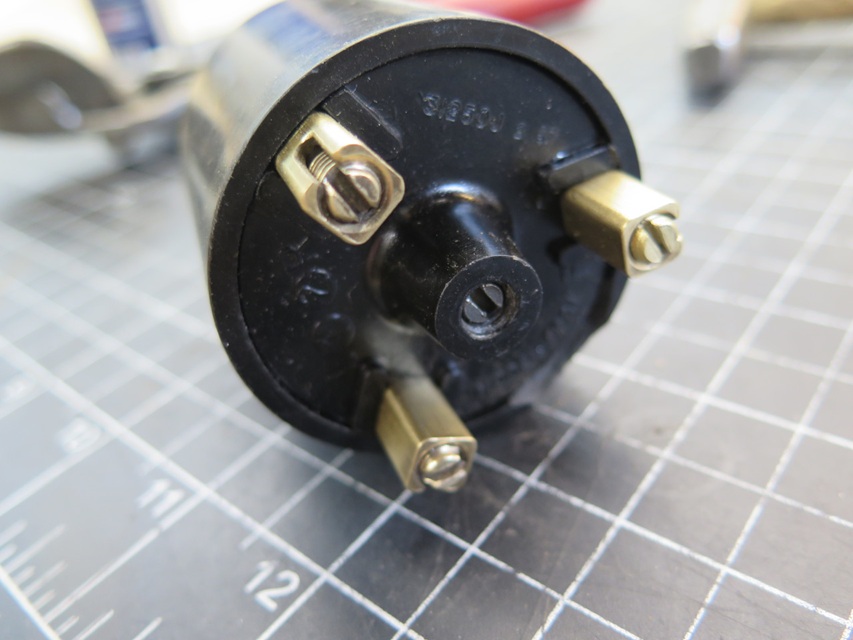
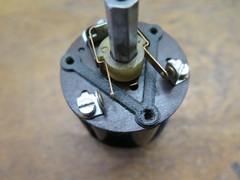
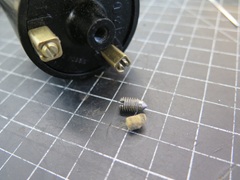
The bleed hole boss gets packed with this little cotton plug, which is in turn compressed by a set screw. This apparently serves as a rough adjustment for time delay. -- One little detail that I didn't notice until the end was the missing set screw in one of the electrical terminals. I only mention it because it turned out to be non-trivial. First, it's brass, which isn't typically an common hardware store item. Second, what appeared to be a very common 1/4-28 UNF thread was in fact a 1/4-26 BSF thread. The project was on hold for a week waiting for the die, but there it is, the new screw on the right.


The switch works smoothly now, but over time the delay interval has decreased. I can't get it over maybe 15 seconds now. I assume the grease has been displaced, causing air leakage past the leather seal. I may have to add more grease, and maybe look at a thicker packing behind the lip. But not right now.
|