The MGA With An Attitude
| MGAguru.com |
|
MGAguru.com |
MGA Guru Is GOING MOBILE - (November 1 - November 15, 2024)
Friday - November 1, 2024:

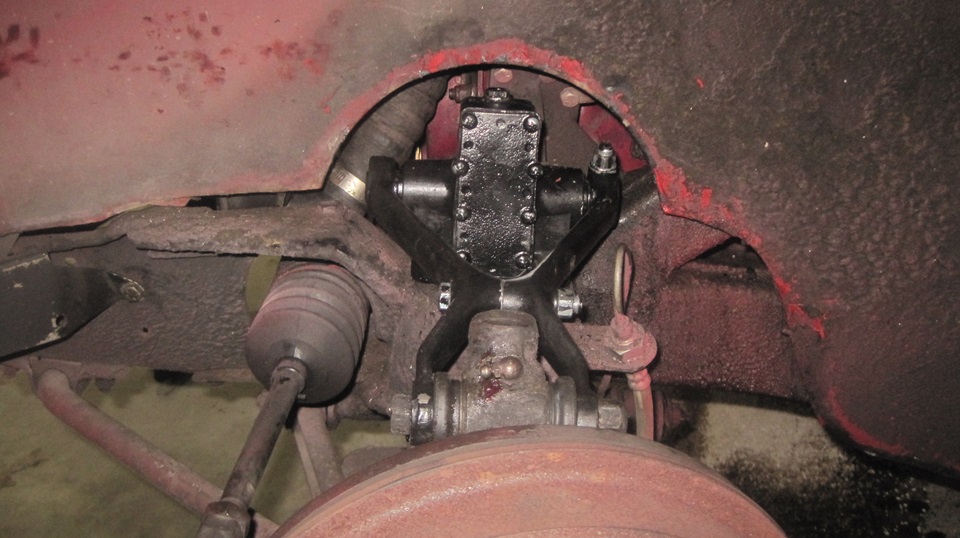
Didn't get it done late yesterday, so today we get to swap out the front shock absorbers. Been there,done that, so by no it is just grunt work. Crack the lug nuts loose, jack the front end, set stands under frame aft of the front heels, and remove the wheels. Place floor jack under front suspension A-arm, directly under the coil spring, and lift a bit, just enough to get the shock absorber arm off of the rubber frame bumper. Remove the trunnion bolt to free the top swivel link from the shock arm. Remove four bolts to free the shock from the frame.
 Generous coating of dirty grease from leaking oil and road dirt. Some light overspray red paint left after repair from the deer hit damage in June. the rubber frame bumper all beat up, needing replacement, put a pair of those on the shopping list. Last changed 8-1/2-years 211,000-miles, maybe I shouldn't complain. These buffers get beat bad when there is no oil in the shock absorbers most of the time. Guess we were too busy repairing deer damage last June. It's a wonder I didn't notice then and put them on the shopping list. -- Before installing the shocks, this time I drilled tiny vent holes in the oil filler plugs. I'm hoping that may relieve the pressure from thermal expansion of hot oil, maybe prevent blowing oil out past the shaft seals. Time will tell. -- There's the new shock installed,standard fare, four bolts in the frame and one in the arm with new trunnion seals, also new seal supports and new thrust washers this time., and tighten everything up. Then going to the left side, this one is a little less greezy, seems to have been leaking a little less, maybe. Generous coating of dirty grease from leaking oil and road dirt. Some light overspray red paint left after repair from the deer hit damage in June. the rubber frame bumper all beat up, needing replacement, put a pair of those on the shopping list. Last changed 8-1/2-years 211,000-miles, maybe I shouldn't complain. These buffers get beat bad when there is no oil in the shock absorbers most of the time. Guess we were too busy repairing deer damage last June. It's a wonder I didn't notice then and put them on the shopping list. -- Before installing the shocks, this time I drilled tiny vent holes in the oil filler plugs. I'm hoping that may relieve the pressure from thermal expansion of hot oil, maybe prevent blowing oil out past the shaft seals. Time will tell. -- There's the new shock installed,standard fare, four bolts in the frame and one in the arm with new trunnion seals, also new seal supports and new thrust washers this time., and tighten everything up. Then going to the left side, this one is a little less greezy, seems to have been leaking a little less, maybe.

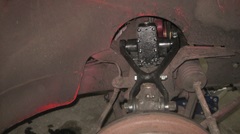
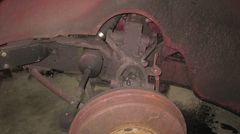
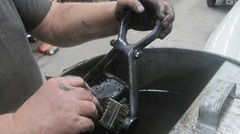
Jack under the coil spring, lift gently, five bolts out and in. New shock in place, again new trunnion seals, seal supports and thrust washers. Notice the badly perished trunnion seals. We know these are made with crap rubber with short life, so we always carry spares. We installed new coil springs three years ago (almost to the day), and surely replaced these seals then. They have obviously perished in a lot less than three years. In August last year we bought a set of front suspension seals 3D printed in Urethane. We know they are somewhere in the Magic Trailer,but couldn't find them today, so had to put it back together with new crappy rubber seals. Also notice the thrust washers inside the seal carriers are badly worn. I suppose those were prior cheap garbage parts, not properly hardened. This left significant fore/aft freeplay in the top trunnions. Our new replacement thrust washers are nice and thick and do appear to have been heat treated, so we hope to have have better service from these parts in the future. -- Time to clean up the old shocks for return shipping, then bag them, box them,,box the boxes, tape it up and apply the provided return shipping label. Just a few miles to the local UPS Store to drop it off.

On the way back we , and stopped by O'Reilly Auto Parts to pick up some dark red spray paint for the upcoming engine assembly. We are about to find out how well Krylon does on a warm engine. -- Today is "tomorrow", come and gone, no call from the machine shop. I called them at ten-to-five, no answer. No return call, so obviously the block boring job is not finished, and I don't know the rebore size, so kill a few more days on the week end before I can order new pistons. Bummer. While cleaning up and packing parts away, navigator finally found the Urethane front suspension seals. They were in a nondescript poly bag with no markings other than a shipping label, and found with Rear Suspension poly bushings. So grab a Magic Marker and write on the package, and put it in with Front Suspension parts where we can find it next time. Maybe it won't be too long,as we want to replace lower A-arm inboard bushings sometime soon.
Saturday - November 2, 2024:
Sunday - November 3, 2024:
Kill two days.
Monday - November 4, 2024:
Let's see if the shop will deliver today what they were supposed to have delivered on Friday. Short answer, no. I began calling at mid day, made a dozen calls by 4-pm, all calls resulted in "busy signal", like phone off the hook (which it was). So I drove to the shop to investigate. Short story, nothing done. So I planted myself in the office door with stone cold patience, not going anywhere until I get a commitment. I suppose the owner figured out he wasn't going to get to go home until this was resolved. He finally pulled out a very thick engine stat's book to look up he stock bore size, measured the current bore (standard bore with no wear but pitted), told his machinist to get on it first thing in the morning, and vowed to call me as soon as they knew the final bore size. Now we wait again.
Tuesday - November 5, 2024:
3;30-pm I got the phone call, 0.020" oversize. Rather late in the day in Eastern time zone, so I don't expect to get new pistons ordered and shipped today, but it is time to shop the net and make some calls. By late evening I had a few no-stock results, one sure source in-stock, two likely in-stock, but wait 'till morning to find out for sure. Looks like I will have a choice based on price and shipping time. Turn the mood meter up a notch.
Wednesday - November 6, 2024:
Before noon, new pistons on the way. Abingdon Spares had them, shipped via USPS Priority Mail, scheduled to arrive Saturday.
Thursday - November 7, 2024:
By late afternoon tracking information changed to anticipate package delivery on Friday rather than Saturday. Hey, peachy. Start revising plans accordingly, and repeat checking tracking info frequently.
Friday - November 8, 2024:
Sure enough, morning tracking check said "Out for delivery", and the expected delivery window was getting smaller. Call the shop to be sure about completion, yes the engine block will be done, come to pick it up at 2;30-3:00-pm. Package delivered to the porch 1:33 pm, go pick it up. Just enough time open for a side trip to Lowe's to pick up a grinding wheel 1-inch diameter with 1/4-inch shank, good for chucking in a hand held router, just in case we need to cut clearance eyebrows in the block. Then back to the shop to pick up the block. Enthusiasm picking up a little. The guy asked, "Did you get the pistons"? Yes, they're in the car. Fetch one, what to check the fit.
 That's when the balloon burst. We inserted a compression ring at top of bore. Yes, there's a gap, but not big enough, only a few thou. Try a piston in the bore, no-go. Went in only an inch before it got tight, two hands and a firm twist to get it out. The damn thing measured nearly 0.025" oversize where it should be +0.020. Holy crap, Ive never seen new pistons that far out of spec. These are County brand, made in England. Maybe as-cast and not cam ground. They were much cheaper than AE brand, maybe you get what you pay for, but this just ain't right. -- Okay, might as well leave it here. We'll hone the block again to fit the pistons, come back to pick it up Monday afternoon. Bummer, another three days off the calendar, but stuff happens. -- Uh. what do I do if I need new pistons again later? Buy the same brand, and hope they will be the same amount oversize. Damn, I hate poor quality replacement parts. This is the first time I've ever been burned with out of spec pistons. That's when the balloon burst. We inserted a compression ring at top of bore. Yes, there's a gap, but not big enough, only a few thou. Try a piston in the bore, no-go. Went in only an inch before it got tight, two hands and a firm twist to get it out. The damn thing measured nearly 0.025" oversize where it should be +0.020. Holy crap, Ive never seen new pistons that far out of spec. These are County brand, made in England. Maybe as-cast and not cam ground. They were much cheaper than AE brand, maybe you get what you pay for, but this just ain't right. -- Okay, might as well leave it here. We'll hone the block again to fit the pistons, come back to pick it up Monday afternoon. Bummer, another three days off the calendar, but stuff happens. -- Uh. what do I do if I need new pistons again later? Buy the same brand, and hope they will be the same amount oversize. Damn, I hate poor quality replacement parts. This is the first time I've ever been burned with out of spec pistons.
Saturday - November 9, 2024:
Sunday - November 10, 2024:
Couple days off to grumble.
Monday - November 11, 2024:
National holiday here, Veteran's Day, as I am reminded by a parade going on outside. That also means the engine shop must be closed. More time to think while I'm grumbling, and I think (suspect) those "oversize" pistons may pull a magic act by tomorrow afternoon. Stay tuned.
Tuesday - November 12, 2024:
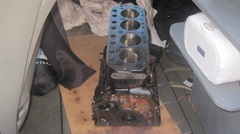
 Holiday past, time it right getting to the engine shop at 10:45-am. The block was properly honed to final size, rings checked for correct end gaps, and they had just finished cleaning it. Short chat with the shop owner, amenable fellow. Verify what was done, and what not, load up he block, pay the bill and get back to the garage. Will have more to say about the bore size fitting the pistons later, after I have more time to measure everything.
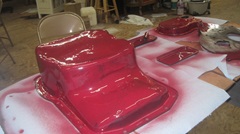
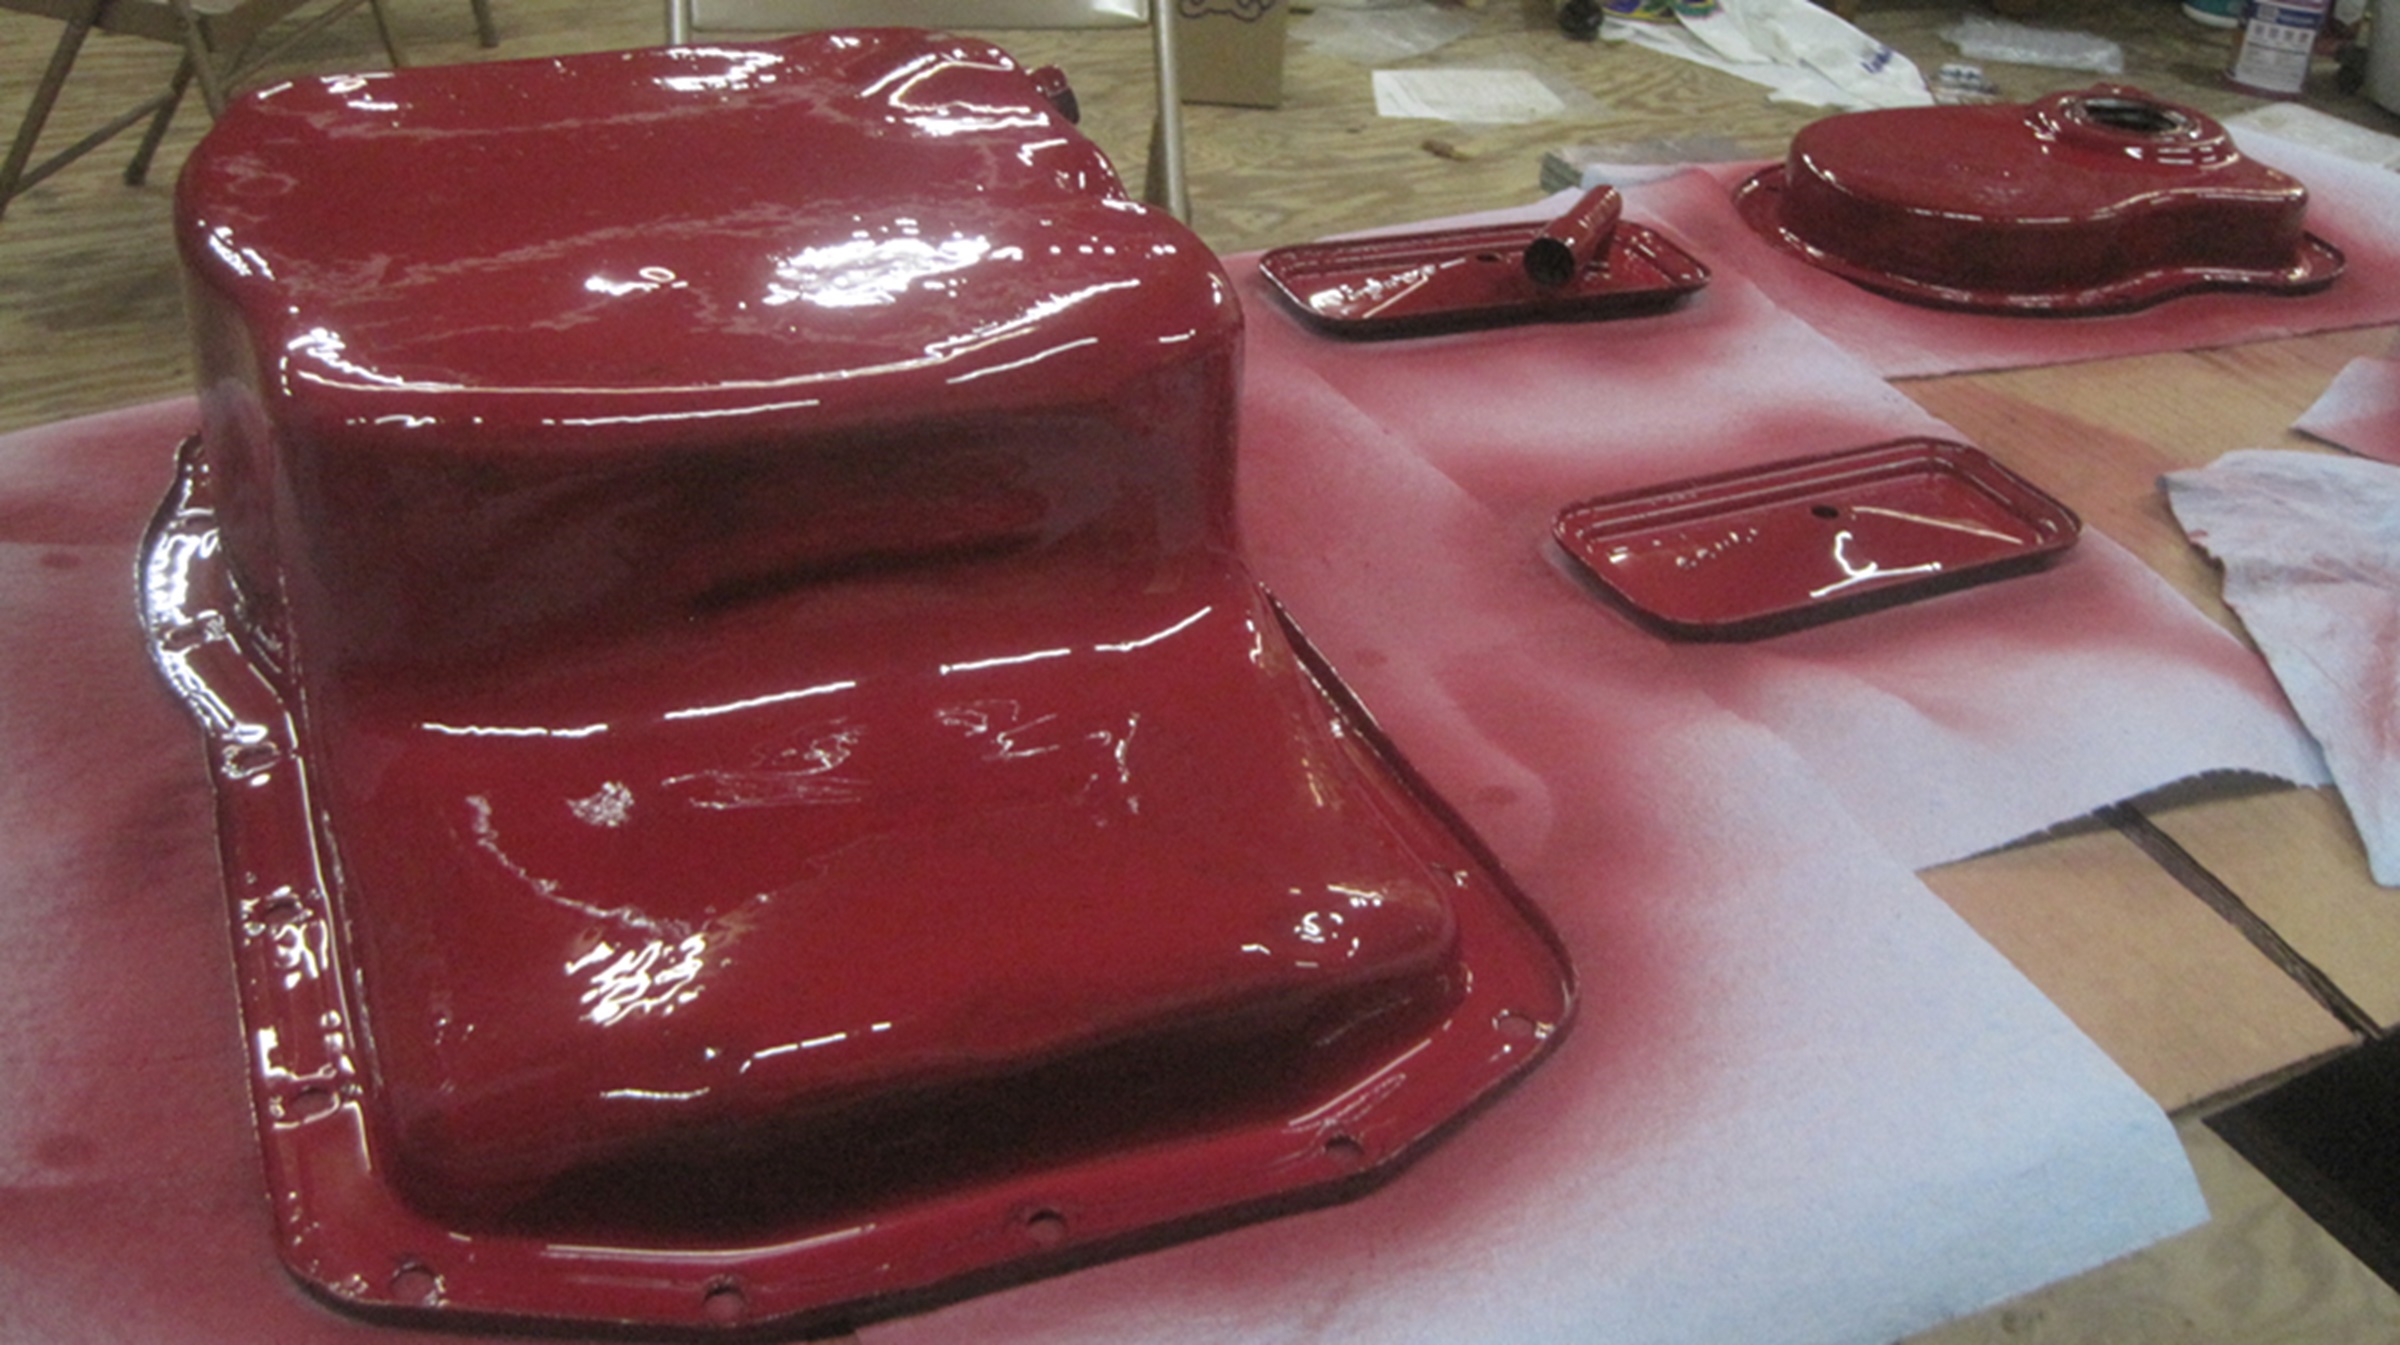
 We didn't unload the block immediately as we need the table space. Navigator spent an inordinate amount of time scraping gaskets and cleaning sheet metal covers, which could have been done some days earlier. Multiple coats of paint with some runs needing to be buffed down, and some surface rust wanting to be buffed off. A 4-inch Scotch-Bright wheel in power drill made this chore reasonable, then wash and wipe it all down with lacquer thinner to be clean enough for painting. Crappy weather for painting. daytime high near 50dF, frost over night. Keep the covers indoors at maybe 60dF, and keep the aerosol paint cans in the apartment to warm up to 70dF. We didn't unload the block immediately as we need the table space. Navigator spent an inordinate amount of time scraping gaskets and cleaning sheet metal covers, which could have been done some days earlier. Multiple coats of paint with some runs needing to be buffed down, and some surface rust wanting to be buffed off. A 4-inch Scotch-Bright wheel in power drill made this chore reasonable, then wash and wipe it all down with lacquer thinner to be clean enough for painting. Crappy weather for painting. daytime high near 50dF, frost over night. Keep the covers indoors at maybe 60dF, and keep the aerosol paint cans in the apartment to warm up to 70dF.
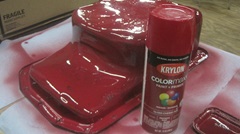
 First coat of paint about 7:30-pm, say it with Krylon COLORmaxx, Gloss Cherry Red. It was cheap from a local auto parts store, and we're not particular a bout exact color. By description on the can this is primer and color in one. Good opportunity to find out how well it may work on a water cooled engine. Kind of thin out of the can, be careful not to make runs on the first thin coat. Somewhat shy on pigment maybe. translucent and see through at first. After a few minutes a second coat helps some, but still not full coverage. Dry to touch in 20 minutes, handle after one hour, recoat before two hours or after 48 hours (not waiting that long). Give it an hour plus and spray it again by 9-pm. Looks better, I think that will do for a road car. Walk away. First coat of paint about 7:30-pm, say it with Krylon COLORmaxx, Gloss Cherry Red. It was cheap from a local auto parts store, and we're not particular a bout exact color. By description on the can this is primer and color in one. Good opportunity to find out how well it may work on a water cooled engine. Kind of thin out of the can, be careful not to make runs on the first thin coat. Somewhat shy on pigment maybe. translucent and see through at first. After a few minutes a second coat helps some, but still not full coverage. Dry to touch in 20 minutes, handle after one hour, recoat before two hours or after 48 hours (not waiting that long). Give it an hour plus and spray it again by 9-pm. Looks better, I think that will do for a road car. Walk away.
Wednesday - November 13, 2024:
Unload the 18Gengine block, drag it inside and set it on the work table. First business was to measure bore sizes carefully. After honing the bores are spot on at 1800cc +0.020 oversize, and the pistons an rings now magically fit the bores perfectly. Not really magic, the parts were correct size all along. Truth is, the shop simply refused to do the final honing until they had the pistons in hand, wiping another four days off the calendar over the holiday weekend.
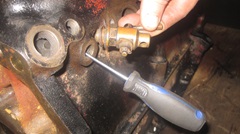
With that settled, we spent some time checking for sediment in bottom of the water jacket. The shop had soaked the jacket in muriatic acid for a while, and that seems to have done the trick. There is very little rust or water stone left, so we ban poke around on the floor of the water jacket with a long thin screwdriver with a nice metallic "clink" all around. Unfortunately the drain port on right side of the block is still plugged. We cleaned the petcock so it is clear to blow through, and it does shut off well, so no problem there. Poking from top with a long screwdriver, and from the side with a shorter screwdriver, we still could not find a clear path through. Thinking there must have been a hole there at one time, because the port and petcock were completely filled and clogged with sediment. If we can't find a path through we may just install a plug never to be removed again, or put the petcock back in as neat original looking decoration. In all my decades driving an MG, I have never used that port to drain the block anyway. -- Then we drug out a brand new hand held router (cheap tool from Harbor Freight), hoping the thin metal and plastic parts will hold up long enough to cut four tiny eyebrows for clearance under the exhaust valve heads. We intend to attack that issue tomorrow, after consulting a 25 year old CAD drawing for exact dimensions, and doing some calculations to determine the size needed for the eyebrows. Pretty sure I know what it is, just been a long time since I've done one.
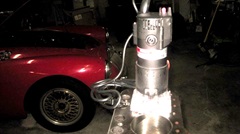
Thursday - November 14, 2024:
Today we get to cut some eyebrows in the top of the block to clear excessive lift of the exhaust valves. This business started in late 1986 when I first installed an early MGB 18 head on a 1500 engine, causing lower compression ratio due to larger combustion chamber volume, 43cc vs.38cc. To get back to original 8.3:1 compression ratio the 18 head was milled from 3.187" to 3.140 thickness, a reduction of 0.047". That lowers the whole head, placing the valves closer to top of block. Ten years later the head was swapped onto another rebuilt 1500 engine. Advance a few more years around turn of the century, it was swapped onto a rebuilt 1600 engine with a mild performance cam with slightly more valve lift, again positioning the valves closer to the block at full lift. By that time the clearance eyebrows were cut 0.100" deep into the block, and I have helped a few other people do the same.
 In 2014 that engine was reworked again including a new cam and tappets, this time going back to standard type camshaft without the excess lift. Another 10 years later it is time for another engine rebuild, this time going to be an 18G 3-main short block assembly. We will be using the same 0.047' shaved head but near stock cam. This will be very similar to the 1972-1974 MGB 18V engine with the "L" head with higher compression ratio. Anticipating 9.0:1 compression ratio and 170-psi cranking pressure, but it might be a little higher if earlier pistons have less dish depth. In 2014 that engine was reworked again including a new cam and tappets, this time going back to standard type camshaft without the excess lift. Another 10 years later it is time for another engine rebuild, this time going to be an 18G 3-main short block assembly. We will be using the same 0.047' shaved head but near stock cam. This will be very similar to the 1972-1974 MGB 18V engine with the "L" head with higher compression ratio. Anticipating 9.0:1 compression ratio and 170-psi cranking pressure, but it might be a little higher if earlier pistons have less dish depth.

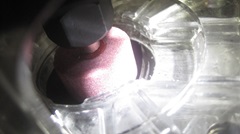
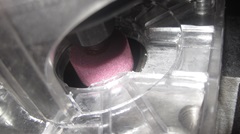
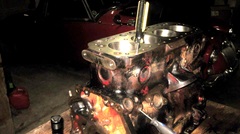
After lots of planning and calculating we will get on with it. This time it needs exhaust eyebrows 0.080" wide and 0.060" deep. We killed an hour carefully measuring and scratching the eyebrow lines on top of the block. The chosen implement of destruction is a small hand held router with 28,000 rpm no load speed, and a 1-inch diameter grinding wheel. Hold a bright spotlight (flashlight) in one hand,and the router in the other hand, and slowly grind he eyebrows up to the scribe lines. These eyebrows are made with minimal material removal and sharp corners, not like the angled factory eyebrows from 1972 on.

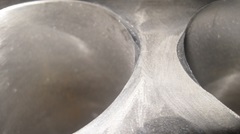

Lots of pictures of the eyebrows here, as we do not get to take these pictures very often.
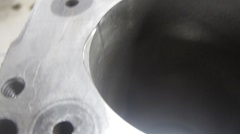
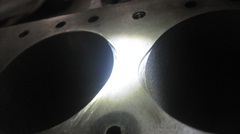

Not wanting any sharp corners (hot spots) in the combustion chambers, we spent an hour with 220-git emery paper wrapped around a round rubber sanding block buffing off all of the edges.
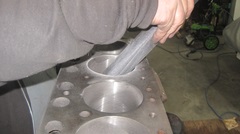
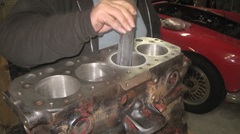
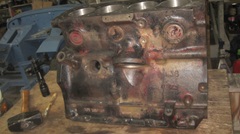
That came out very nice, but all the grinding and sanding left everything covered in iron dust. Enough for one day, the clean-up will be a job for tomorrow when weather should be a bit warmer, more suitable for painting.
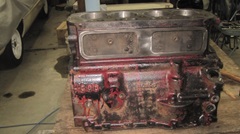
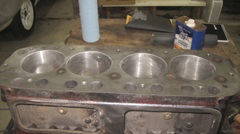
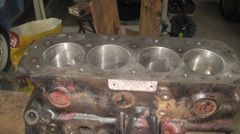
Friday - November 15, 2024:
Block cleaning day. We go after the thing with a vengeance, lacquer thinner and stiff bristle brushes. Get it wet, scrub it down, sop up the dirty solvent with shop towels, and let it dry. If it doesn't dry, or there is still dirt on the shop towels, then it's not clean yet, do it again. The worst offenders were bottoms of deep valleys where dirt would settle in the low spots, just above the main bearing cradles. Keep washing and brushing and digging until the paper towels will come out clean, and then rinse it again. This process kept enhancing the impression that the prior owner never changed the engine oil.
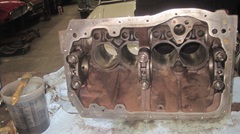
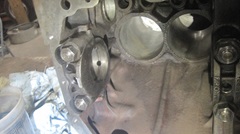

All is well that ends well, and we finally got it clean inside down to bare iron.
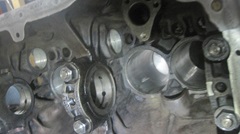
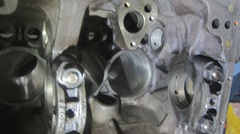
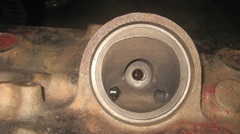
Much easier cleaning outside where it is easier to reach and easier to see. Time to paint? Not quite. We spent another hour masking front end, back end and top, removing a few remaining threaded studs, stuffing paper wads into tapped holes and any other ports that were not to be allowed to receive paint.
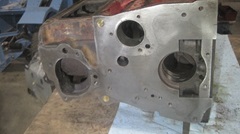


Finally the fun stuff, grab the WARM aerosol cans, shake well and spritz it. Not easy painting in a cold environment. When the vehicle (solvent) doesn't want to evaporate, the paint goes on like water and just wants to run off. The first few coats have to be
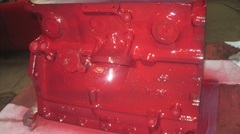
 very thin mist, give it a couple minutes to dry before another very thin coat. It's all about time and patience. After a few coats new paint will stick to old paint better than it sticks to bare iron. Then additional coats can be slightly thicker, but still needing generous drying time between coats What should gave taken ten minutes took more like an hour, and he paint was still somewhat translucent. So walk away for at least 90 minutes to two hours before applying a "second coat".
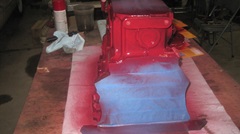
Finally late evening, come back and spend another half hour applying more paint slowly to prevent runs. When it finally looked opaque and solid color with not much variation, it was time to quit. Give it another half hour to skin over before taking final pictures. In retrospect, I can't remember if I have ever before tried to paint an engine block by itself. I usually assemble the engine, and then paint the whole assembly at once, which saves a lot of time not needing so much masking. Reason for doing it this way now is because the old engine is still in the car, so some of the parts to be reused are not available yet.


|