The MGA With An Attitude
MGA Guru Is GOING MOBILE - (June 16 - June 30, 2024)
Sunday June16, 2024:
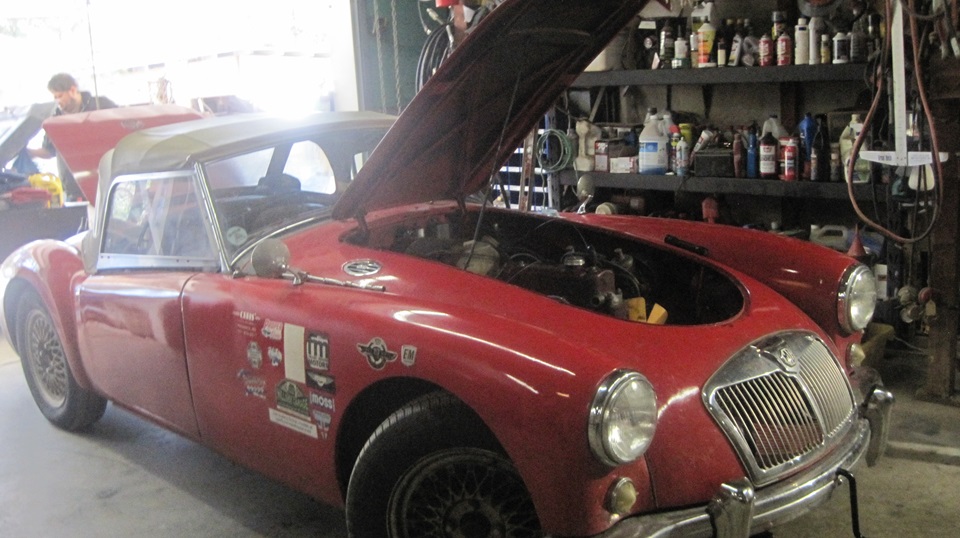
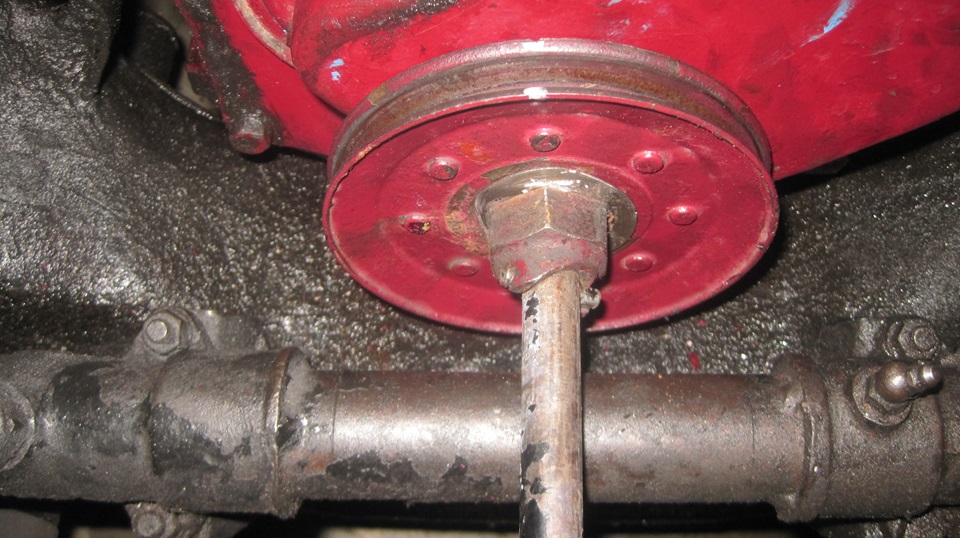
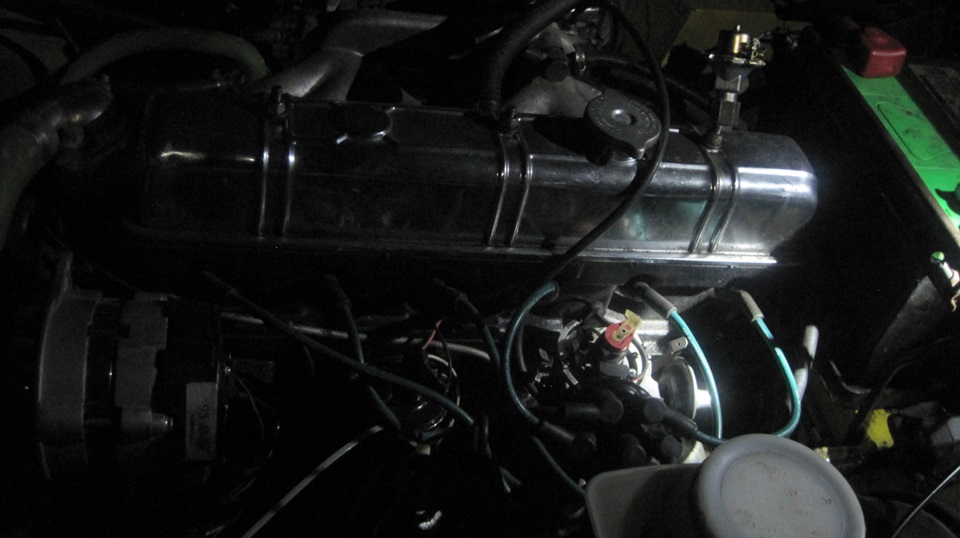
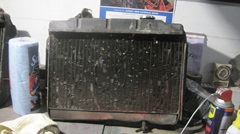
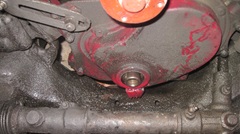
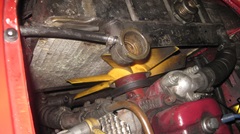
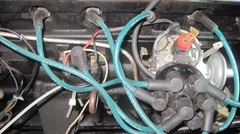
Time to tend to the little rattle at front of engine. Drain coolant remove radiator, loosen the fan belt, knock back the locktab. The hand crank fits, but not enough space for a socket wrench. So use a long 1-5/16 wrench stopped against the inner fender, and give the starter a short blip to loosen the crank dog nut.


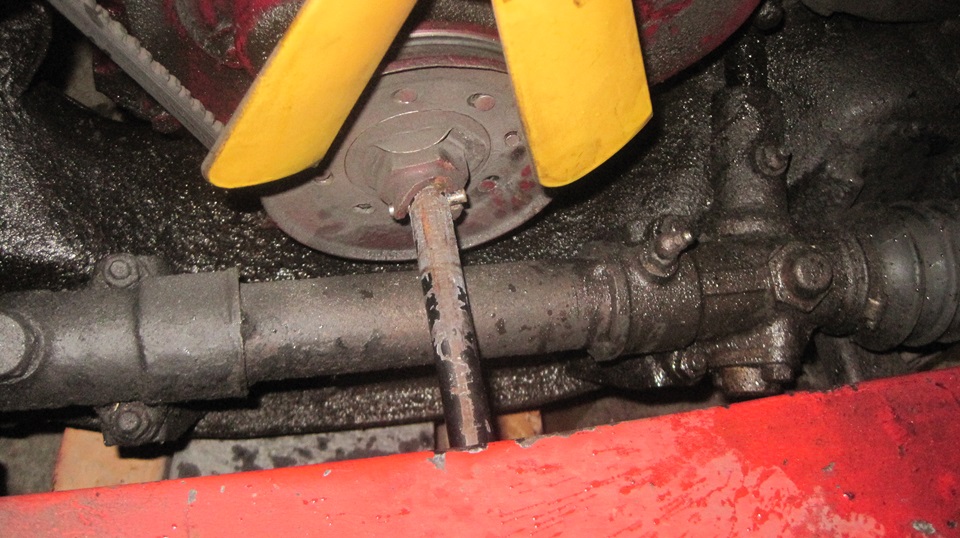
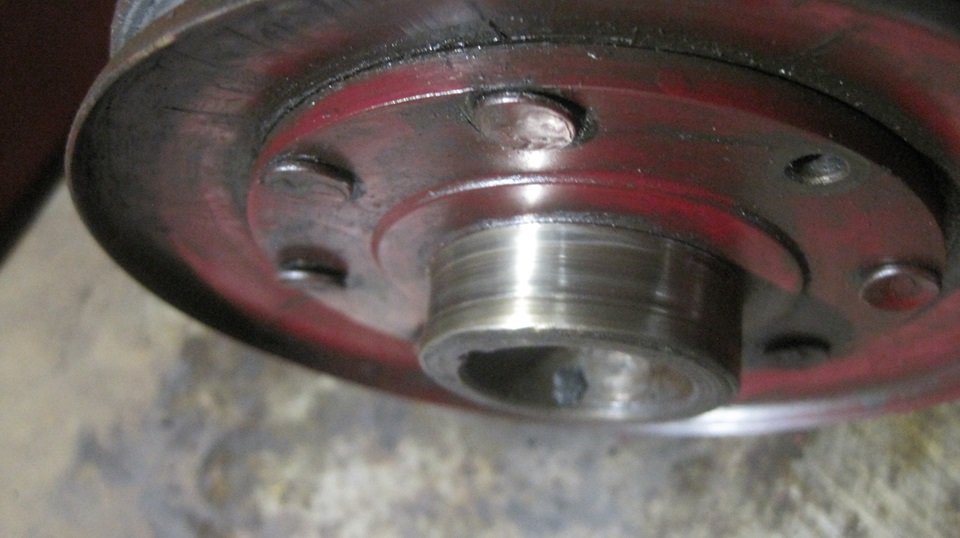
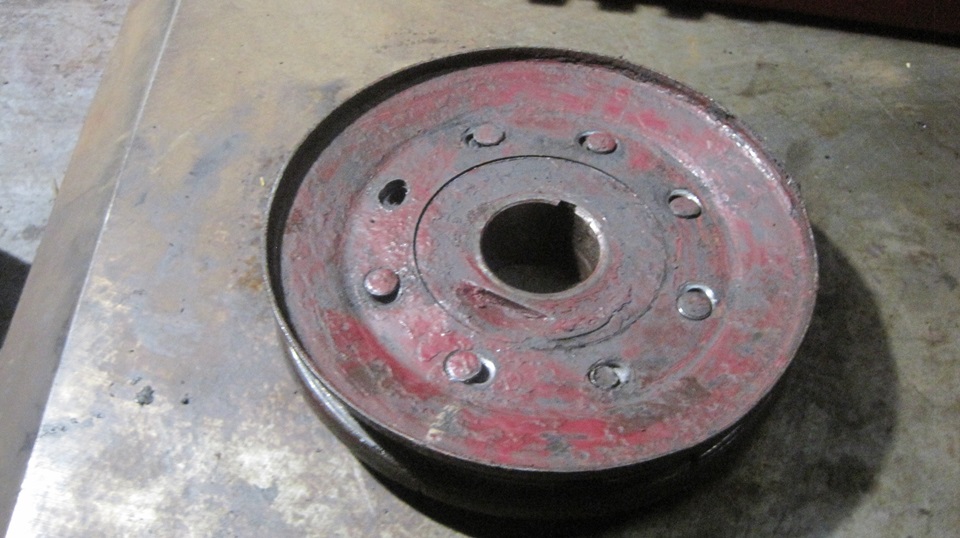
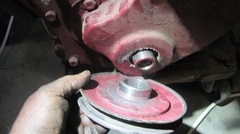
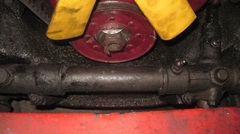
Remove nut and locktab, and carefully pry the pulley off. Notice a substantial groove in the seal surface of the pulley hub, which would explain why it was leaking oil up front.
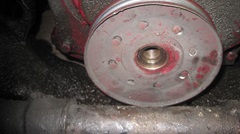
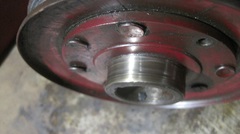
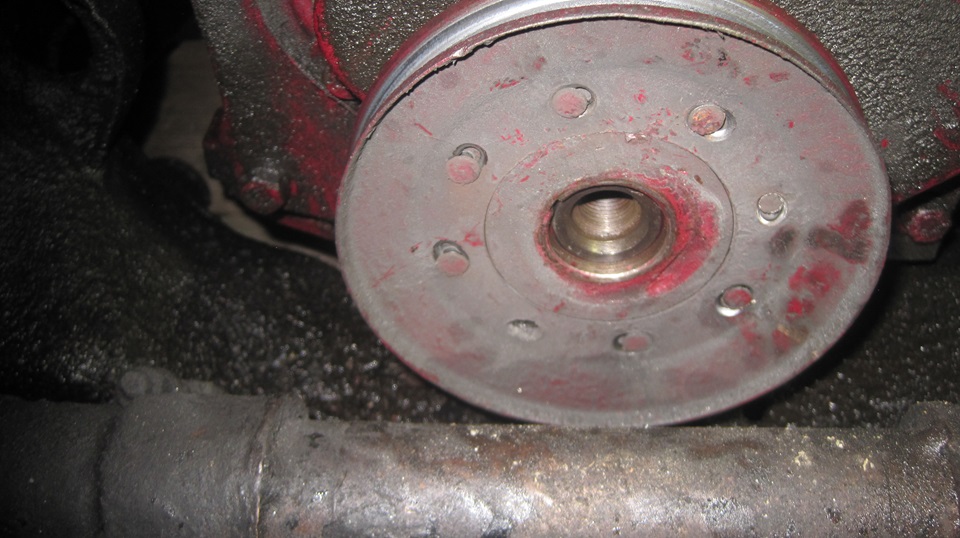
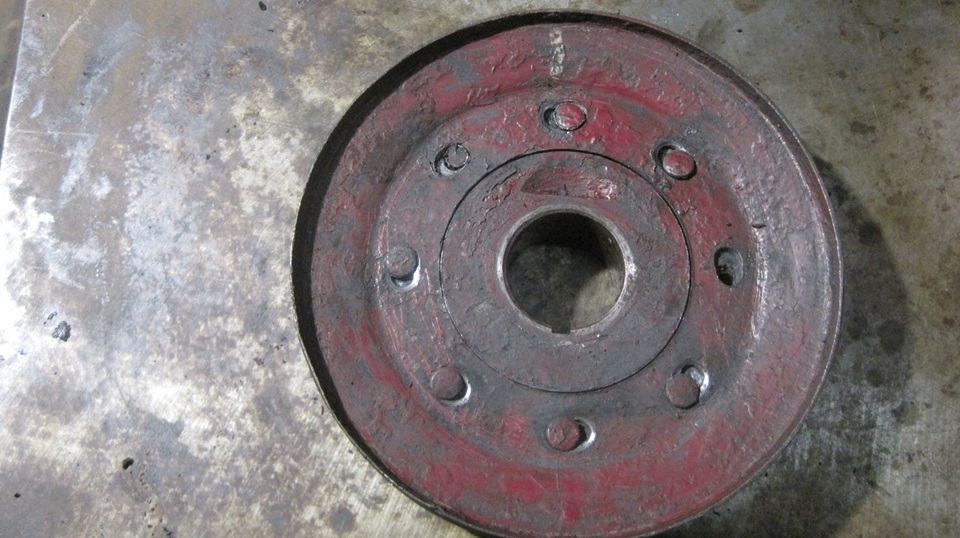
 Sure enough, six loose rivets, one missing, lots of elongated holes, and both metal pulley halves rattling around. If you don't trust rivets, this is the time to weld both sides of this assembly to permanently attach the stamped metal sheaves to the steel hub. But this one,has a worn seal surface, so destined for metal recycling.
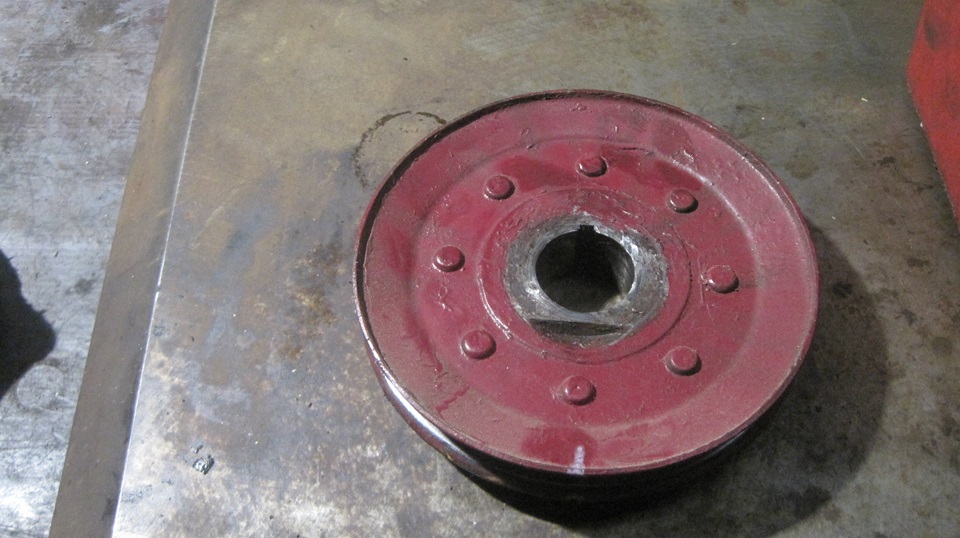
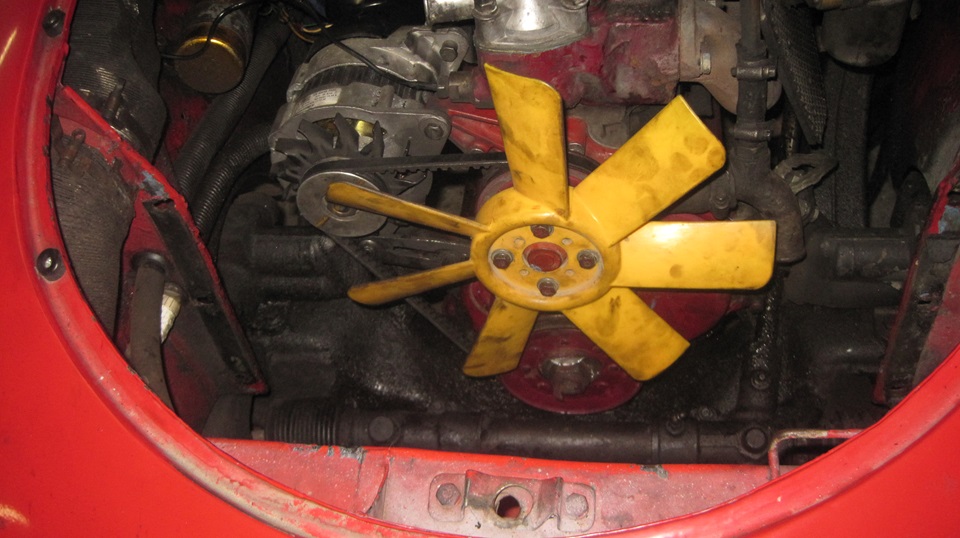
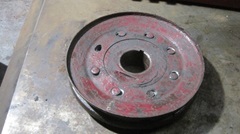
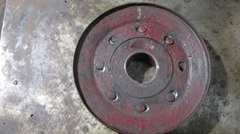
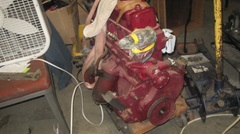
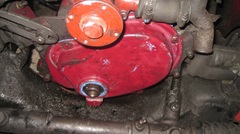
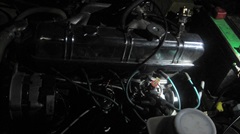
 Meanwhile there is this spare engine sitting in the corner. This is the one originally from Stu's brother's car (the chassis currently on the lift). Two years ago we reassembled this engine and drove it in my car for six weeks while my engine was being rebuilt, so I call it The Loaner Engine. Today it will lend us the crank pulley (while we will be buying a new one for return). Straight sheaves, good rivets, clean seal surface, good to go. Meanwhile there is this spare engine sitting in the corner. This is the one originally from Stu's brother's car (the chassis currently on the lift). Two years ago we reassembled this engine and drove it in my car for six weeks while my engine was being rebuilt, so I call it The Loaner Engine. Today it will lend us the crank pulley (while we will be buying a new one for return). Straight sheaves, good rivets, clean seal surface, good to go.
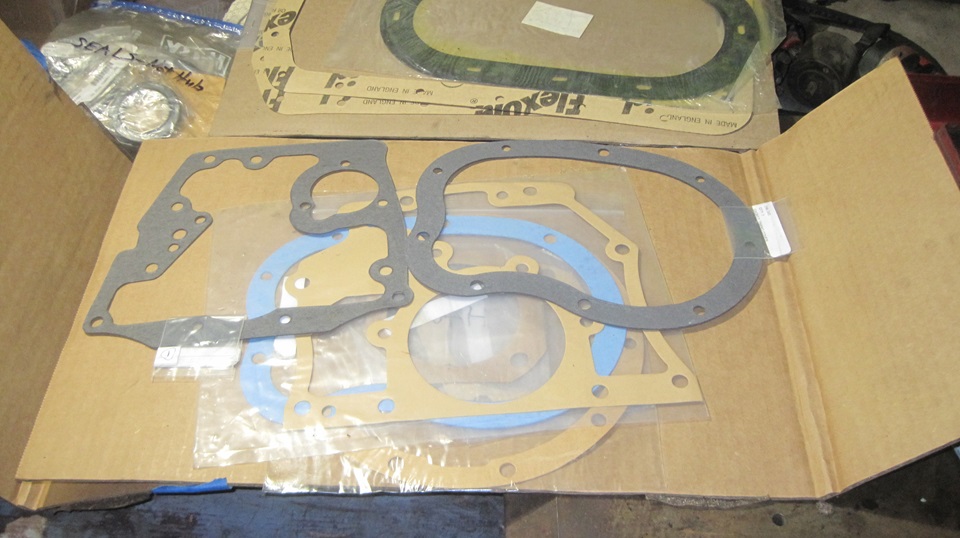
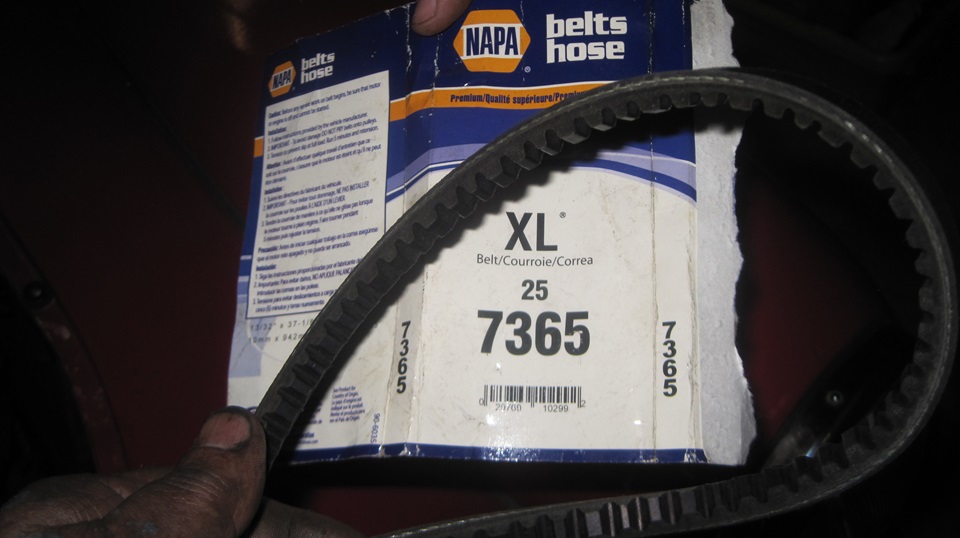
Raid the Magic Trailer for a new timing cover seal and gasket, and a new fan belt while we're at it.


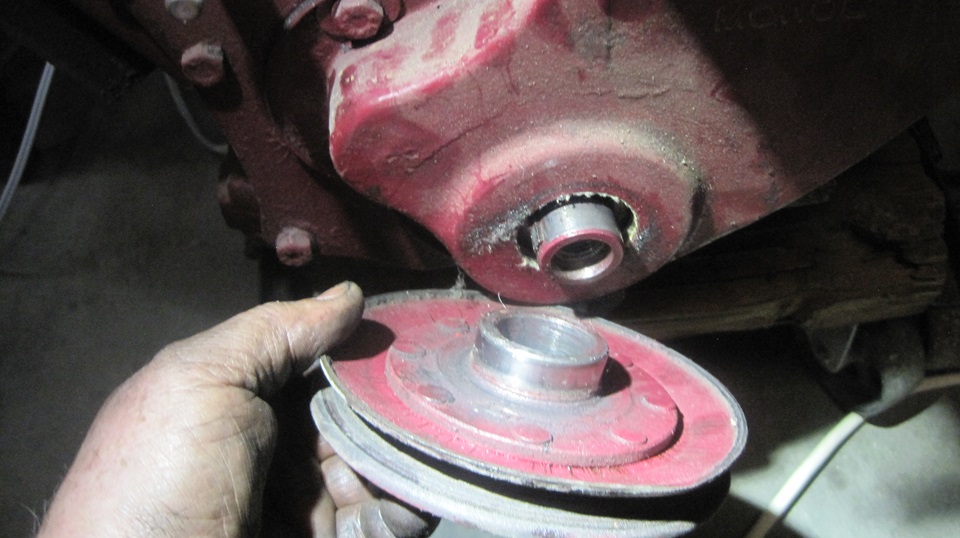
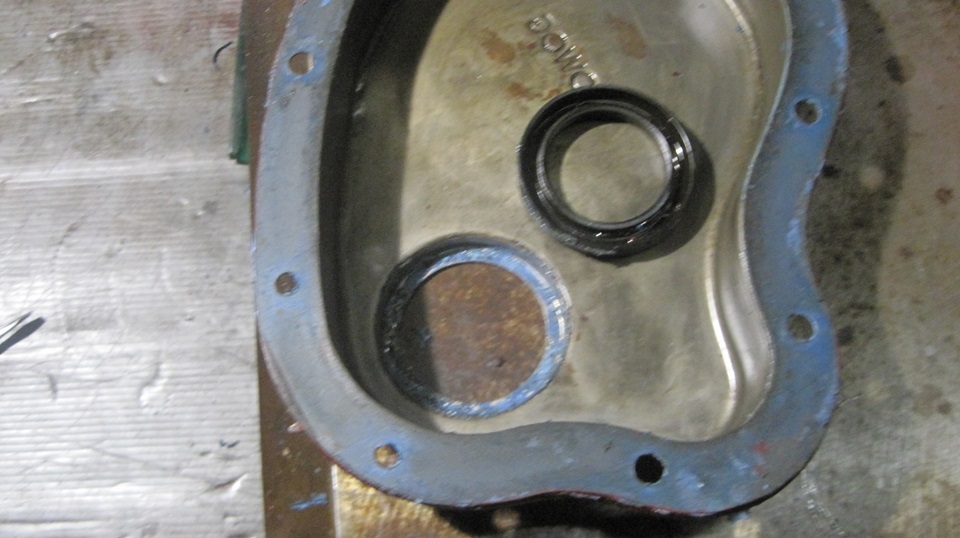
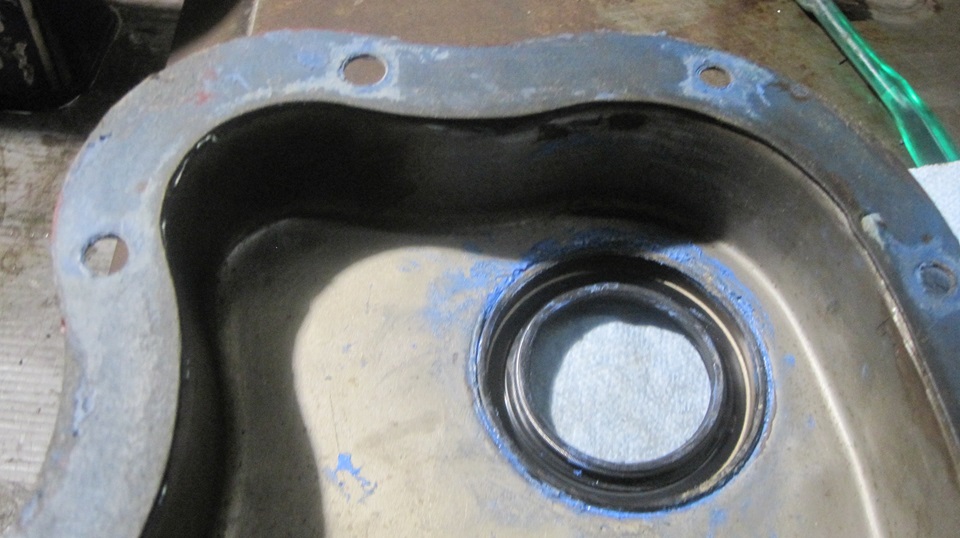
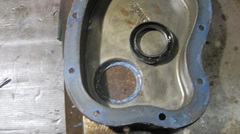
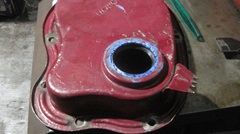
There is a trick for installing this seal. The stamped steel cover seems to have a draft angle on the bore, so the seal tends to pop out after it is pushed into place. So I apply a little sealer in the cover bore, then block the seal and hold it in place in a vice (gently) while the sealer sets up. The prior gasket it still good, and well glued to the cover, so I will leave that in place with a touch of sealant when the cover is reinstalled.
Install timing cover with screws loose (don't forget the oil thrower disc inside). Install pulley to center the seal and cover while tightening two screws. Remove the pulley for access while tightening the rest of the screws. Reinstall the pulley with dog not and a new locktab washer. Have fun knocking the locktab down onto the depression on face of the pulley before bending the edge over against the nut. Install water pump pulley and fan, new fan belt, adjust alternator for belt tension.


Final check, all secure, install radiator with 6-bolts and hoses all secure. Start to fill coolant, stop, close petcock drain valve (we never get that right), wipe up a pint of coolant off the floor. Fill coolant, heater valve full open, run engine, top up coolant, cap on, check for leaks, nothing dribbling, good to go.

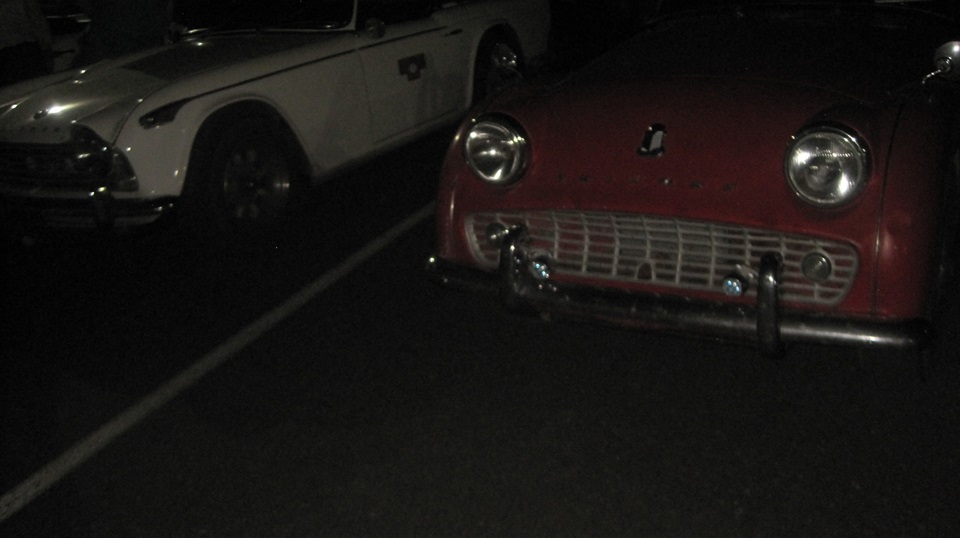
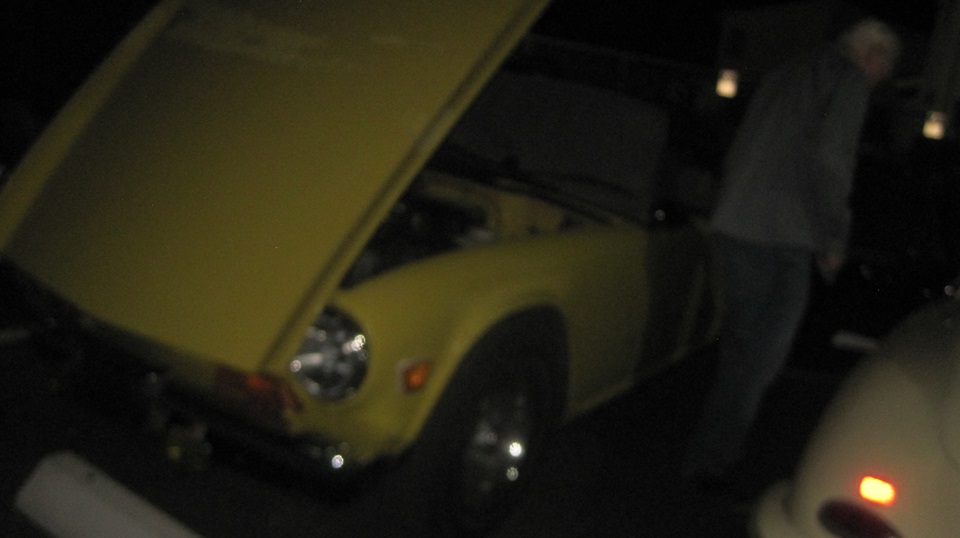
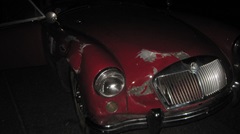
After packing up we ran it three miles down the hill to a fuel station in Murphys for sodas and snacks about 10-pm. Someone said, "You here for the rally"? Huh, what rally? A bunch of vintage cars from the Santa Cruise British Car Club (and others) were participating in the MotherLode 400 Rally for two days on Father's Day weekend. This was their last night, staying at the Murphys Inn Motel just down the street (where we had stayed in 2022), so we wandered over there to crash the parking lot party. There were a few people we knew, more who knew us, although I didn't recognize any of the cars. Couldn't get good pictures in the dark either.

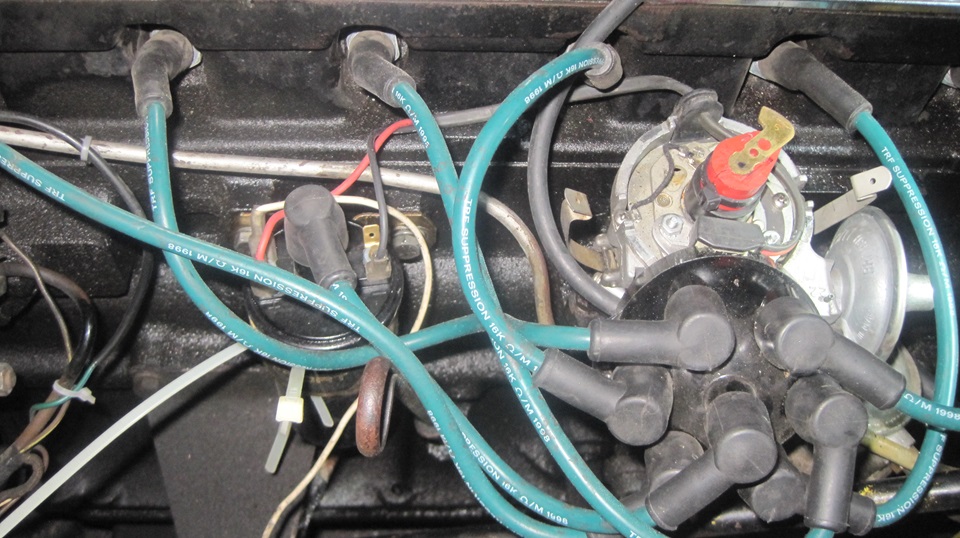
There was a Triumph TR6 with a broken ignition rotor. I would have given him a new rotor, but he had glued the old one back together, and it was running, and he didn't want to touch it again.

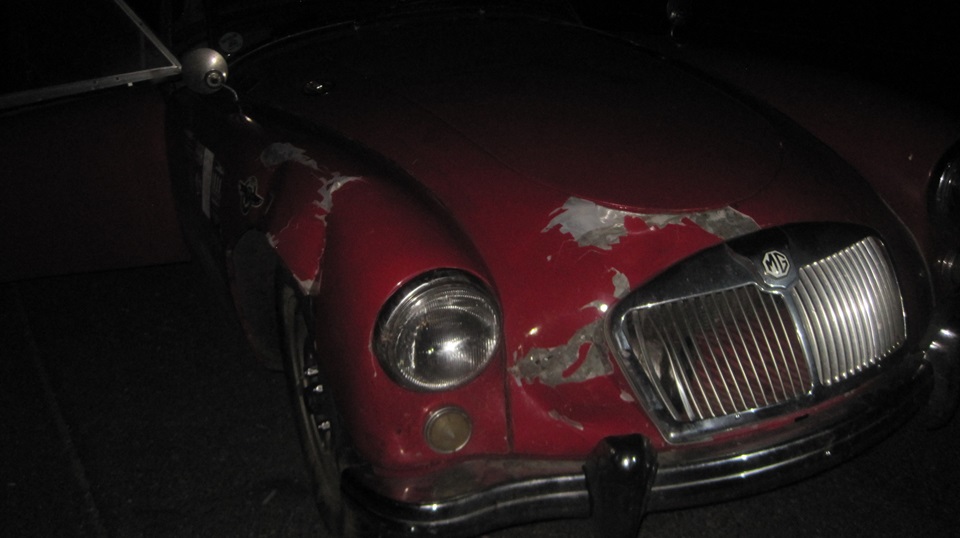
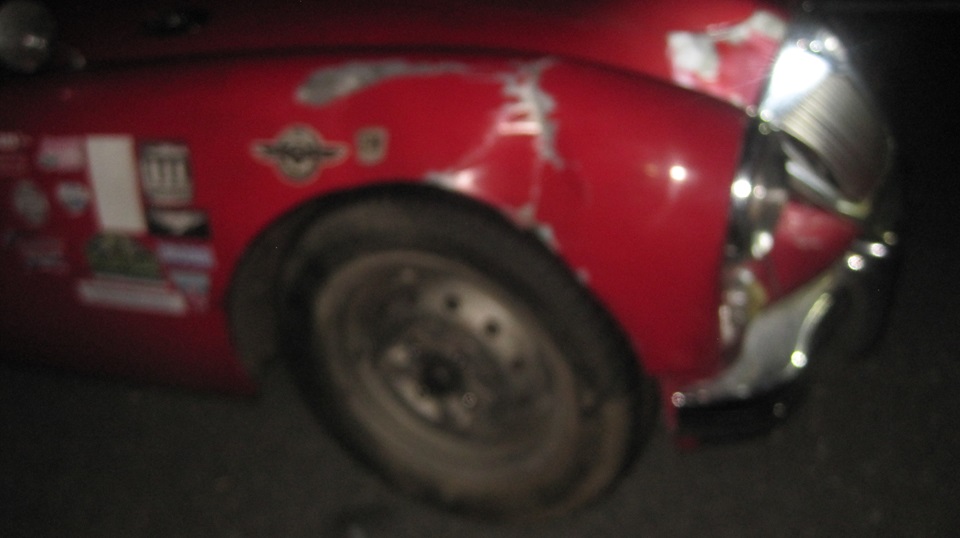
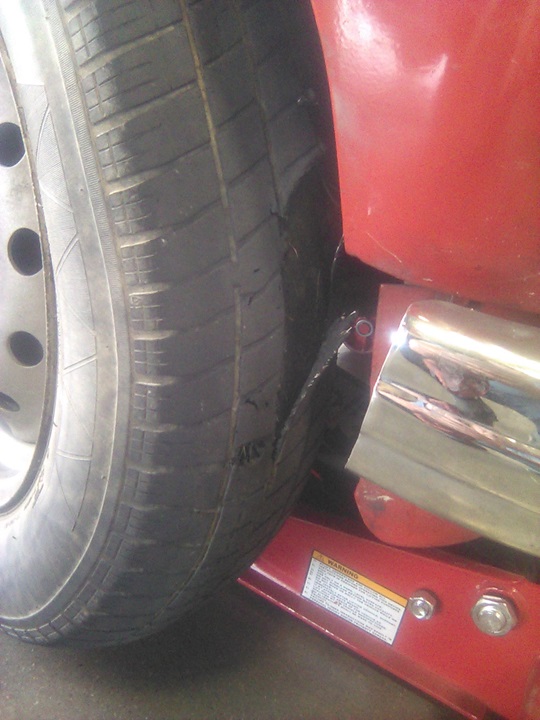
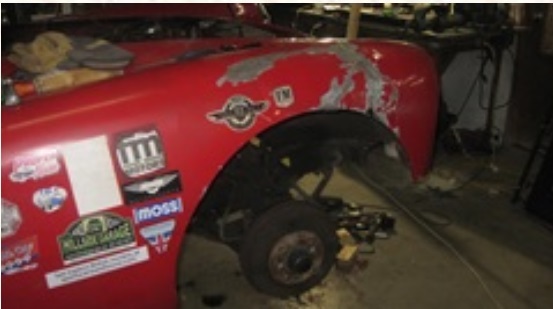
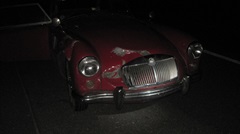
-- When it was breaking up at midnight, we hauled out for the three mile run back up the hill. Just shifting to 3rd gear (40 mph) when a deer ran across the road right to left. Hit the brakes and veer hard left, almost missed it, but not quite. Thump, and the deer rolled over the RF fender. Damn, we don't need this. Get off to the shoulder. Go drag the dead deer off the road. Nice little yearling with antlers, but obviously dumb.as a deer. A kink in the RF fender had cut the tire sidewall, so that one was shot. I pulled the fender out enough to not touch the tire. Jacked it up to install the steel wheel with spare tire, which was low on air, not having been touched for some years (maybe 2017). Use the little 12-volt air pump to put 35-psi in the tire, all clear nothing rubbing, toss the alloy wheel with shredded tire in the boot, and head on up the hill. Long day with a bad ending, but We're okay, and the car still drives, and the headlight still works.

Monday June17, 2024:
Good morning, looks like we're not fixing the differential leak today (least of our worries just now). Get connected to local WiFi at the winery, and shop for a new Nexan tire. Nash Chevron service station (and tire service) in Angels Camp can get one in before noon tomorrow, so that's good. Stu offered the use of his MGA spare tire, but I graciously declined, as it shouldn't be needed. Getting on with some backlog of WiFi work. About noonish we decided to roll down the hill 12 miles to Angels Camp for lunch at McD's. Couple hours later the power went off due to a forest fire near Copperopolis, easily within sight distance not far from Angels Camp. Conditions uncertain, we decided to roll down another 56 miles to Lodi in the valley for a known good WiFi spot, and not far from the radiator shop if we kill another day.

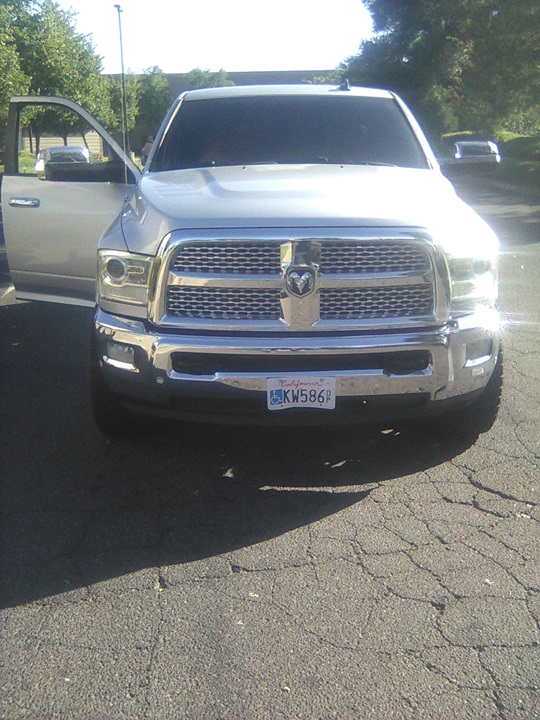
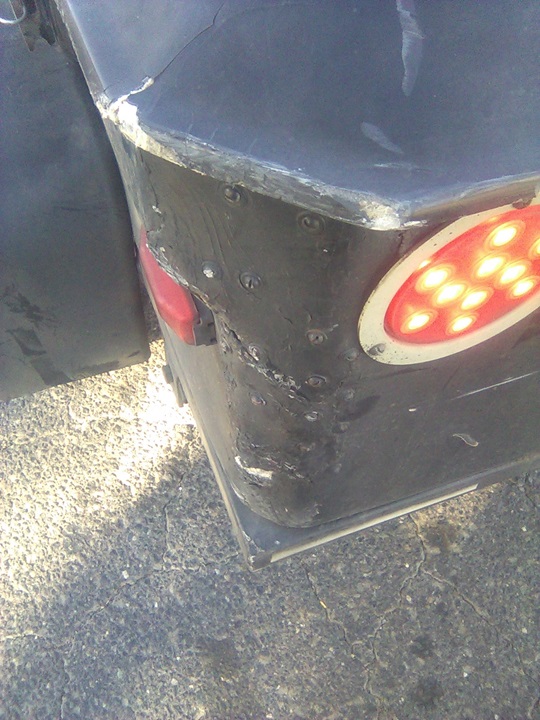
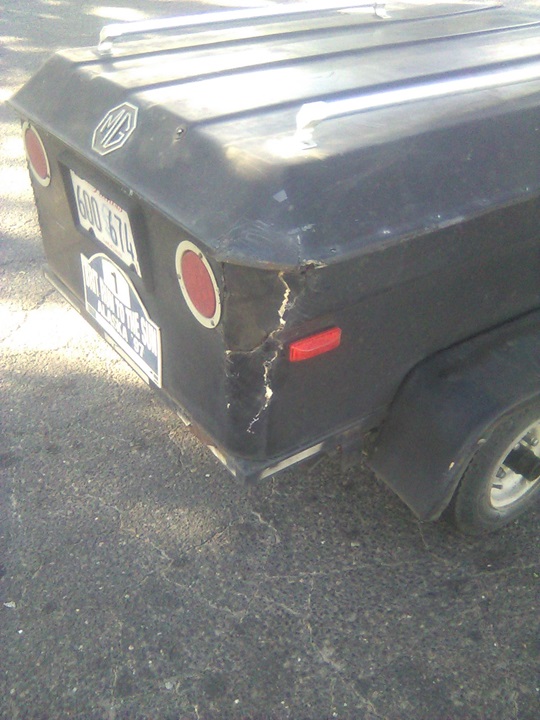
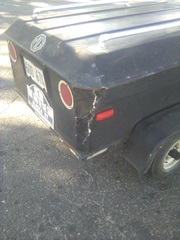
 -- Getting out of McD's, waiting for a break in traffic to make a left turn onto the highway, and there was a heavy THUMP in back as the Magic Trailer was rear ended by a gal driving a Dodge Ram diesel P/U truck. Curses, we really don't need this. Fair amount of damage across the rear of the Fiberglas trailer, mostly at the RR corner. We can of course patch it up again, but getting tired of other people smashing this thing with no respect and wanting to drive away. This one didn't get away. The lady hollered, "Everything okay"? Looked like she was about to get back in the truck and leave. I stood ground in front of the truck and said, "No, lots of damage here, so we're going to need some ID and insurance information". The immediate response was neither friendly nor helpful, so I dialed 911 for police response while the lady was trying to give us her AAA insurance policy number (maybe) and very hesitant with any other information.
--Elliot was going to take some pictures, but the camera battery was in the charger plugged into power at the winery (sheesh). So he took a few pictures with the flip phone, which we hope will come out okay. When the cop arrived things simmered down some.The cop was cooperative chatting with the lady to verify information from her cell phone, so I think we'll be okay on the ID and insurance info. The exit drive was private property so no police report and no citation issued. This may be interesting trying to assign monetary damage for the trailer.

If you think this day wasn't bad enough yet, just wait. Remember the forest fire. The cop said if we were going to Lodi, Route 4 going west is closed from the fire activity, so no-go there. Okay we were going the other way anyway. Head 12 miles north on Route 49 to San Andreas (location of the shop that did our engine machining two years ago). Then go west down Route 12 about 50 miles to Lodi in the central valley. While we were rolling it down those hills, the RF wheel (remember the spare tire) developed a bit of a rhythmic hop at speeds above50 mph, like it might be out of balance. And it got worst pretty soon, like a nasty hop that would shake the steering. Too bad the front shock absorbers don't hold oil. And remember we had declined Stu's offer, so no spare in the booot. We kept it mostly under 45 mph until we got into city, by which time it would bump at low speed like a flat spot on the tire. We stopped to check to be sure the lug nuts were not loose, which they weren't. Then carefully drove the last five miles to the truck stop (safe haven). That's when I took another good look at the RF tire, which had a very obvious loose piece of tread rubber with exposed steel belt wires to poke the fingers. Long story, but failure of that particular tire is a mystery. Now we were not going back up that hill until we got at least one new tire from some local shop. Of course it was just past closing time, so we would be stuck for the night (maybe longer).
Tuesday June18, 2024:
We were not going very far on the bad tire, so get on the net to find and contact a local tire shop. We found Americas Tire in Lodi,
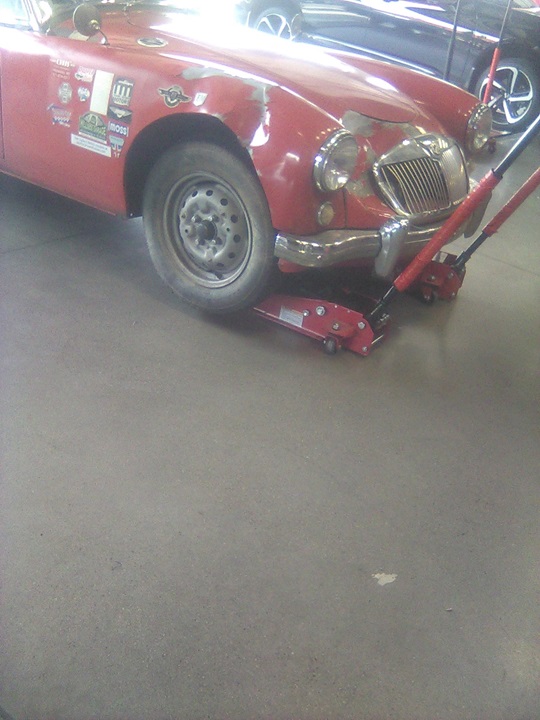
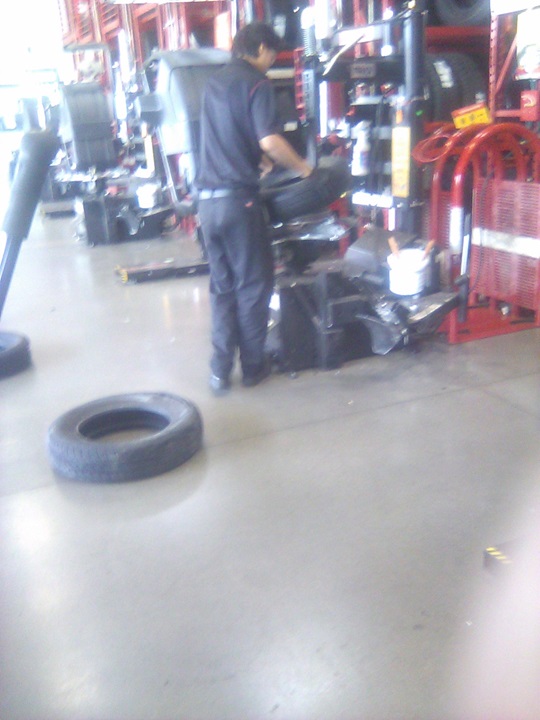
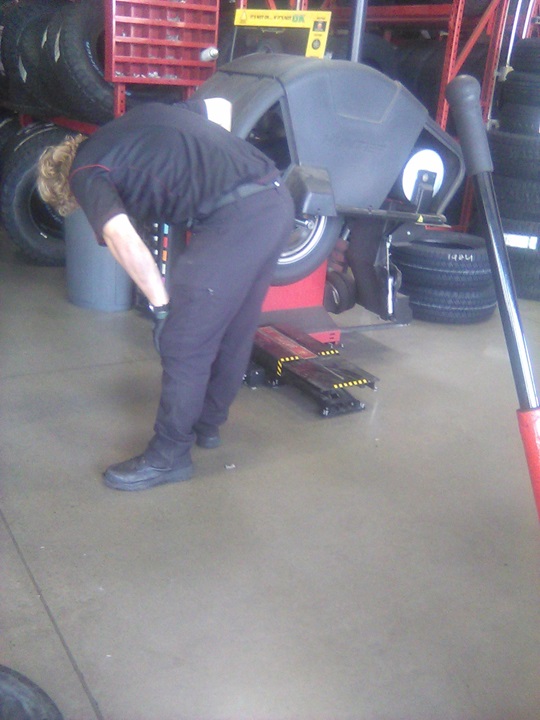
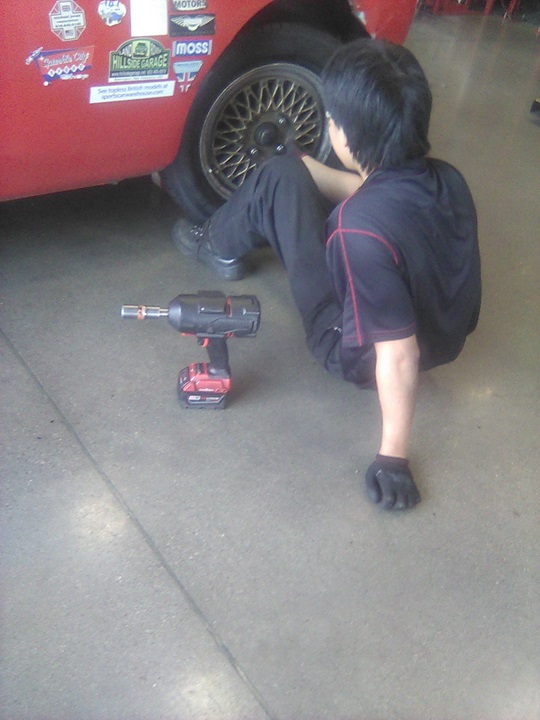
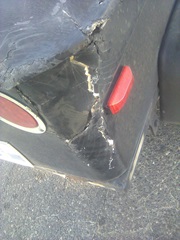
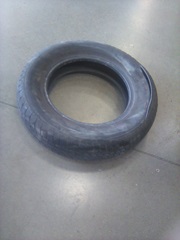
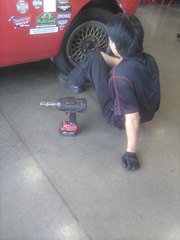
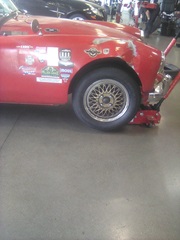
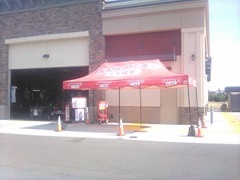 large national tire chain with a decent web site. We might get tires a bit cheaper through the web site, but current circumstances call for personal attention, so I called the shop. Tires not in stock locally, needing to Fed-X from southern California, may take "a day or two" (best commitment we could get). Okay, order two tires, give them a small deposit via phone, and have at it. Then we figured to have the rest of the day (and more) to catch up photos and notes. Part of this time was to download software update for the new flip phone, and figure out how to get the pictures out of the phone into the computer. About 3-pm the phone rang. The tire shop said they had found two tires more locally, and they had been delivered ready to be install if I could get there before closing time. Yes, I'll be right over, assuming the bad tire would roll another five miles, and it did. Navigator nearly fell out of his chair, as we ordered the tires just this morning, and they were here same day. And there we are changing tires. -- Left to right, jack the front, because we need to swap the front tires. Right front is the spare that failed with loose rubber tread and exposed steel belt. Next is the deer incident tire with the sliced open side wall, and the guys hard at work at the tire machine.


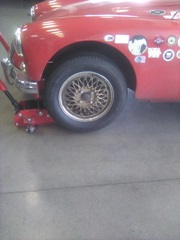
Good job spin balancing using tape weights on the alloy wheels and rim weights on the steel wheel. Getting the wheels back on the car, right side and left side. The good low mileage tire from left front is now on the steel wheel in the boot for spare, while we have two new tires on the front (seemed like a good idea). The body nose and RF wing are still askew, but we'll get to that later.

Wednesday June19, 2024:
Happy birthday me, just another day I suppose, but at least I get to sit while I work. I tried to call the tire shop in Angels Camp late yesterday, no answer (forest fire and power outage). Tried again this morning, no answer, left a voice message. Got a mid day call back from that shop to say the ordered tire had arrived. Doing my best to apologize for any inconvenience. ,since we no longer need the tire. Do we owe something for shipping or return charges? No, not a problem, forget about it, nice guy. Maybe go shake his hand next time we're in Angels Camp. Got a call from brother in Indiana, happy birthday, thanks, and kill two hours chatting. Time spent catching up photos and notes for the past few days, what a roller coaster ride.
Thursday June20, 2024:
Fuel stop, Paint store stop, Radiator shop stop, Walmart stop, 60 miles back up the hill to Murphys, Food shop stop, put the car away in the workshop.
Friday June21, 2024:
Order a new grille kit, wing piping, water pump (spare), expect 4 to 5 working days delivery.
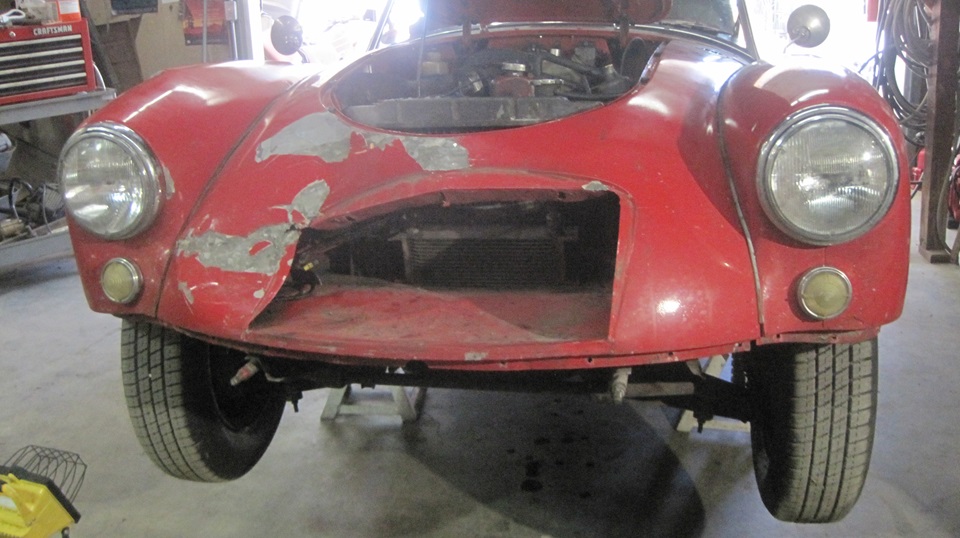
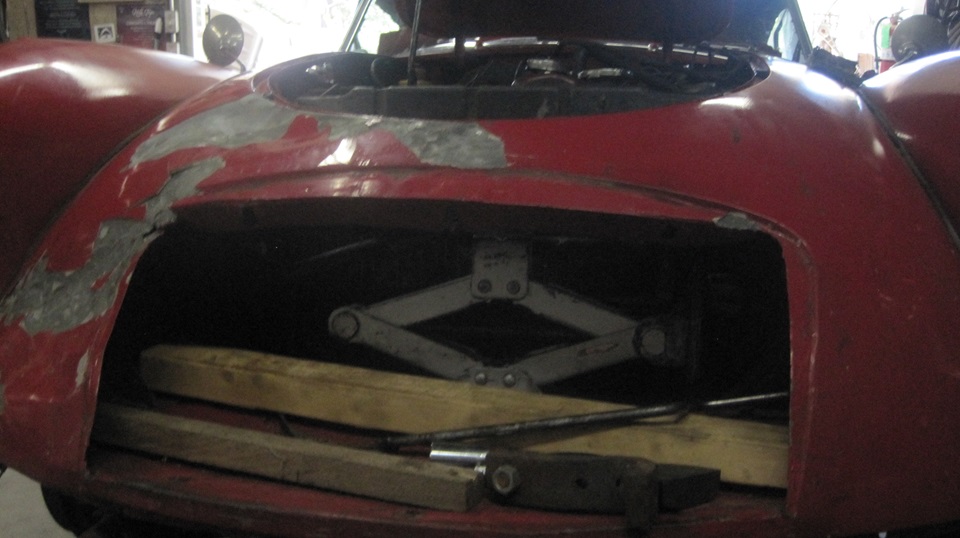
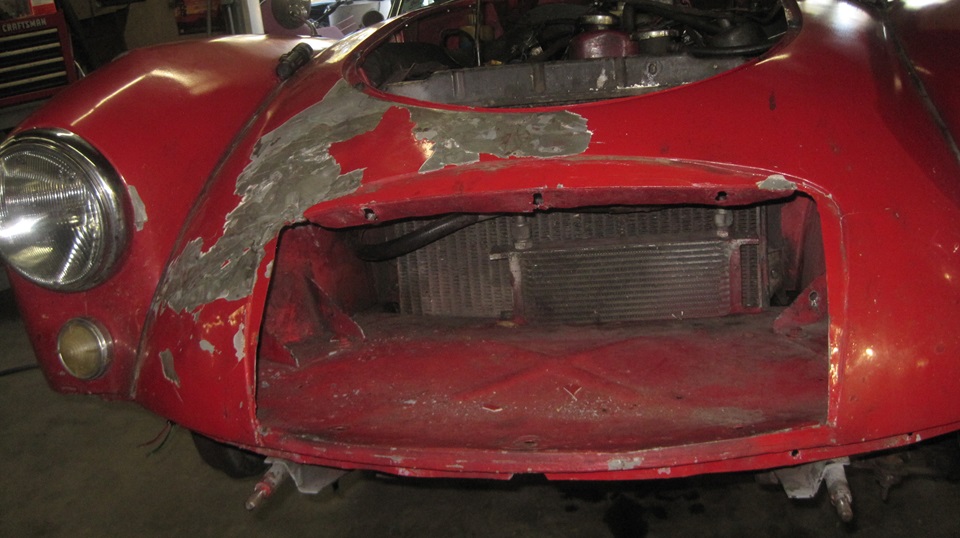
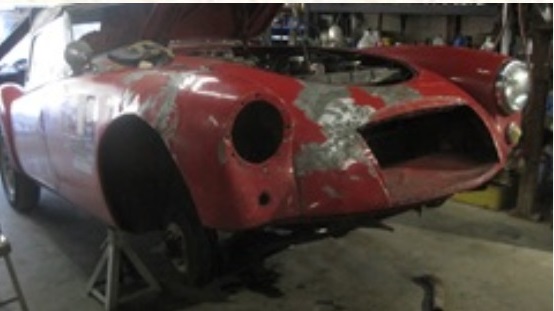
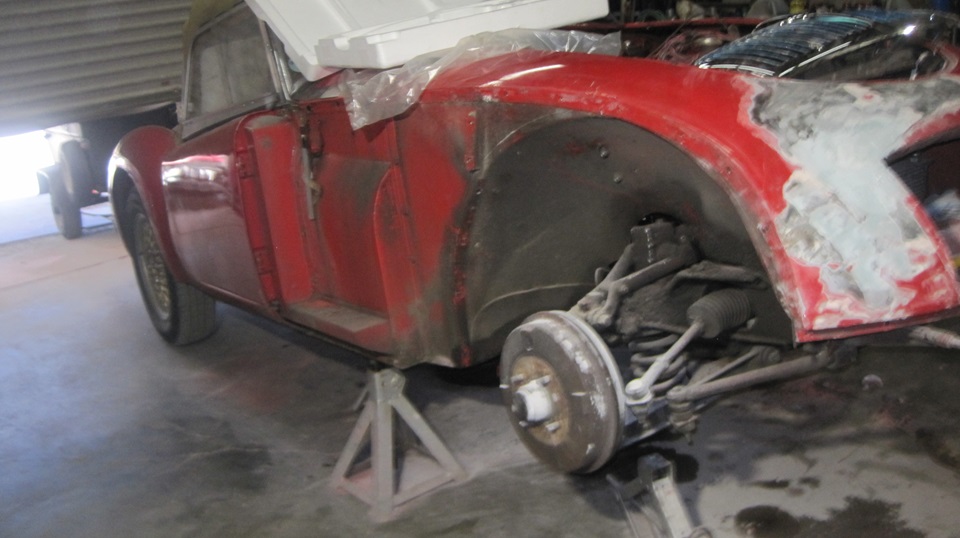
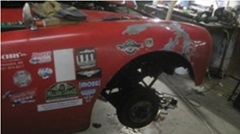
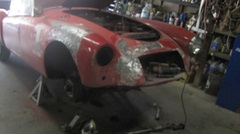
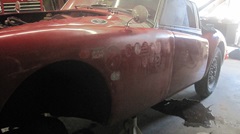
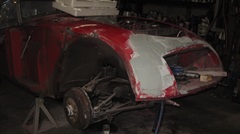
Disassemble front end of car, bumper, grille, horns, front wiring harness, oil cooler dismount. Removed the spring loaded latch pin to close bonnet without latching. Started prying out the nose sheet metal.


Saturday June22, 2024:
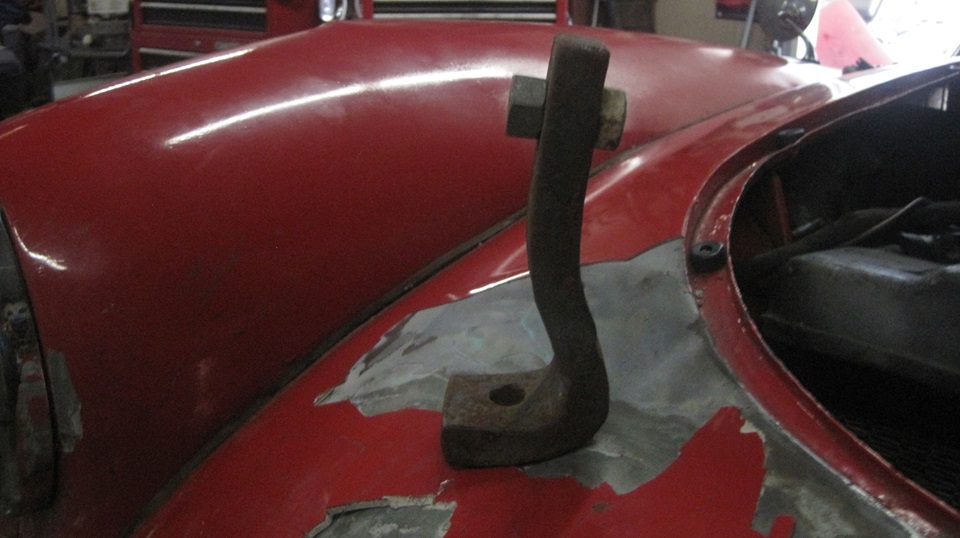
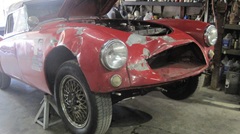
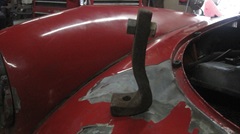
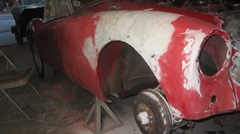
More prying, pushing, jacking, getting the nose back to roughly the right contour. Catching up accounting, email tech questions, photos and notes, concert in the park in the evening (but missed most of that). The heavy steel "L" bracket we found in the old machine shop, some left over machine part. Put a short bolt through the top so we could pull it with a 5-pound slide hammer (2-jaw puller). We also used a huge hydraulic press to straighten out the bend in the long leg to be more in line and better "L" shape. That piece was very handy for pulling up the gutter for several inches at the RF corner of the bonnet opening.


 Getting creative with an acorn lug nut and a comma dolly on top of the scissors jack, and a body hammer to tap down some ripples up top. A compact 2-pound hammer helps too. Looking a little better by day's end with most of the top edge and gutter aligned well to the closed bonnet.
Sunday June23, 2024:
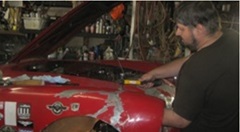
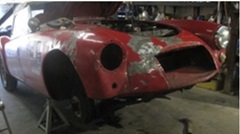
Getting late in the day before we stopped for pictures. Elliot was PO'd at the car enough to beat on it with a hammer, so he had a go at some hammer and dolly work. We had most of the nose reformation work done yesterday, so it was time to weld up some cracks to make it rigid again. We dug out the MIG welder, found a vintage flip-up welding mask (not self-dimming) and a pair of welding gloves. It was a decent welder, designed for flux core wire welding or optional gas shielding. But no gas hook-up parts, and also apparently solid wire, not flux core. Stu said it was borrowed, not his. So we made do with what we had, welding with solid wire, no flux and no gas. Kind of messy looking welds, but can do with some grinding. Not doing a lot, just closing some cracks, and the welds were structurally strong enough. I was rather surprised it wasn't blowing holes in the thin metal, but it wasn't, so I left the controls set wherever they were and didn't touch any knobs. Finished welding the right side of the nose so it was rigid again, and just a few fine tuning adjustments to the contour.

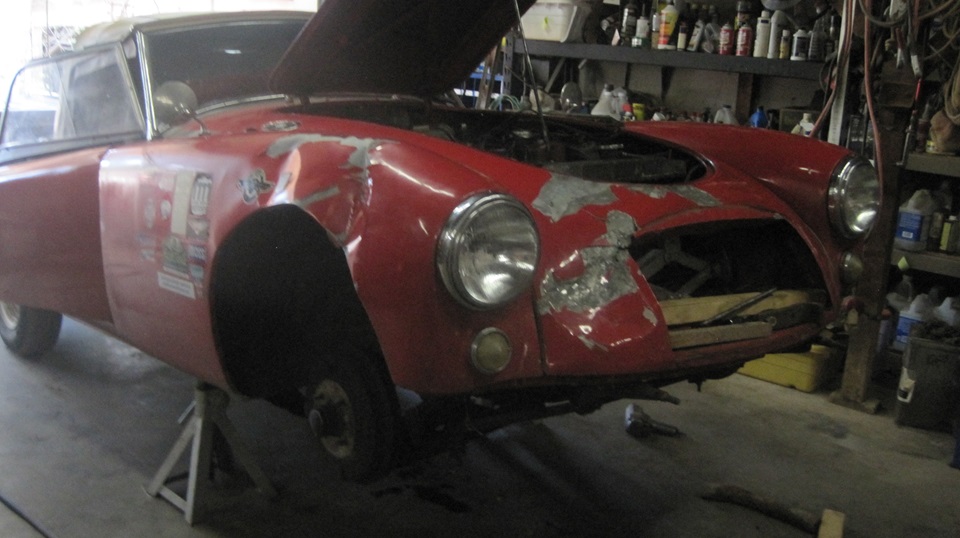
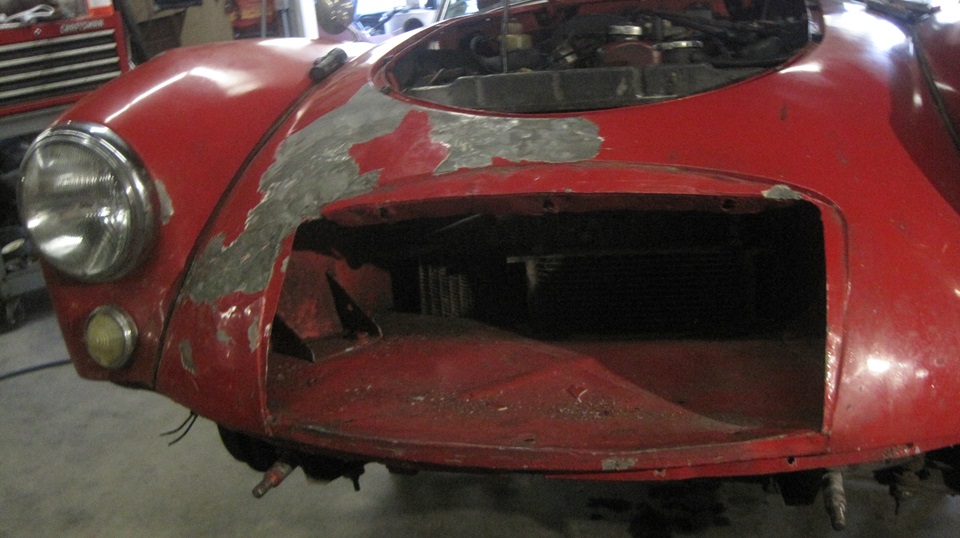
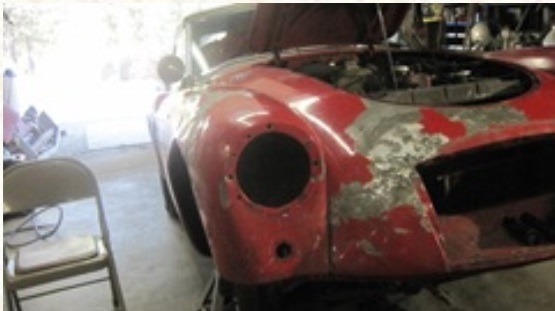
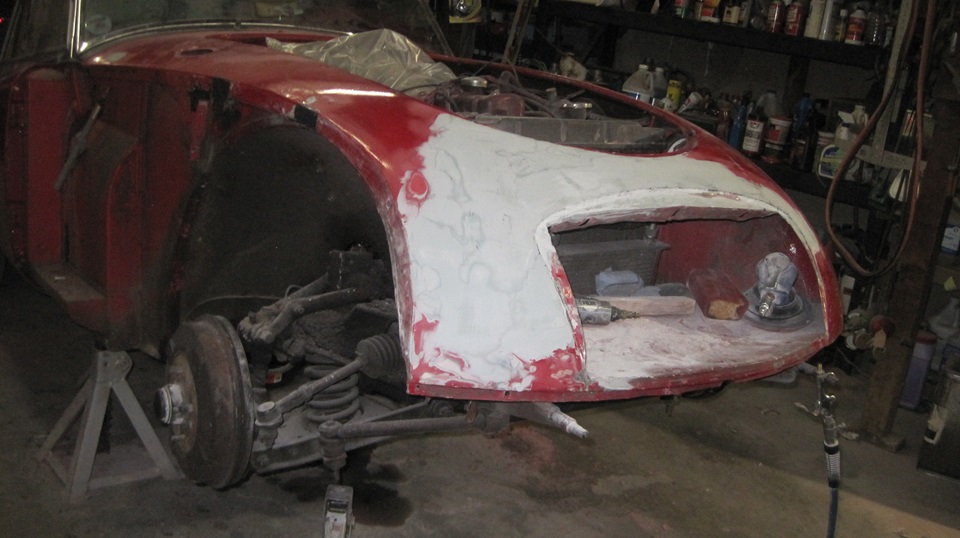
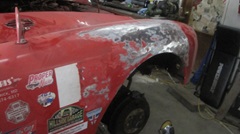
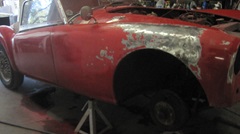
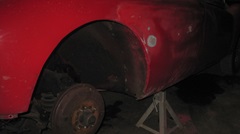
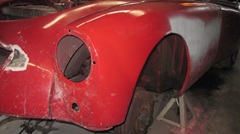
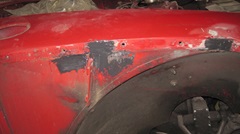
Then we go into pulling out the RF wing, which was seriously smashed on the side with a "Z" buckle and some creases. A real challenge, but at lest more space inside the wing than there is in the nose. Time to remove the headlight assembly to have another aperture for hand access. We finally managed to get the scissors jack propped up against the shock absorber with a flat-end stick 8-inches long to push out at a variety of spots. Getting creative with hammers mostly for reducing ridges. One unusual tool was a 5-inch square heavy wall steel tube, 5-inches long, that made a nice heavy dolly on the outside surface while hammering from the inside. Unusual arrangement, but it worked. By day's end we had the wing back to a reasonably decent contour with just one crack in the wheel arch flange to be welded. What began seeming to be impossible turned out to be just difficult like the rest of it. 6:30-pm, time for dinner and WiFi to post the photos and notes. Good to have some daily progress, so it looks like it will get done sometime. Now wondering how much work can be done by eyeball before the new grille arrives.

Monday June24, 2024:
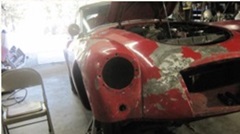
Messed up the pictures yesterday (low resolution issue). But you may notice the RF wing was rather and irregular above the wheel arch. This is where it was smashed in so far that the wheel arch bead got a kink that cut the tire sidewall. We had to push it out a little extra to bring down the ridge that was on top. Once it was near correct profile, easier to push it back in. That's what we were doing today, pushing back in to correct profile on the side. After straightening out the 'Z" kink there was an inch of the arch flange missing, leaving a very floppy arch. Solution was to weld n 2-1/2" long 5/16" bolt(with head ground down to shank size) to bridge the gap. That left a very solid arch you can punch with a fist, which should be good for finishing and paint (after we smooth out a few more ripples).

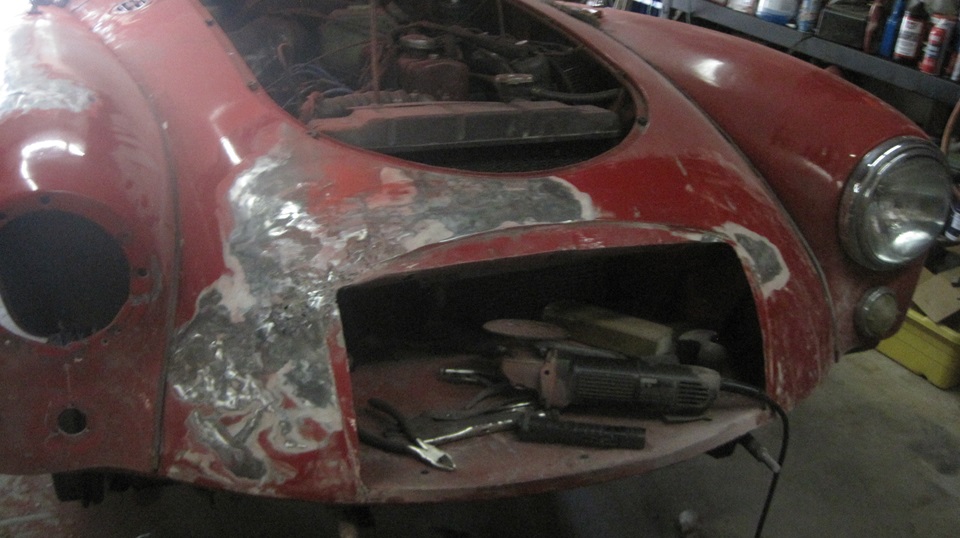
 After a short lunch break I spent some time with hammer and dolly making a smoother contour on the wing. Then some time with a flap wheel sander removing cracked and broken paint and some underlying Bondo from wing and nose. Looking better each day. -- Time for a work break at 4-pm PST, which is 7-PM EST when John Twist was doing a tech Zoom session on MG T-types.
Tuesday June25, 2024:
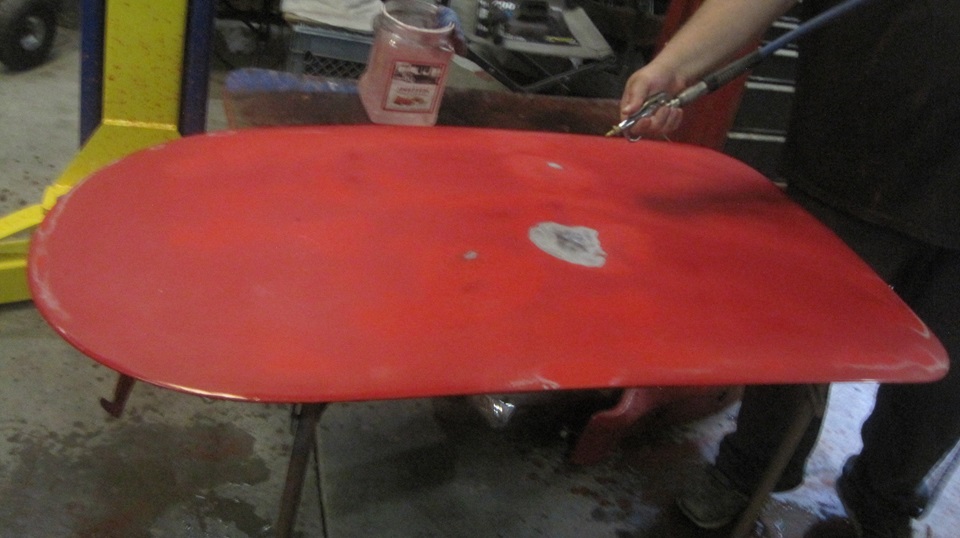
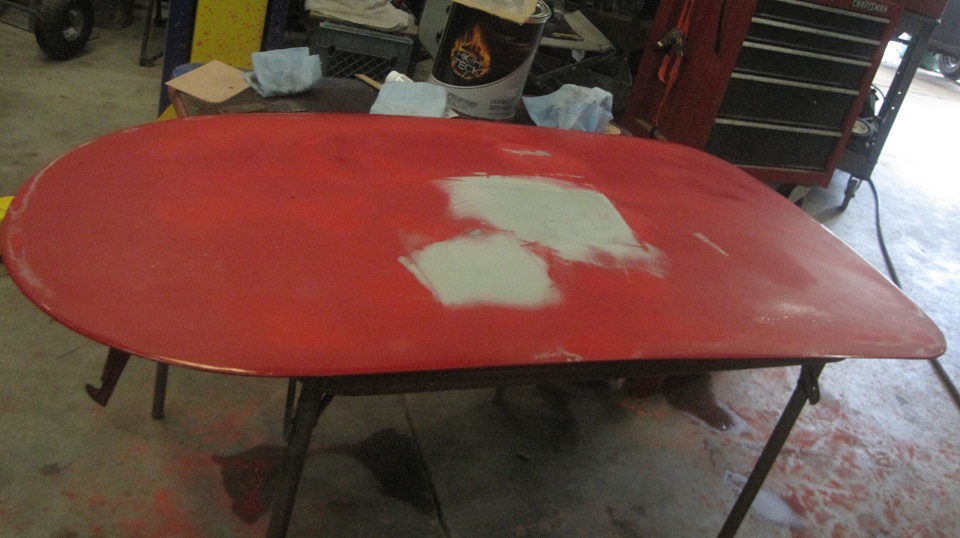
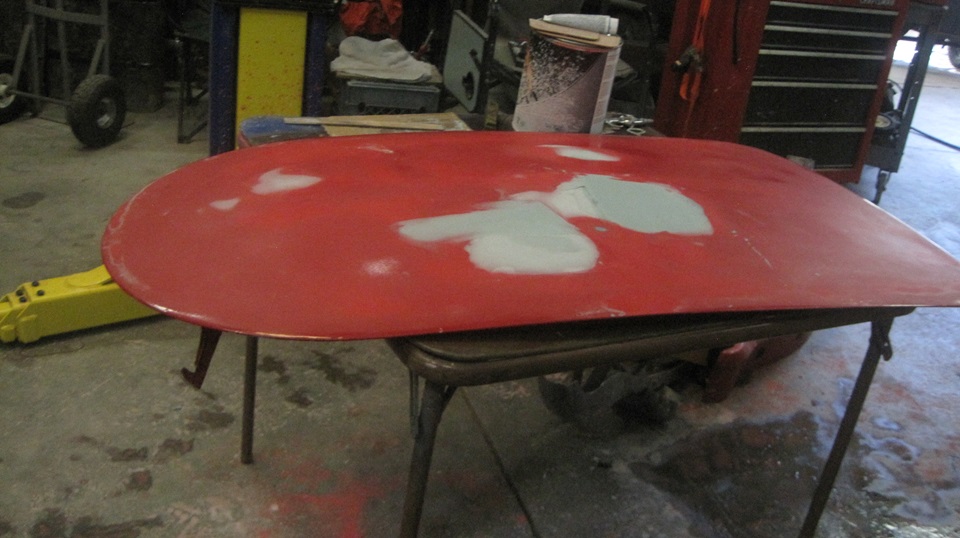
Today's primary mission was to raise a couple of deer dents in the bonnet and refinish it (yes, Bondo). I must be getting slower in my old age, as it was taking a couple more passes than anticipated, and we had to make a store run for more sanding discs
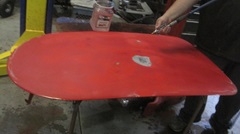


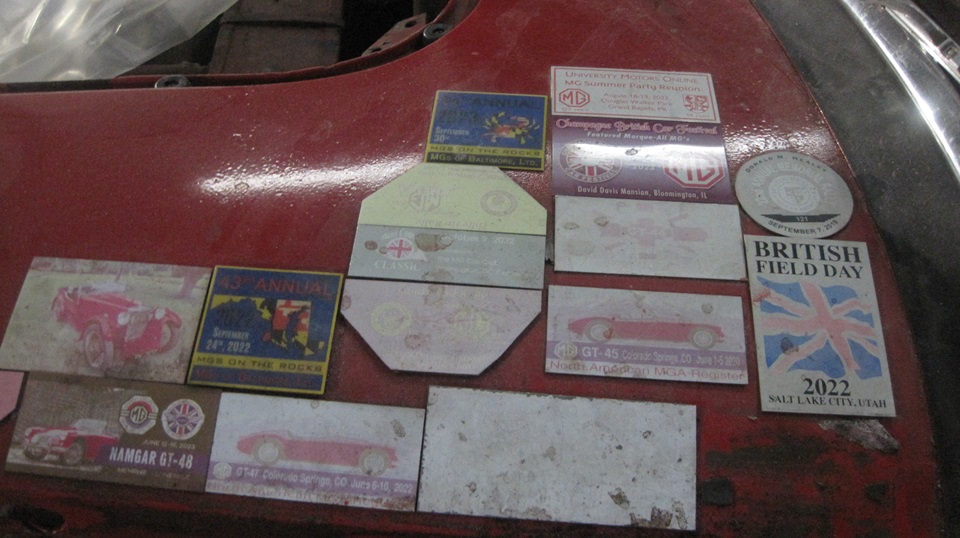
 remember all those neat travel stickers we have been collecting since the car was repainted in early 2015? The ones we painted around last time? Well, they are in the way of repainting the front wings this time, so they have to go. That was a lot more work than I had anticipated.
 I thought I would just sand then off, but the plastic face sheets kept clogging up the sanding discs. It turned out to be less time consuming to peel them or shave them off. Some of them were particularly tough, leading to some chipped paint, requiring some sanding afterward, to be refinished later.
Wednesday June26, 2024:
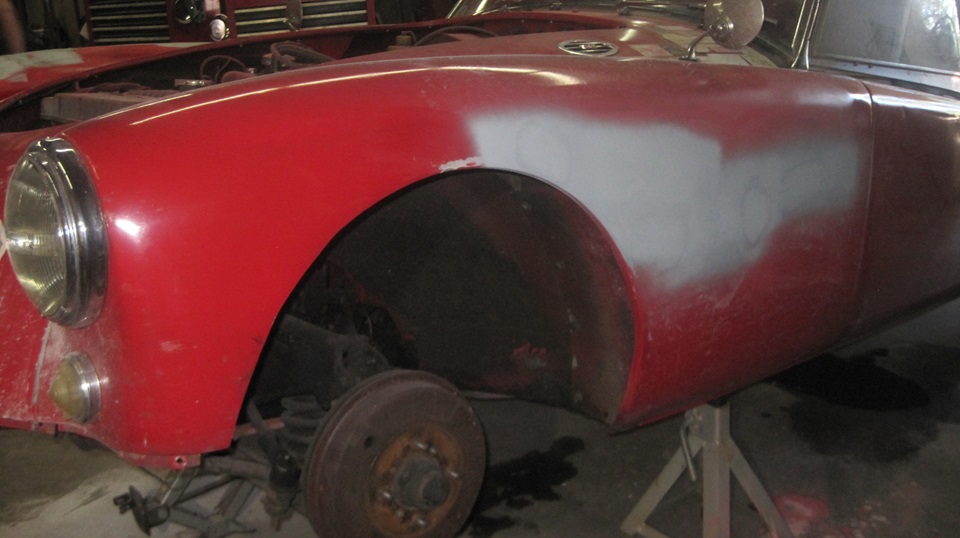
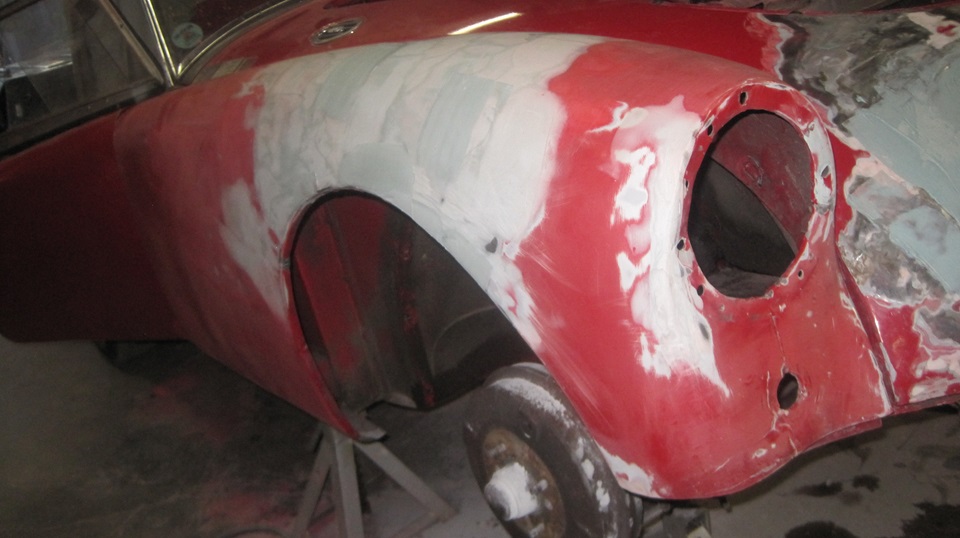
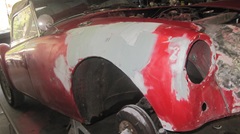
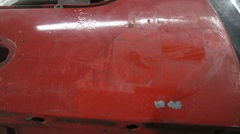
Left front wing after removing the stickers, had a few paint chips and digs that needed sanding out. filled the divots, sanded flush, covered with a bit of primer to assure it was actually flat again. That looks good. Right front wing, the one most mutilated by the deer hit, got most of our attention for most of the day. One mid day run to town to get more sand paper. Lots of ripples, but by day's end after 3 or 4 thin layers of Bondo and sanding it was looking much better.

Thursday June27, 2024:
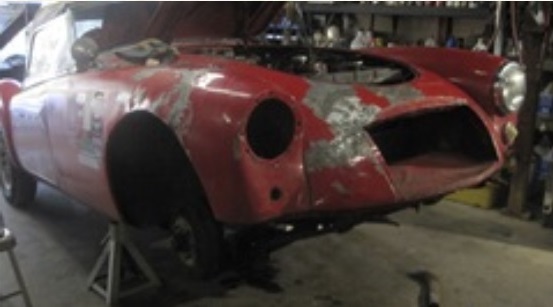
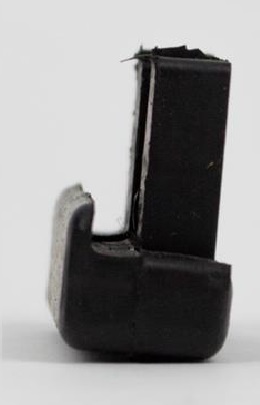
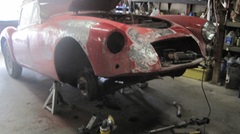
Took a Bondo curing break in mid day to amend a tech page to show a source for correct door buffer for late production MGA. -- Then we got back to surface finishing on the RF wing, coming along well.One more trip to O'Reilly in Angels Camp for a quart of primer surfacer and a quart of reducer, surely enough to do everything forward of the windscreen on this car. Finally finishing the surfacing work, then one last pass over the whole RF wing with 320 grit in preparation for the primer surfacer. Then time for more disassembly, removing the left side lights and the front splash panels and interior front kick panels, and all of the wing bolts except three each side left loose, leaving the wings loose from the main body (seen in the last two pictures). For sure tomorrow the bonnet and both wings will be in primer with finish sanding, ready for red paint.

The new grille is scheduled to arrive tomorrow early P.M. (we'll see). We have planned the balance of the week end for final contouring and surface finishing the nose and getting that in primer with finish sanding. With luck we hope to have new red paint on it by Monday with a day or two to spare. The time concern now is to get it painted before the weather will turn hot 100dF+ by mid week.
Friday June28, 2024:
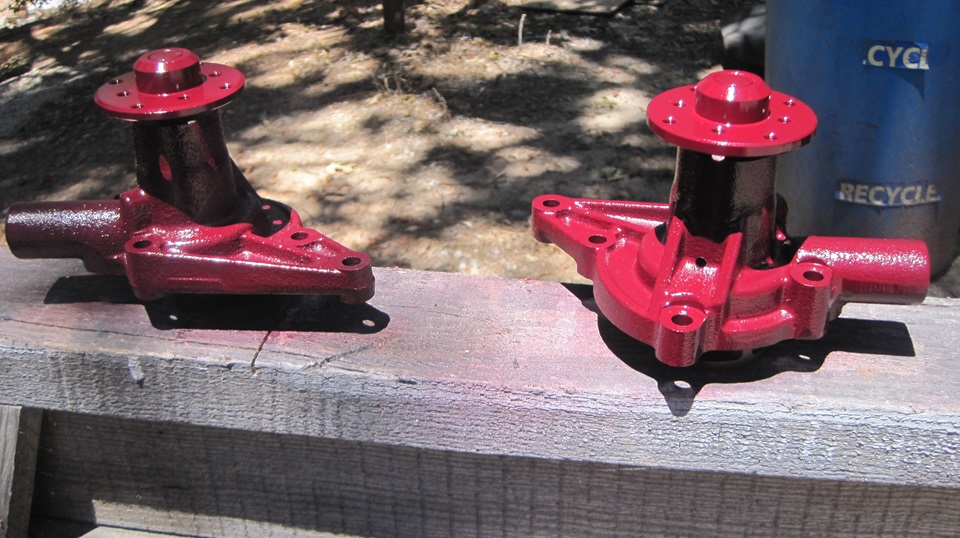
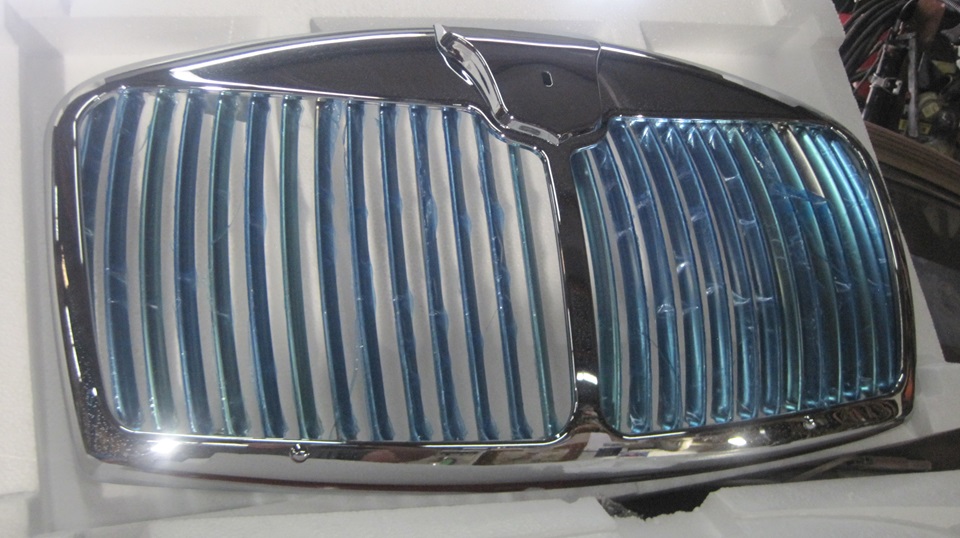
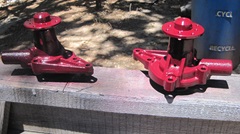
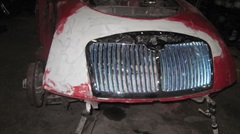
Package delivery day. First thing out of the box was a new water pump, twin to another new water pump already on hand. A few minutes later there were two with fresh paint, one for the spare engine (which we assembled two years ago and drove for a few weeks), and the other for the Magic Trailer as a traveling spare. Second item was the new grille, which we dearly need for shape reference when refinishing the nose of the car to match the grille. -- We had a good morning start by removing the body sill lower trim strips and drilling out some pop rivets to fully free the front wings. and there was a first pass start on resurfacing the nose to suit the grille.


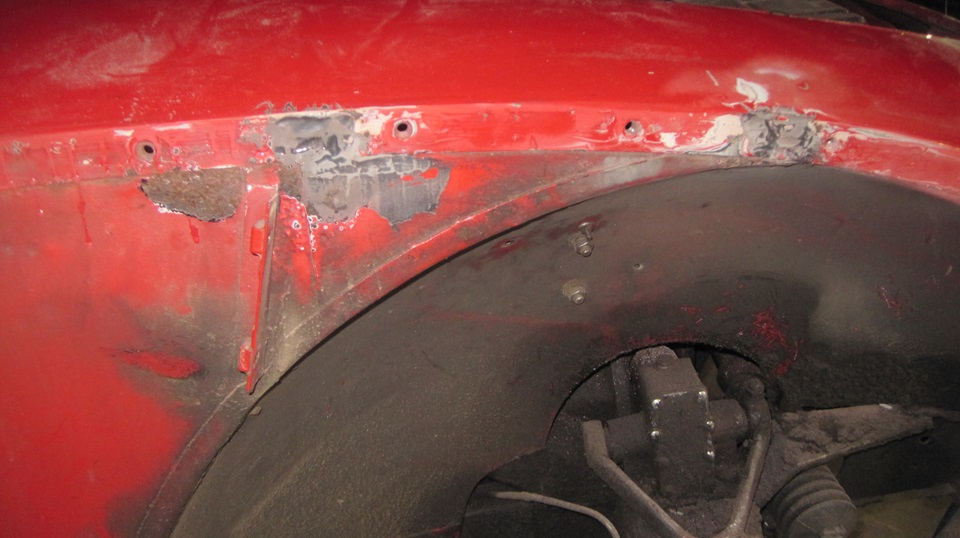
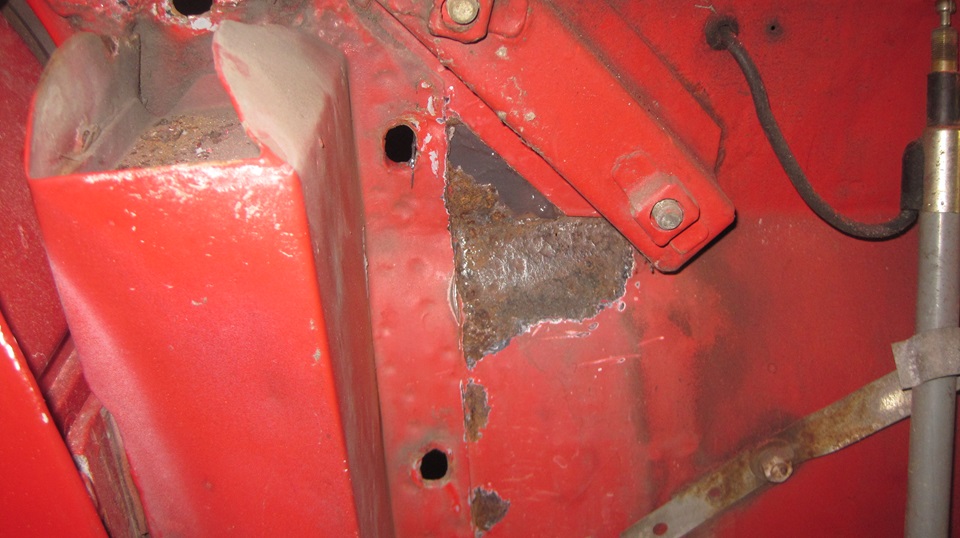
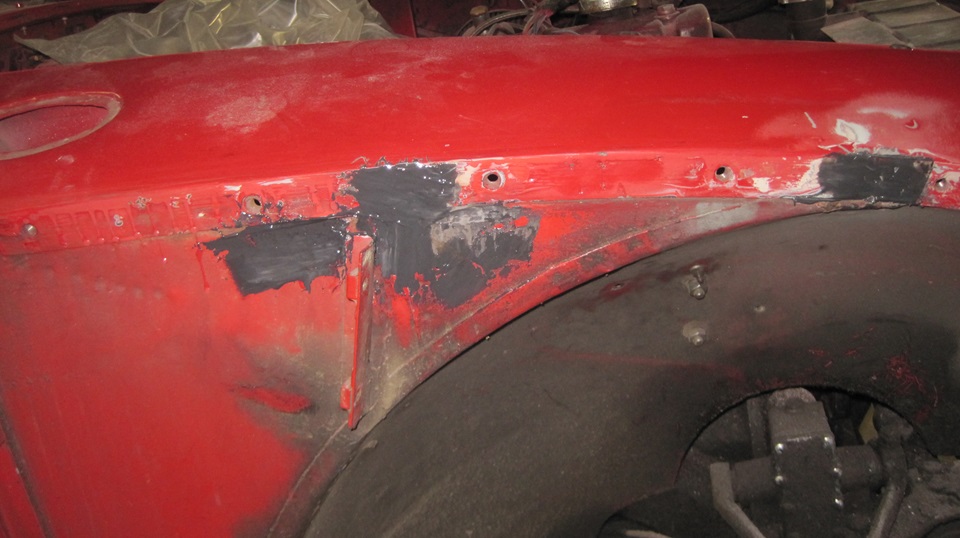
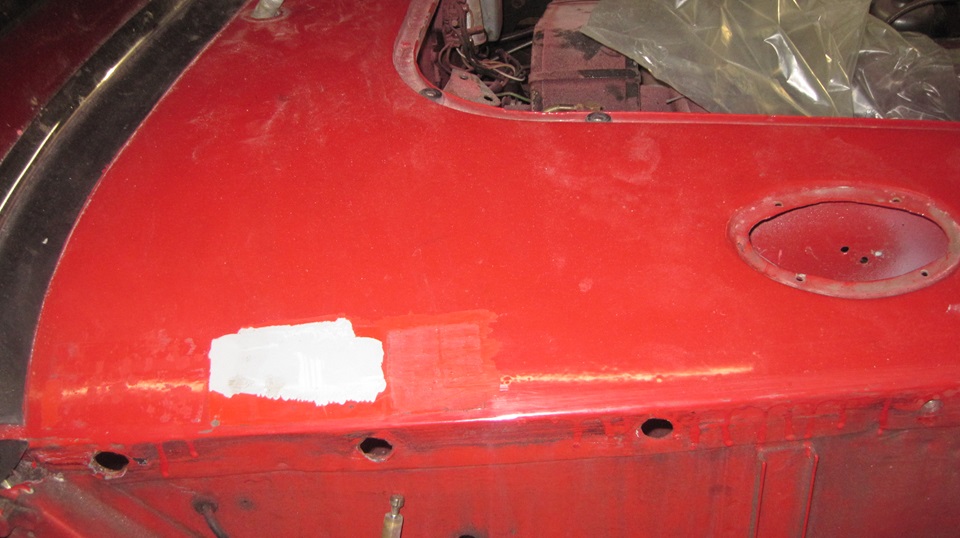
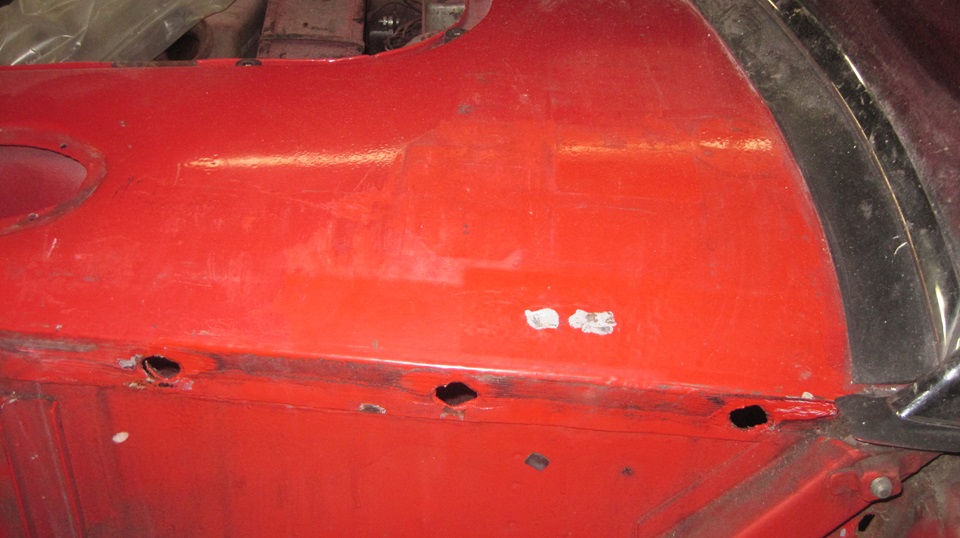
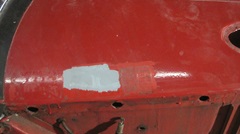
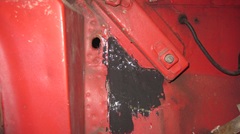
Removing the front wings exposed a few small rust holes along the upper bolt row for the right wing. We like to fix these when they are young to avoid worse problems later. There is a quick fix that avoids welding. as long as the surface is flat, and nothing structural in the area. Grind away any existing rust, cut a piece of sheet metal large enough to cover the hole, and glue it in place sing JB Kwik Weld for complete joint seal. These will be brush painted both sides before reassembly. And we did a couple of passes at resurfacing the nose, which will certainly require a few more passes to cosmetically banish the deer damage.


Saturday June29, 2024:
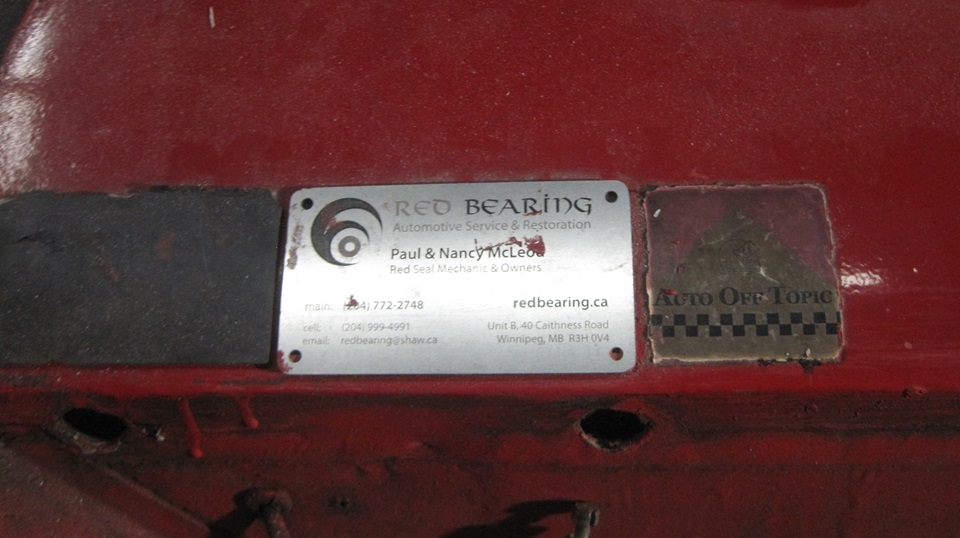
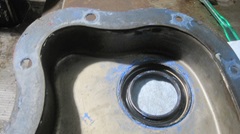
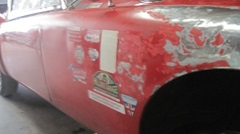
 Early morning food run to re-stock the larders., three miles down the hill to the local grocery store. Looking a couple days into the future, thinking about painting the front cowl after the body repair, we were considering painting the front half and blending it in somewhere between the radiator and cowl vent. Nah. Should be easier to paint the whole cowl back to the windscreen seal, and that should also look better. That means the car show and rally badges on the left side and a few business badges on he right side have to go. Very handy working height, so grab a gasket scraper and have at it. As usual, a little chipped paint, but easy to fix before final painting.

Back to resurfacing the nose, another coat of Bondo and another pause for curing time. Take that time to mix a bit more J.B.. Weld to coat the small patches on the inner wing.

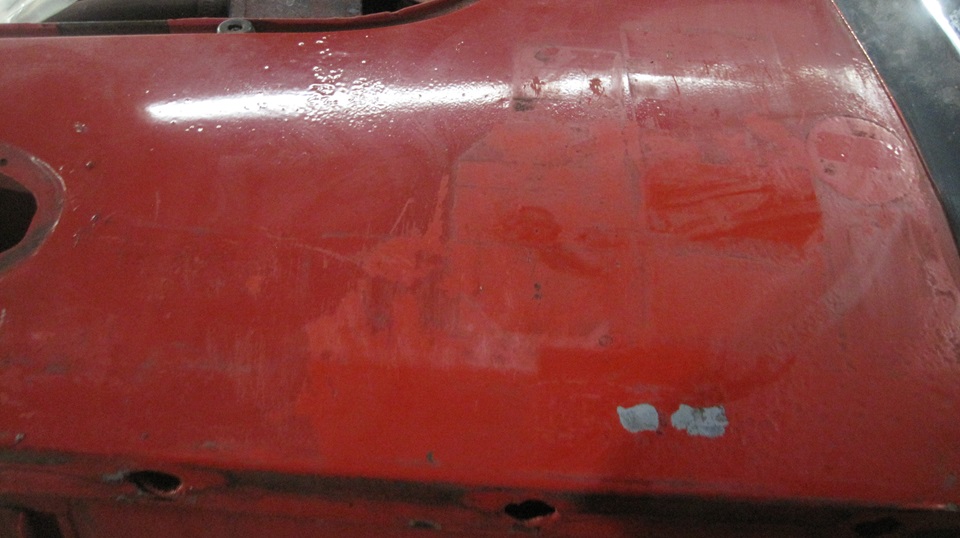
A touch of gasoline to dissolve the remaining adhesive left from the removed badges. One more sanding, Bondo and more sanding pass, and we are making great progress on the resurfacing. The new grille now fits like a mitten, with proper clearance all around for fit of the grille piping. Sculpting the small step and radii correctly is a time consuming work of art, but it's getting there. We'll get that done tomorrow, and likely get started on primer finishing. Still thinking we might get the red paint on by Monday evening. (Aren't we optimistic).


 Another concert in the park tonight, but we graciously skip that to keep working on the car. Unfortunately the organizers took away a couple of the bright flood lights to use at the concert, which put a temporary damper on the nose job. So I knocked off early enough for some WiFi time to post these photos and notes.
Sunday June30, 2024:
This turned out to be a very long day with and disappointing finale. The first half day was not bad, surface finishing the body nose well enough to contemplate giving it a coat of primer, and doing more sanding finishing later. That's where things went wacky. We had a nice Binks siphon gun, with which i am fairly famailar. I may have used this gun to spray couple square feet of red paint two years ago (after doing aerosol primer). Partially disassembled checking things out, it looked good, so we were boldly off to the races. Mix up 6-oz of some 50/50 primer for a test run, which might be enough for one light coat of primer on just the front cowling, nose to windscreen. Shoot a test pattern on cardboard to get the paint flow and fan spray pattern set, looking good so far. Start spraying for real, get 15 seconds into the job, and the paint pattern began to go wacky, like insufficient paint flow. Increase paint flow setting, no help. increase pressure,no help. Then lots of overspray, boo hiss, knock it off. Stop to disassemble the gun again, checking the paint flow path for obstruction, cleaning parts in the paint flow path, looks okay, may have been a temporary clog. Reassemble the gun, put some lacquer thinner in it,do a test spray to adjust flow and fan spray pattern, looks good.
-- Dump the solvent, mix more 50/50 primer, getting more confident )or more risque), 9-oz this time., shoot a test pattern,looks good, go back to spraying filler primer on the nose. About 15 seconds in the spray pattern started to go wonky again. Being stubborn, and determined, and after all it's just primer which we were going to sand anyway, so increase paint flow adjustment and push on. We did get some primer on it, but also a lot of overspray. By the time it was done it also used up the paint in the gun, which seemed somewhat excessive. We ran out of daylight, working with weak indoor lighting, out of patience at the same time, so knock it off for the night and clean up the paint gun again. Time for dinner and some WiFi. --About 20 minutes later a bell went off in my head. It was a siphon gun with insufficient paint flow. Clogged reservoir vent creating a vacuum in the can, maybe? Go take the gun apart again to check out the vent. Nice Binks gun, remember? Not just a single vent hole in the cover, but underneath it has a 350 degree arc vent and fluid isolator tube as well. Undo compression nut to remove the vent tube, try to blow through it, completely clogged. Very disappointing, but at least I found the problem, so we should sleep better.
|